
I plant my daylily seeds when the weather starts to warm up. For me, the time is May. The seeds then have 5-6 weeks to grow. Longer would not be good, because my apartment does not have enough sun for the seedlings.
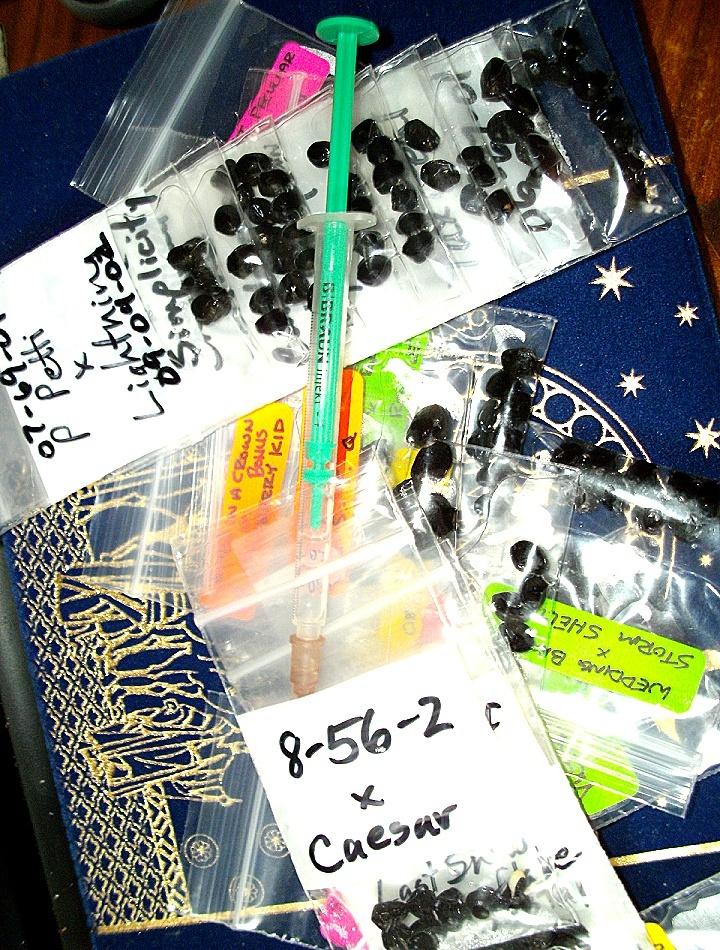
Instead of floating the seeds in water prior to sowing, I use a different system. With a disposable syringe, I add a little water directly into the zip bag, place the seeds in the bag, and let them swell slowly in the refrigerator.
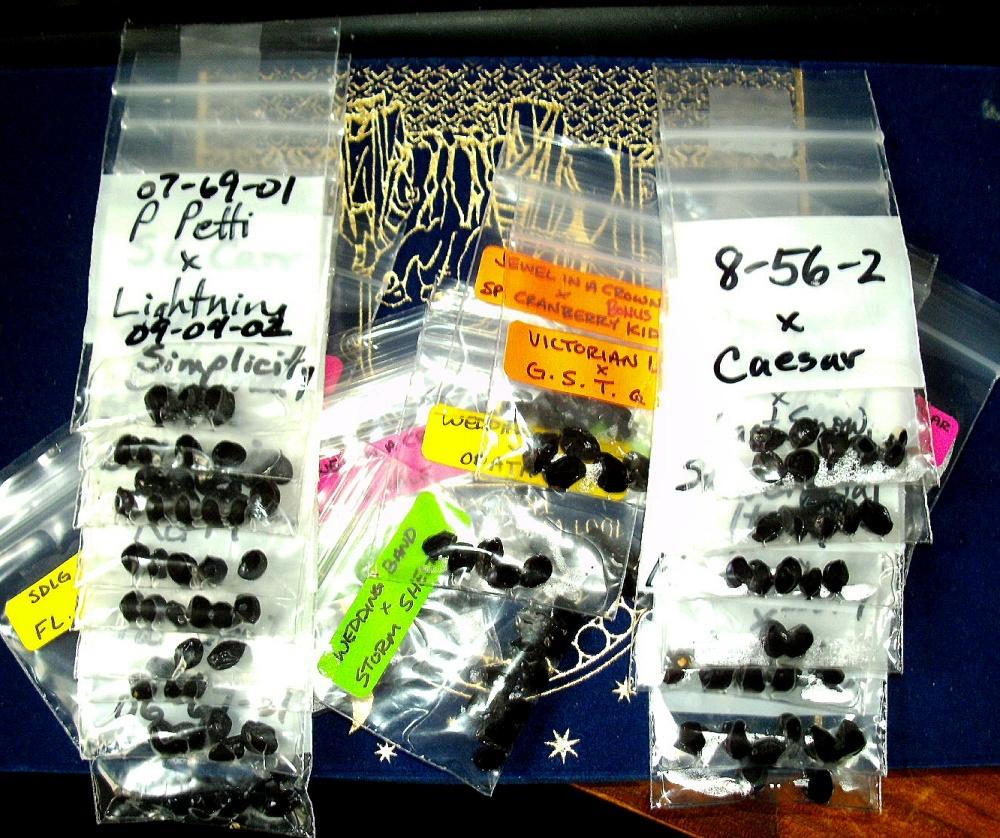
Here are the seeds, after they have been moistened.

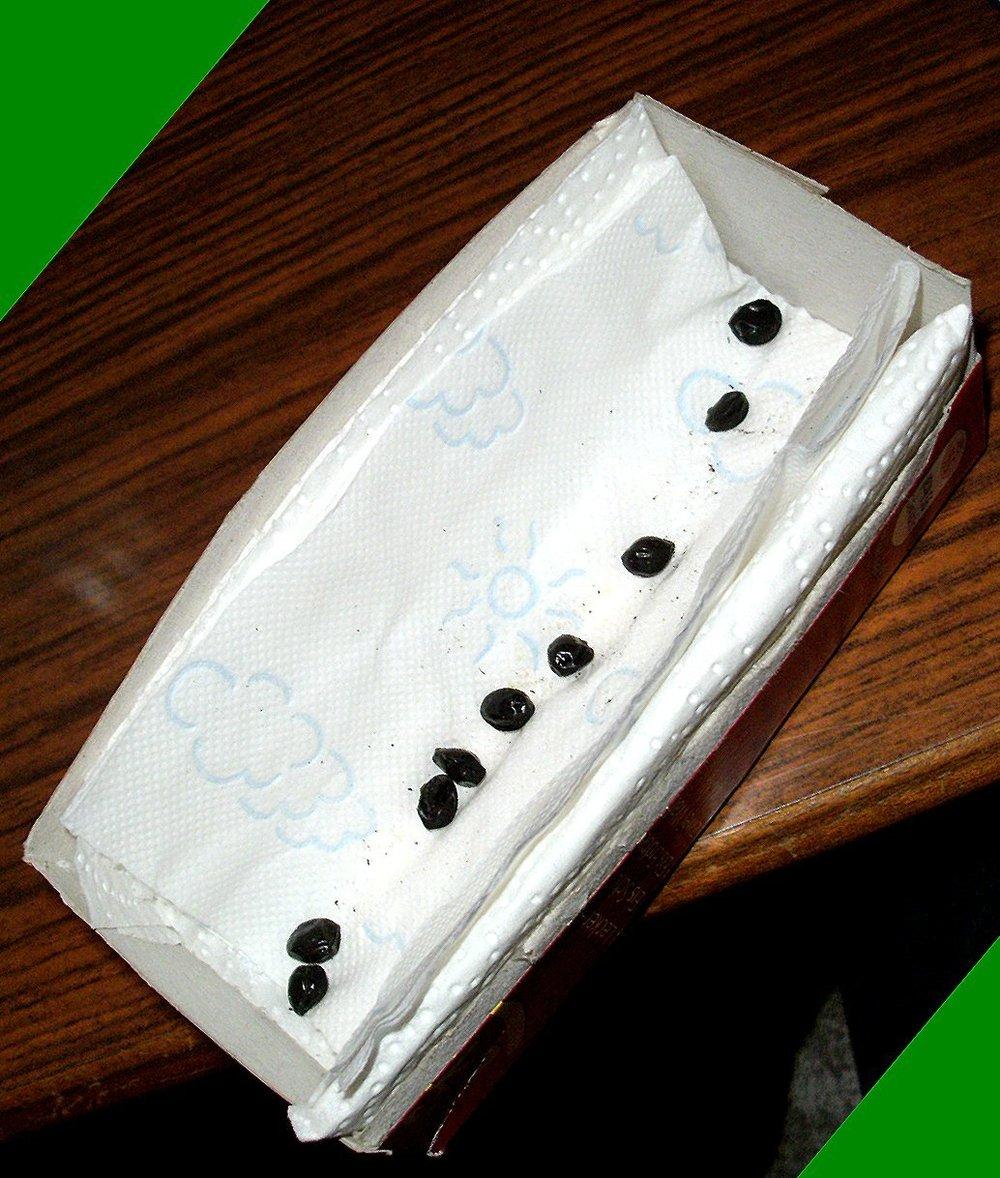
Before sowing the seeds, I briefly, but thoroughly, dry them in a cardboard box with paper towels. Only the dry seeds slide into the correct position in the seed tray, so this step is important.
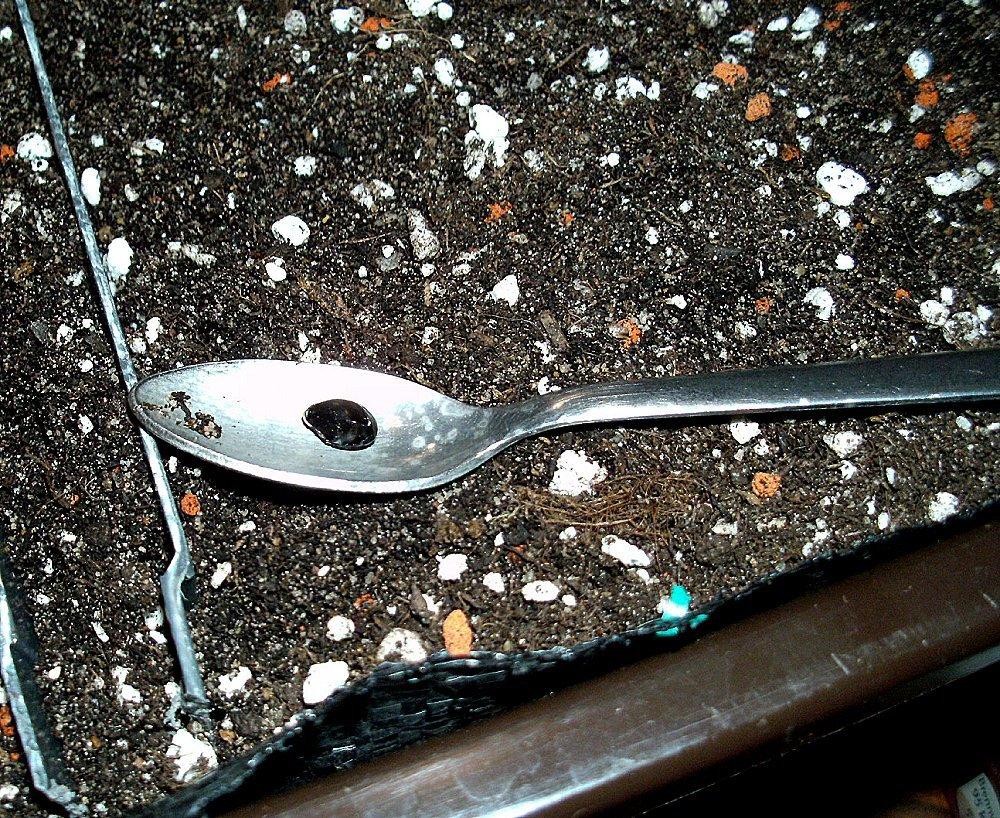
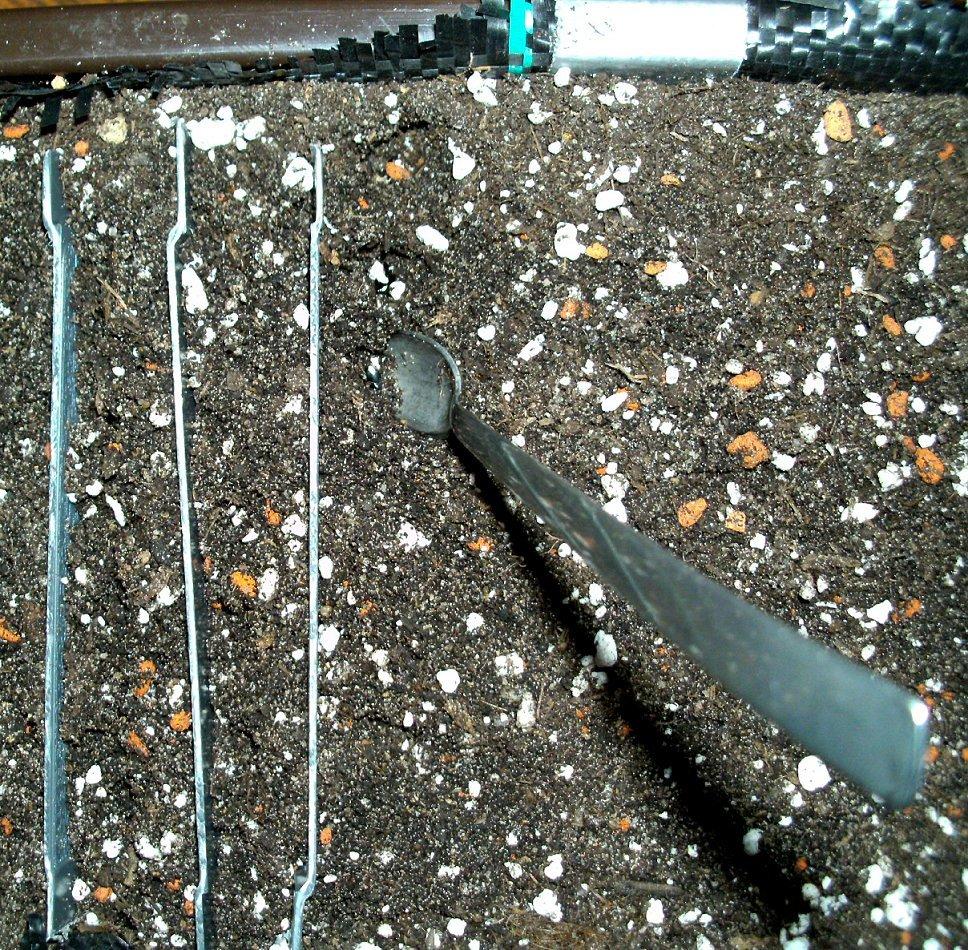
For sowing purposes, I use a special spoon, which is typically used in pharmacies. This is a perfect tool for sowing.
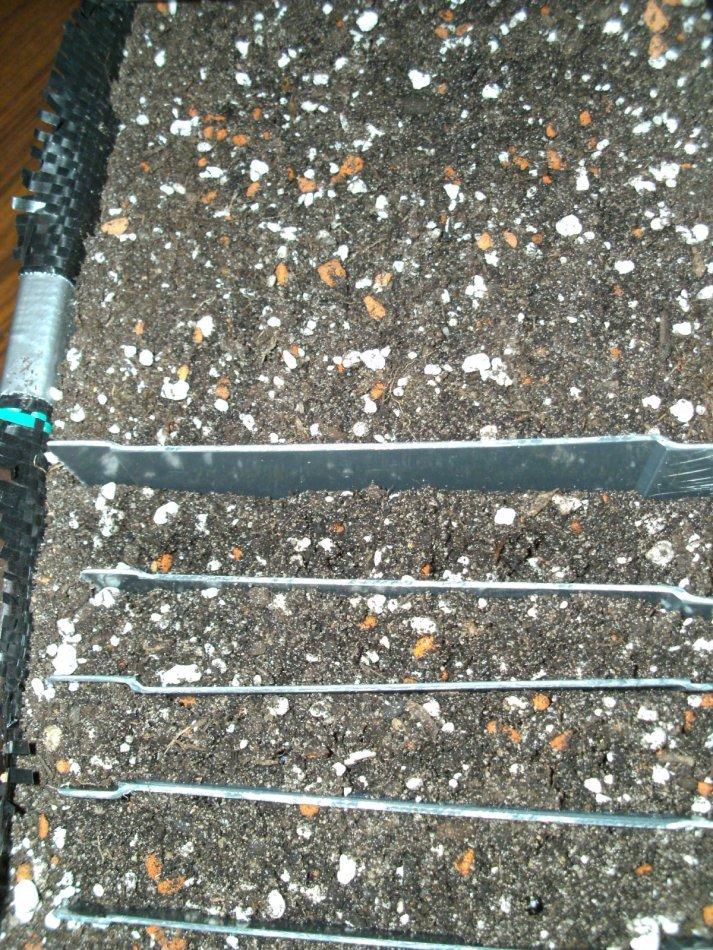
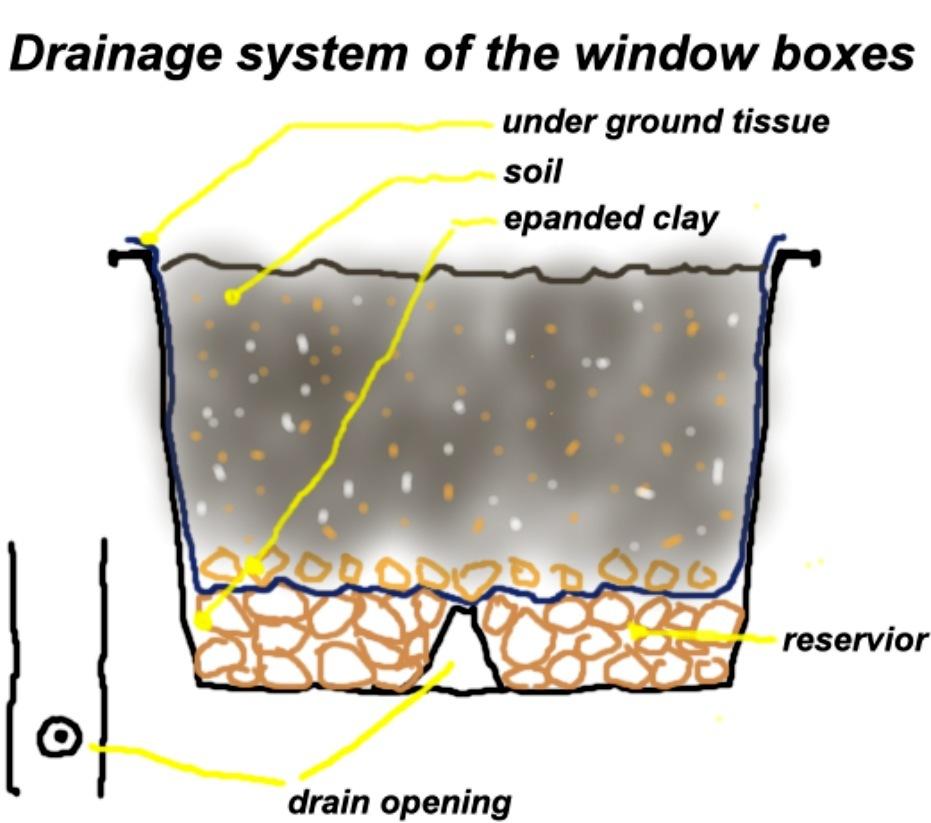
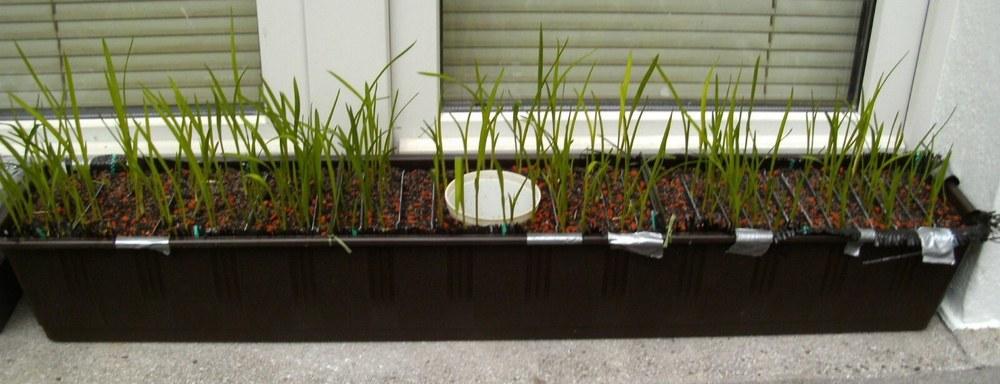
Instead of the typical seed trays, I sow the daylilies in window boxes that are about 39.4 inches long. In the middle of the window box, I plunge an empty flower pot for watering. I then place the window boxes on a special drainage reservoir system. After watering the flower boxes, I cover them with plastic wrap.
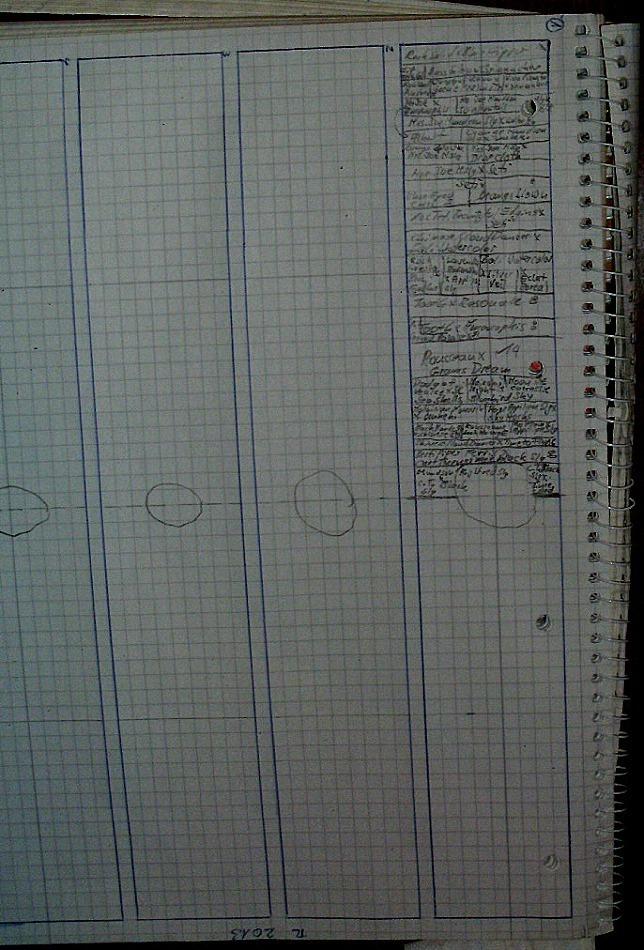
Here is an example from 2012:
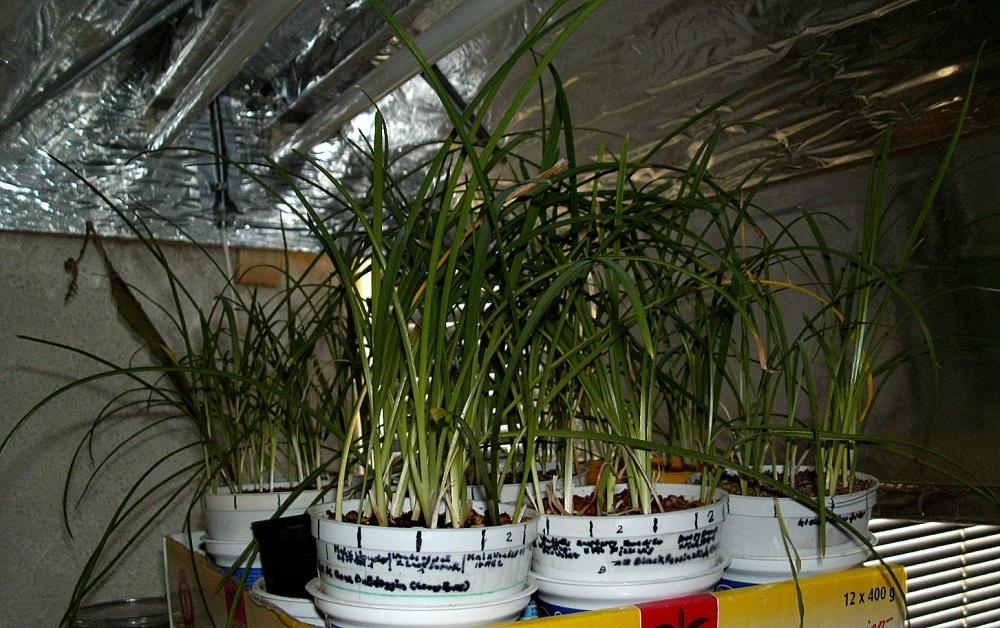
Here is an example of seeds that already had germinated:
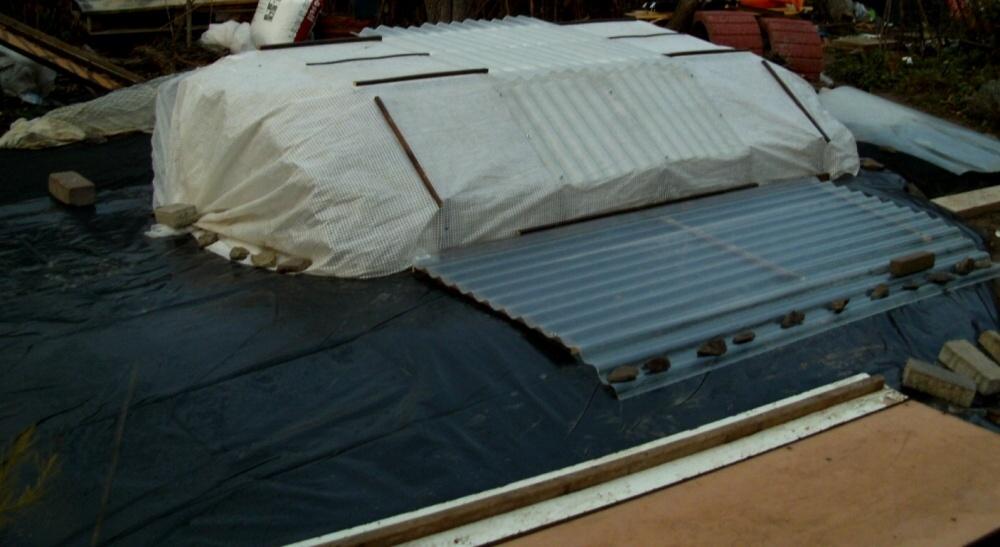
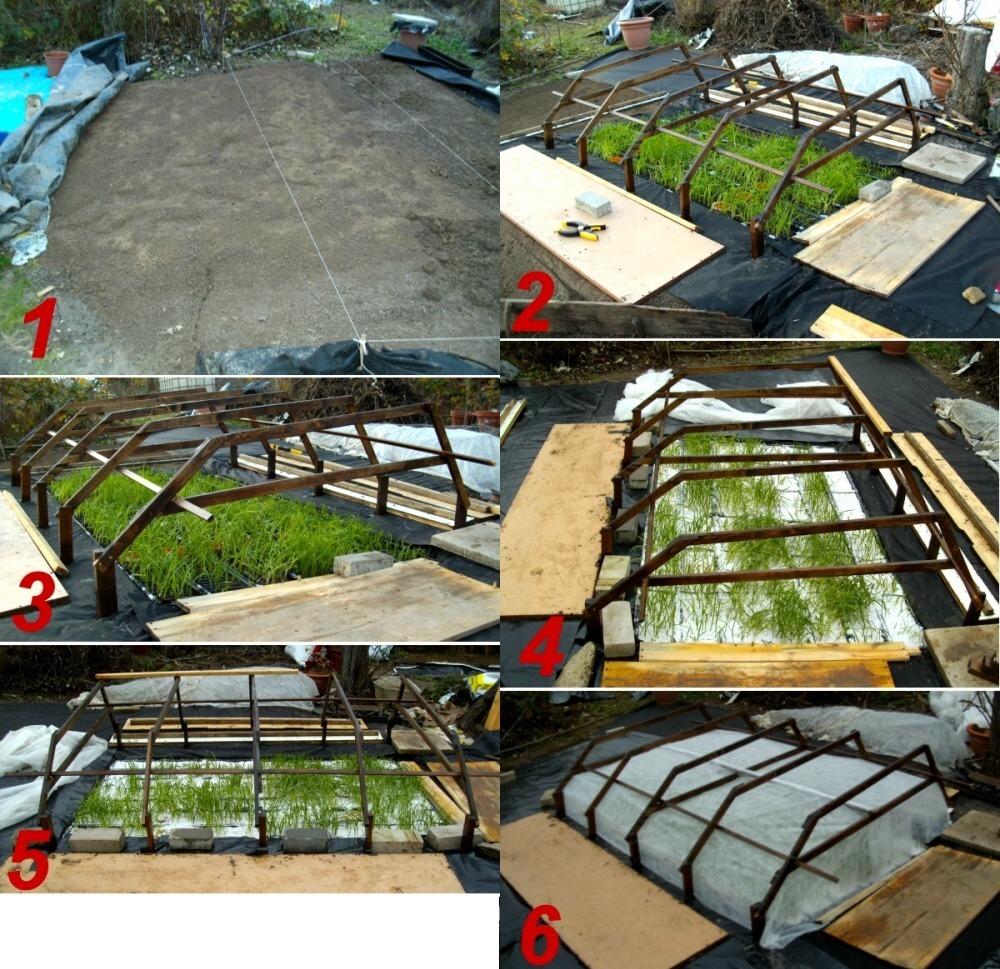
In 2012, I had sown a little late. Therefore, I had to build special winter protection for the seedlings. The design needed to be able to provide protection from excessive heat and cold. In a greenhouse, this often means a large difference in temperature. This is not good for the seedlings. Therefore, I have concentrated on heating inside the construction.. By the black film, the heat is applied around the soil. The heat is stored in the earth, and the temperature is changed slowly.
The actual protection consists of several chambers.
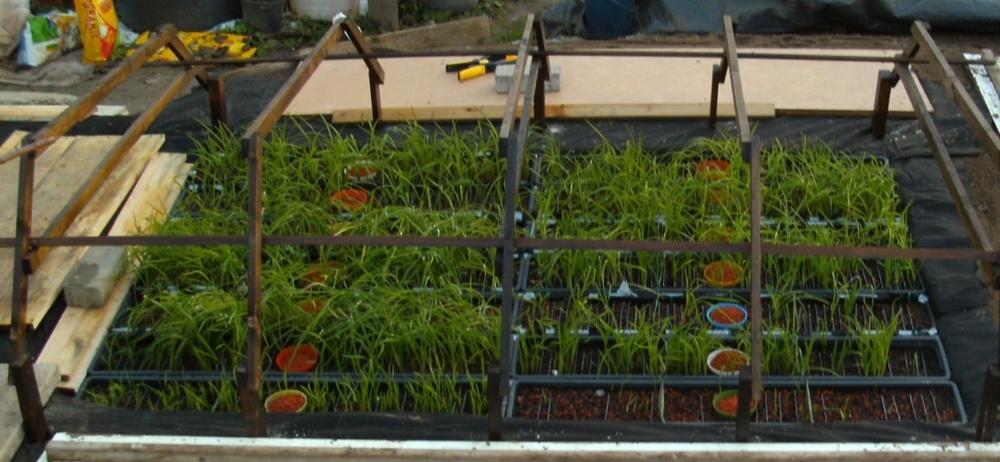
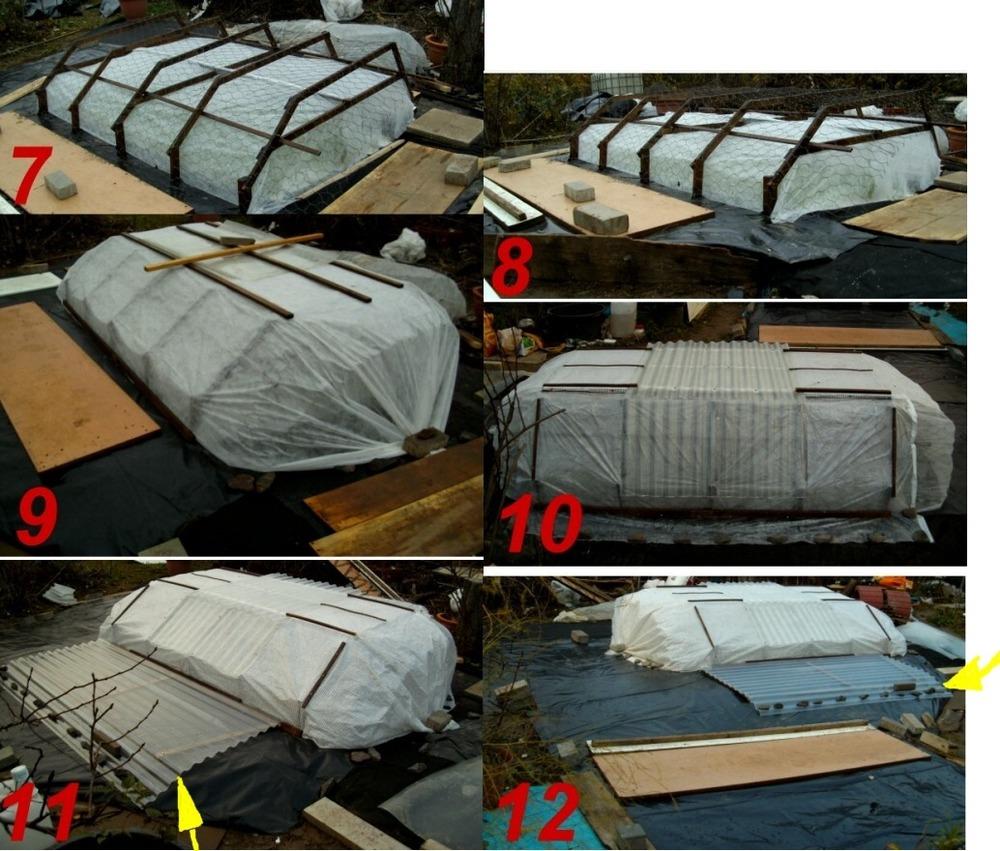
The end of March I measured at a point (yellow arrow) of more than 100 ° F.
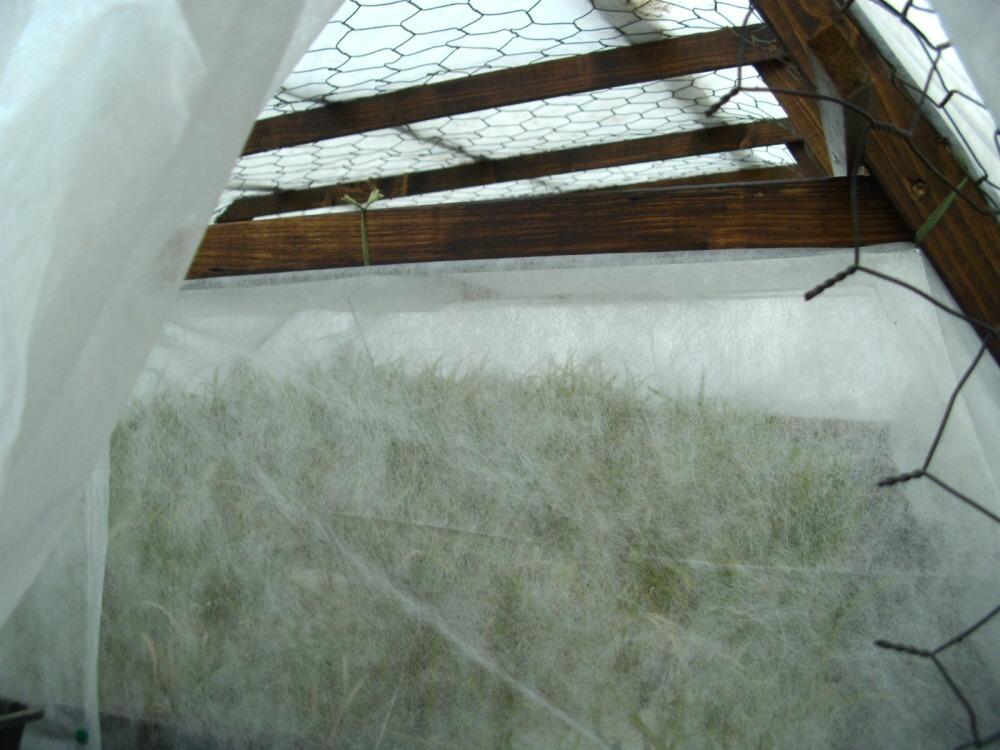
Here's a picture of the inner chamber at the end of March. 52 ° F (outside 45° F) during the day. The seedlings are looking healthy.
I hope this helps and encourages you to start daylily seedlings of your own.
| Thread Title | Last Reply | Replies |
|---|---|---|
| Helpful by quietyard | Jun 1, 2013 7:05 PM | 0 |


