
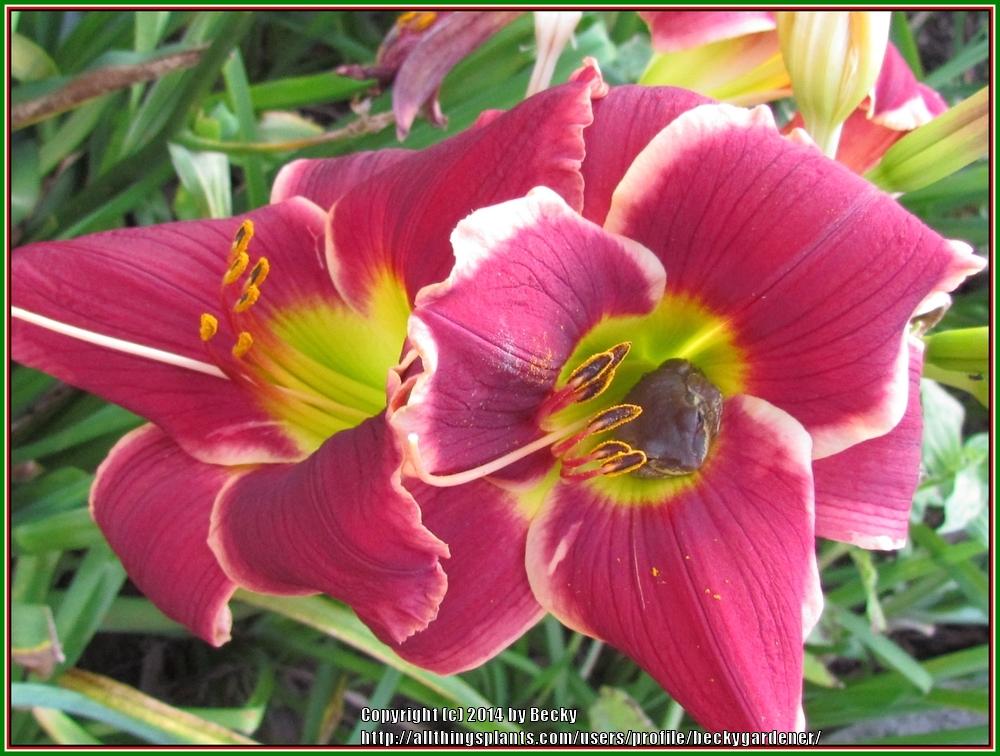
I love daylilies and, apparently, so do many other gardeners around the world! There are thousands of named and registered cultivars listed in the AHS database. Those hybrids were all grown from seeds (not plant divisions). For me, nothing is more exciting and more fun than creating and growing a brand new hybrid daylily from seed. It's an inexpensive and easy way for me to expand my daylily collection, and currently it costs only $20 to name and register a new hybrid daylily (which might make a very personalized gift in honor or in memory of a family member or friend). http://www.daylilies.org/AHSre...
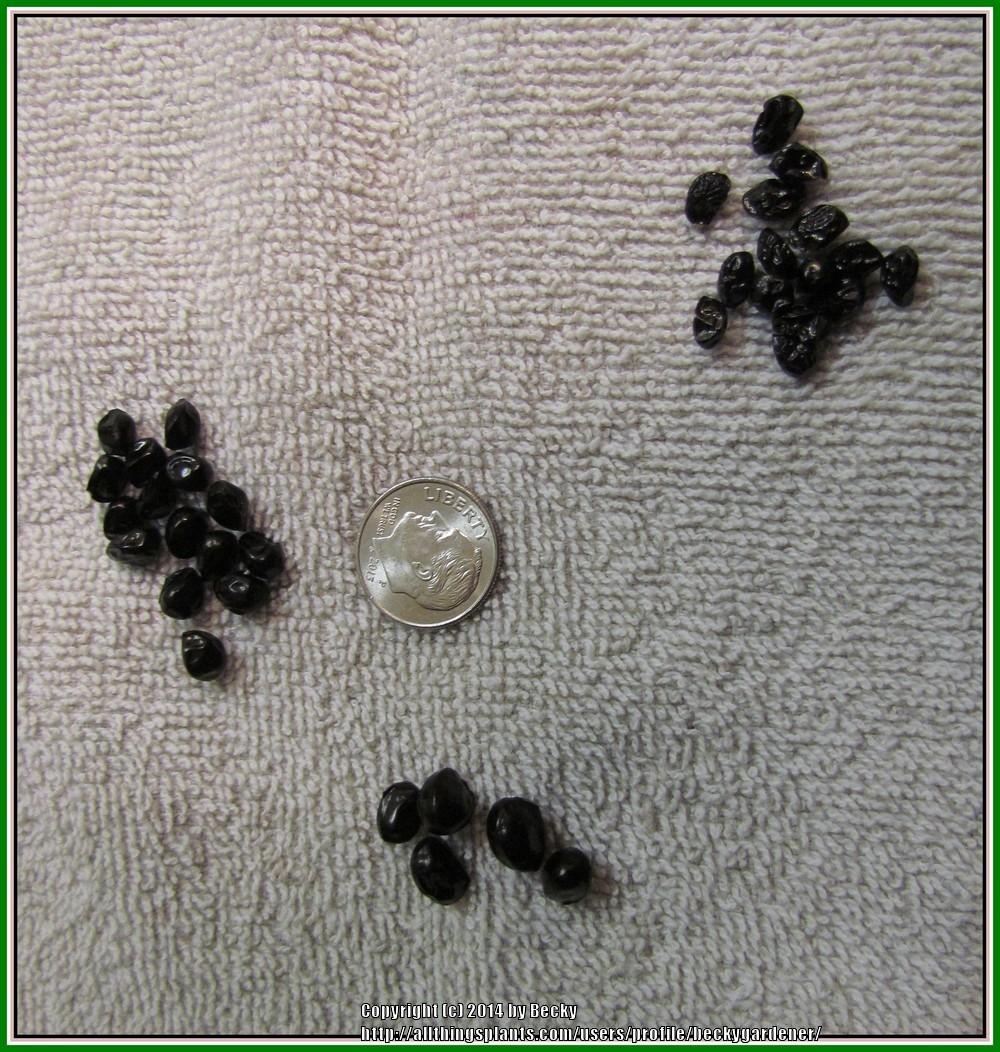
Daylily seeds are collected from seed pods. I typically find an "average" of 6-8 seeds in each pod (although some pods will have fewer seeds and some will produce more). The seed size can vary, as can the shape of the seed, depending on the cultivar of the parent daylily. Most seeds are black. Every seed that germinates will grow a unique plant. The uniqueness of each plant will be most notable in the flowers. You can collect seeds from your own daylily collection, you can buy seeds from places like the Lily Auction, eBay, etc., or you can get seeds from other gardeners who like to share or trade seeds. My seeds have come from all three sources and I have grown some beautiful plants that started from a single little seed.
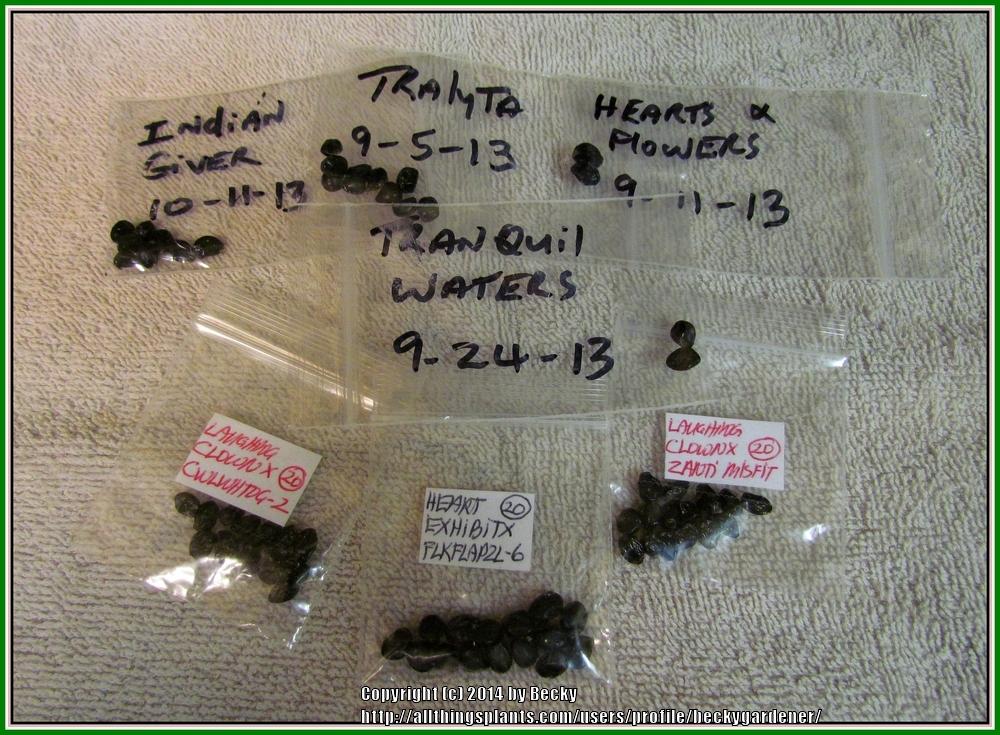
If you are collecting seeds from your own garden, make sure the pod is ripe. It will be brown and will appear to be dried out. The pod will start to split open when the seeds are ripe. You can collect, separate, and label the seeds into different paper envelopes and let them air dry for a couple of days. Then transfer them into plastic baggies and label each bag by parent(s) name. Pod parent is listed first, followed by the pollen parent (if you know it, otherwise just list the pod parent). I store my seeds in the cool crisper drawer of the refrigerator until I am ready to sow them.
There are various ways to germinate and grow daylily seeds. I am going to share with you how I do it.
I prefer to start my seeds in late summer/early fall, but they can be started at any time.
Gather together these supplies:
Styrofoam cups - any size (I use 8 oz. or 12 oz. cups)
Potting mix recommended for seeds (I use Fafard Promix)
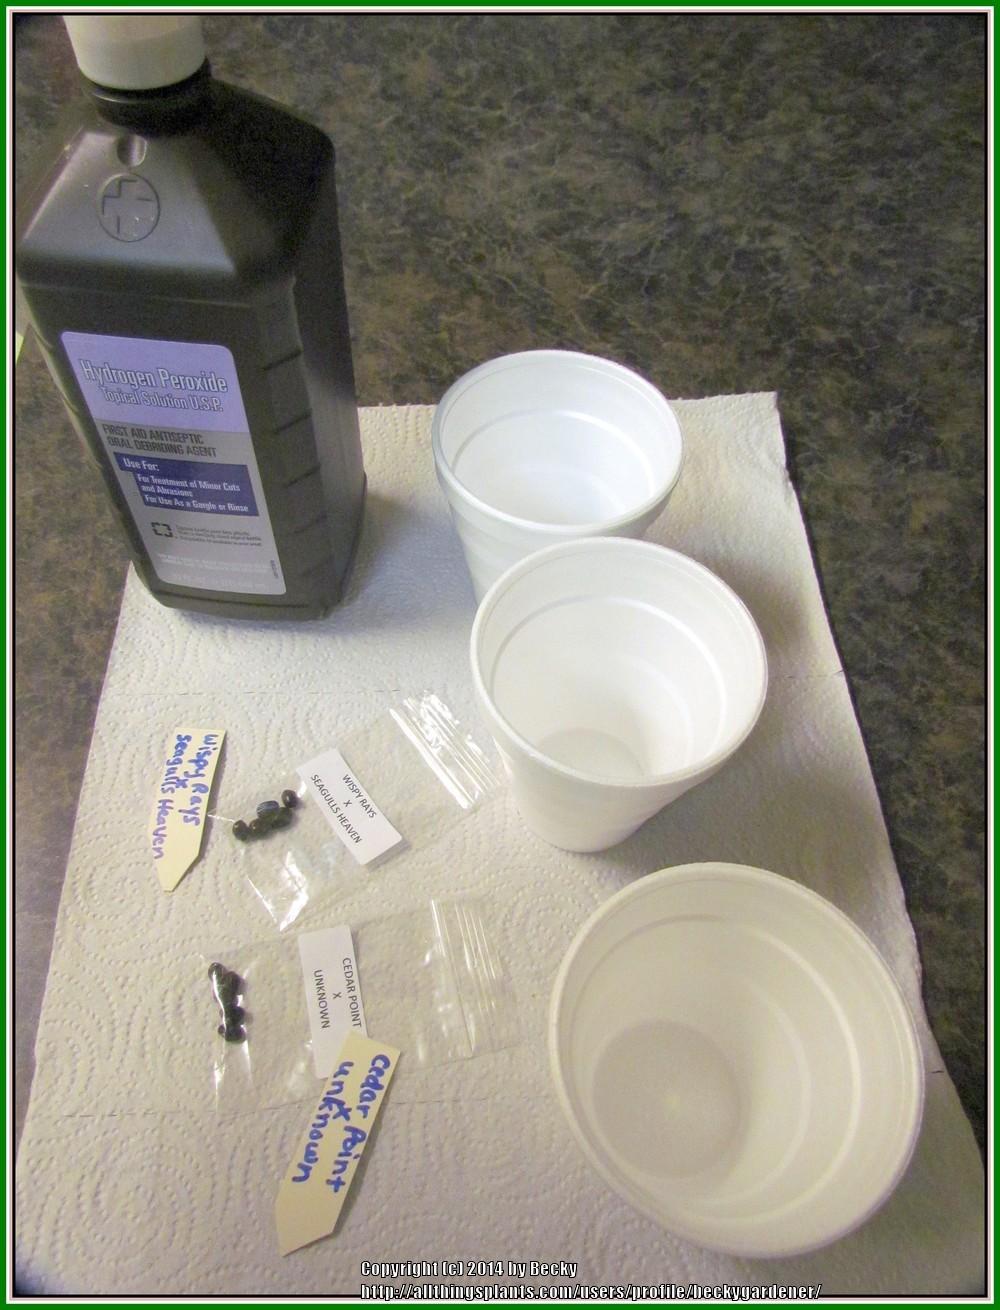
Bottle of 3% hydrogen peroxide (H2O2)
1-2 gallons of spring water (Yes! I use spring water, not distilled water)
Plant labels (I make my own by cutting vinyl vertical blinds into strips)
Small screwdriver
Permanent marker
Cheap plastic shoe boxes (12" L x 6" W x 4" H)
Daylily seeds
The first thing to do is to use the small screwdriver to carefully punch 5-7 drain holes in the bottom of each styrofoam cup that you plan to use. Add potting mix to each cup. Place the cups in a plastic shoe box. Mix spring water and a few drops of hydrogen peroxide (H2O2) together in a measuring/serving cup and stir. Pour the hydrogen peroxide solution over the potting soil in each styrofoam cup until the water drips out of the drain holes and settles the soil. (You can add more potting mix if needed to bring the soil level to about an inch or so below the cup's rim.) Use the bottom of the permanent marking pen to create a hole in the soil about 1 1/2 inches deep and then drop one seed into the hole. I sow 3-5 seeds from the same hybrid cross per cup for the germination process. Cover the seeds with potting soil. Use a plant marker to label the seeds, or label the styrofoam cup using the permanent marker. Add a little more water to each cup. (You may have to pour any excess water out of the shoe box container.) I typically get 6 cups in each box if I am using 8 - 12 oz cups (fewer if I use larger cups).
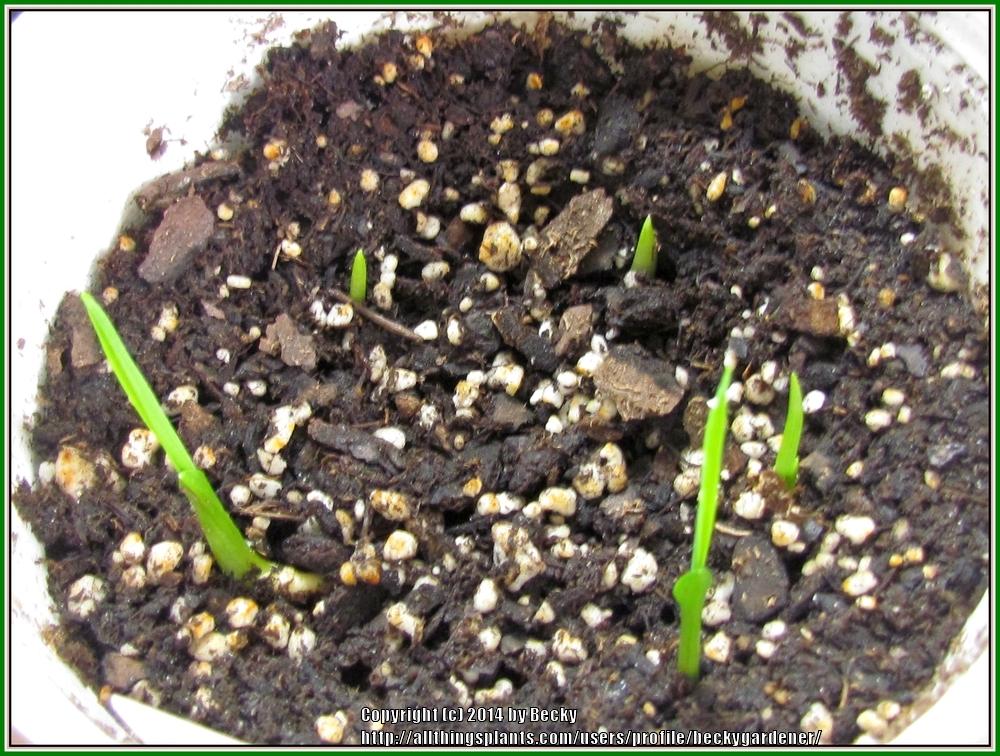
Place the box w/cups in a south window that gets direct sun most of the day or directly 12" underneath a bright fluorescent light if no sun is available. (Shop lights work great for artificial lighting.) Then wait patiently for the seeds to germinate. It can take anywhere from just a few days to even a month or more to see germination. I usually see germination of the majority of my seeds within 10 days. With viable seeds, I typically get a 95-98% germination rate using this method. Continue to use the spring water and H2O2 mixture when watering. I usually only water thoroughly once a week. When they start growing 4 or more leaves, I fertilize with a liquid fertilizer at a reduced 1/4 strength. I continue to fertilize once a month using the diluted strength.
You might be wondering why I use styrofoam cups. (I know ... not "earth friendly"!) I like styrofoam for two main reasons: The cup acts as a temperature insulator and the styrofoam makes it easier to punch drain holes in the bottom of the cup. I also reuse the cups year after year because they do hold up well. When the cups finally wear out, I tear them up into pieces and add the pieces to my potting mix to lighten the weight of my pots. Sort of like perlite!
You also might be wondering about the use of hydrogen peroxide. H2O2 supplements oxygen to plants and is anti-fungal and anti-bacterial, so it prevents the seeds/seedlings from rotting. This link is an informative article about using H2O2 in gardening: http://www.using-hydrogen-pero...
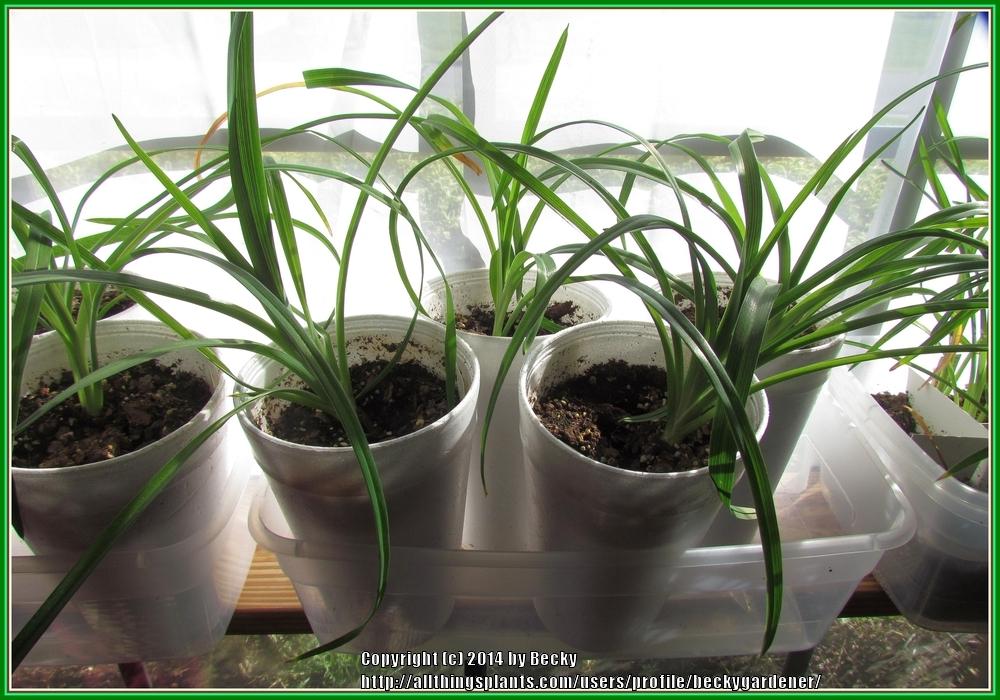
During the dreary and cold days of winter, it's uplifting to grow plants indoors. Daylily seedlings don't take up much space and are forgiving as long as they are watered once a week, fertilized monthly, and are exposed to 6-8 hours of warm light each day. The young seedlings exert their energy into producing a good root system first and then the foliage will take off.
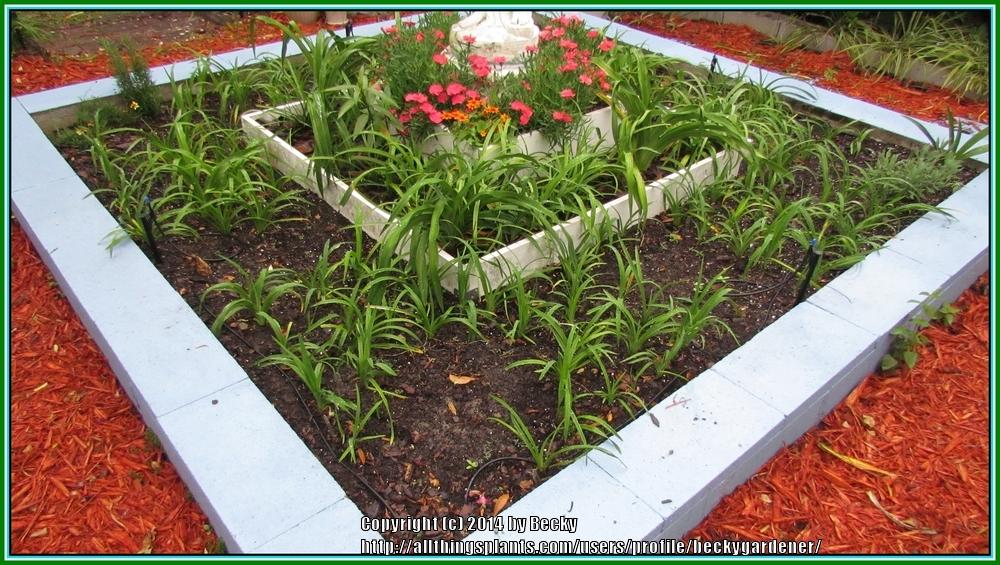
When spring arrives they can be planted out into your garden or you can pot them up into a larger container. In the south, plants can produce their first blooms in 1 year. (I have been told that if you get seeds to germinate by the end of July/early August, you may very well see your first blooms the following spring/summer! So get them germinated as early as possible in the south!) In the north, it can take 2, 3, or more years. Your patience will pay off, though, when you see the first blooms of your new hybrid. Just think! You grew that beautiful blooming daylily from a seed, which will make it all the more special.
Online sources for seeds:
http://www.daylily.com/cgi-bin...
http://www.ebay.com/sch/i.html...
| Thread Title | Last Reply | Replies |
|---|---|---|
| Thank you! Seedlings sprouting now! by kytnbabe | Jun 25, 2019 3:35 AM | 6 |
| Best Fertilizer for daylillie seedlings by Stargold | Sep 21, 2017 3:43 PM | 1 |
| Great Beginner Instructions by blue23rose | Sep 21, 2017 3:33 PM | 12 |
| Thinning? by alanzimm | Nov 5, 2016 6:22 AM | 6 |
| Nicely Done! by Lalambchop1 | Jul 24, 2015 11:42 PM | 2 |
| Untitled by tgarden711 | Jul 24, 2015 11:31 PM | 2 |
| Great! by Arico | Jul 23, 2015 4:52 PM | 3 |
| Very Useful Information! by chalyse | Jul 23, 2015 12:20 PM | 16 |


