
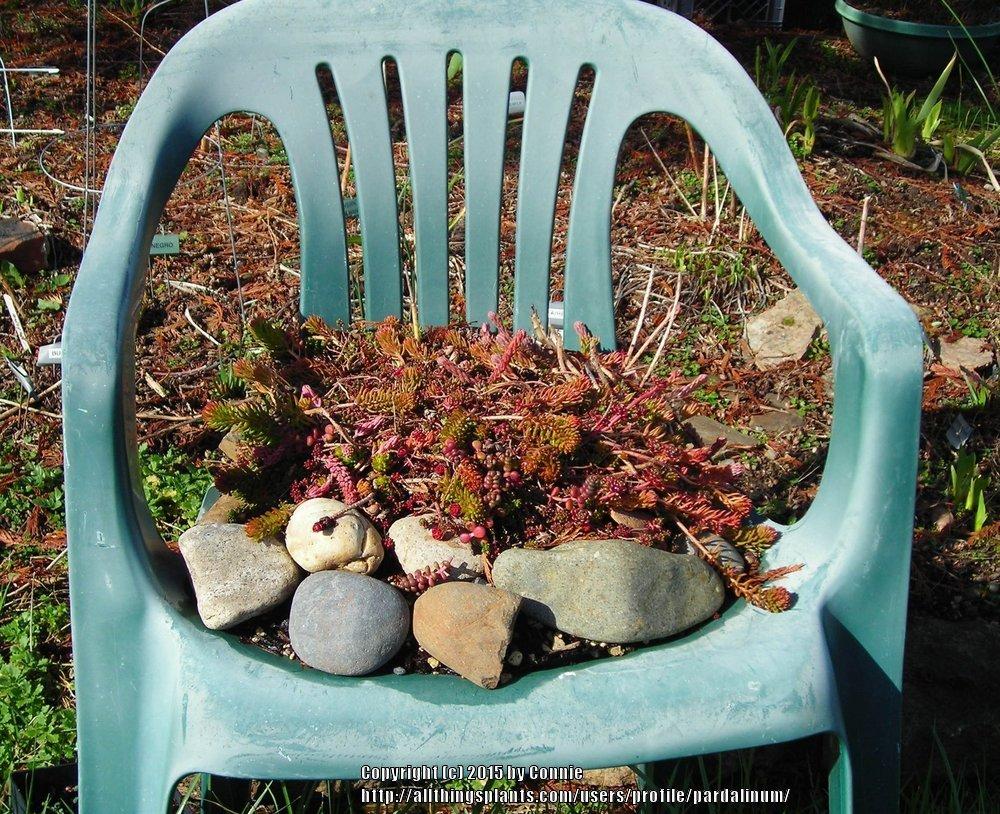
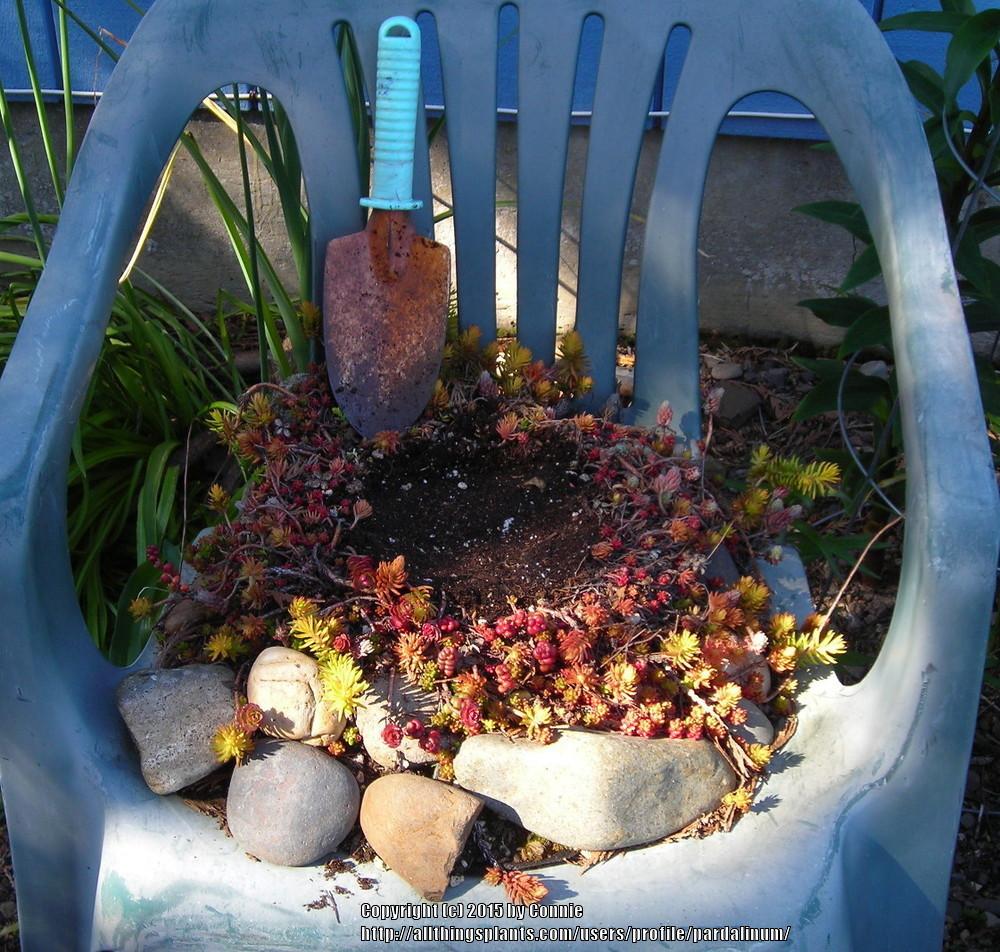
So it was with my sedum chair project from a few years ago. I initially planned to cut this old beat-up and faded plastic lawn chair into pieces to work into the trash. Before it was too late, I got an idea from a local garden center.
The garden center was selling "sedum tiles" that looked to be just the size of the seat of the lawn chair. There were at least four or five different low-growing sedums in each tile. It was difficult to pick the one I liked best, but I did settle on a nice one that went home with me.
This sedum tile made it so easy to make my project. All I did was lay a piece of loosely woven landscape fabric on the seat of the chair, and then I added about two inches of soil on top of it. The added soil would give the roots a place to expand their growth out of the bottom of the tile. After gently pressing the tile into the soil, I did a little scavenger hunt around my yard to come up with some rocks to place around the exposed edges. That was all there was to it, almost instant gratification!
What is nice about a project like this is that I can pick it up and move it around the yard. During the hot days of summer, I move it to more shady areas of the yard.
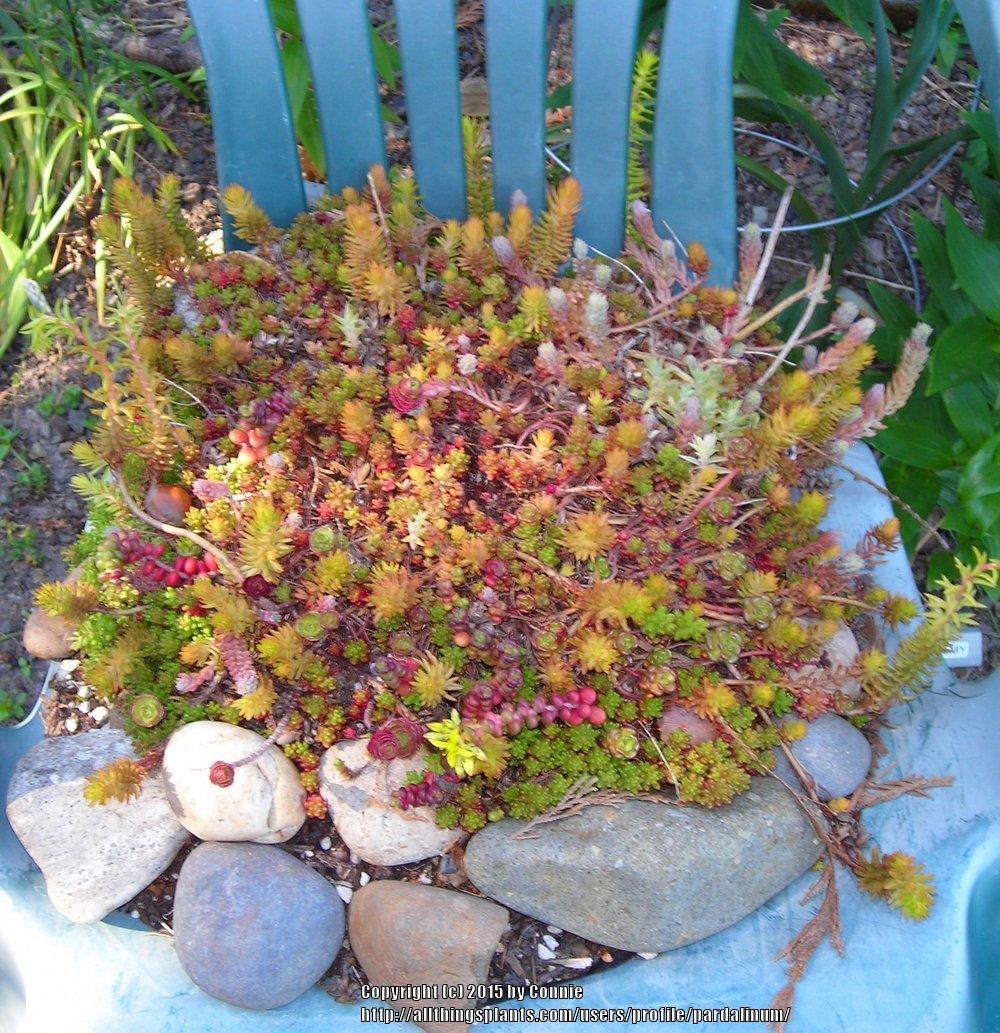
Fast forward two years and I noticed that it was no longer looking very nice. The center was dying out and the sedums around the perimeter looked stressed. I wanted to give the chair a new look and to add some fresh soil.

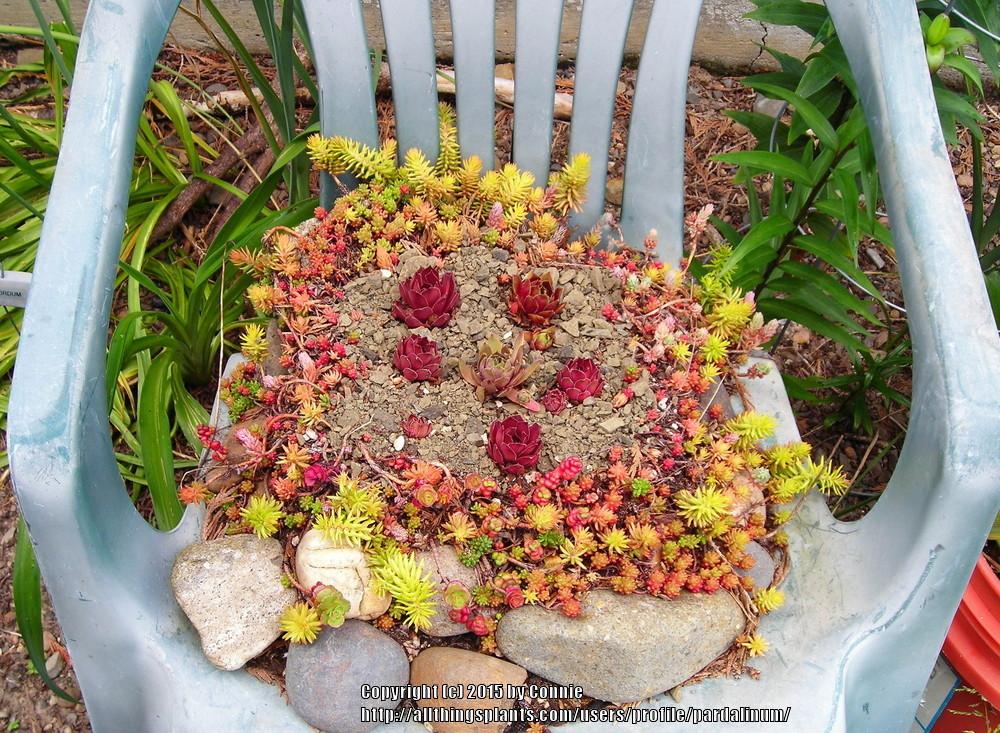
Using my serrated garden knife, I cut the center out of the tile, added new soil, and poked in a few of my favorite no-name sempervivums.
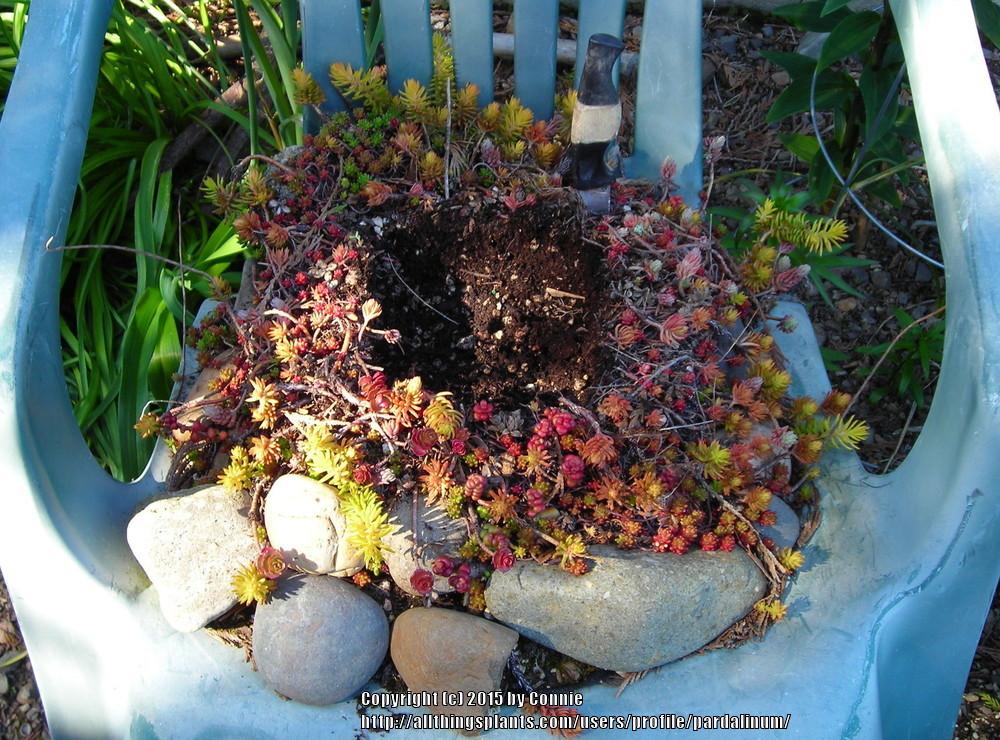
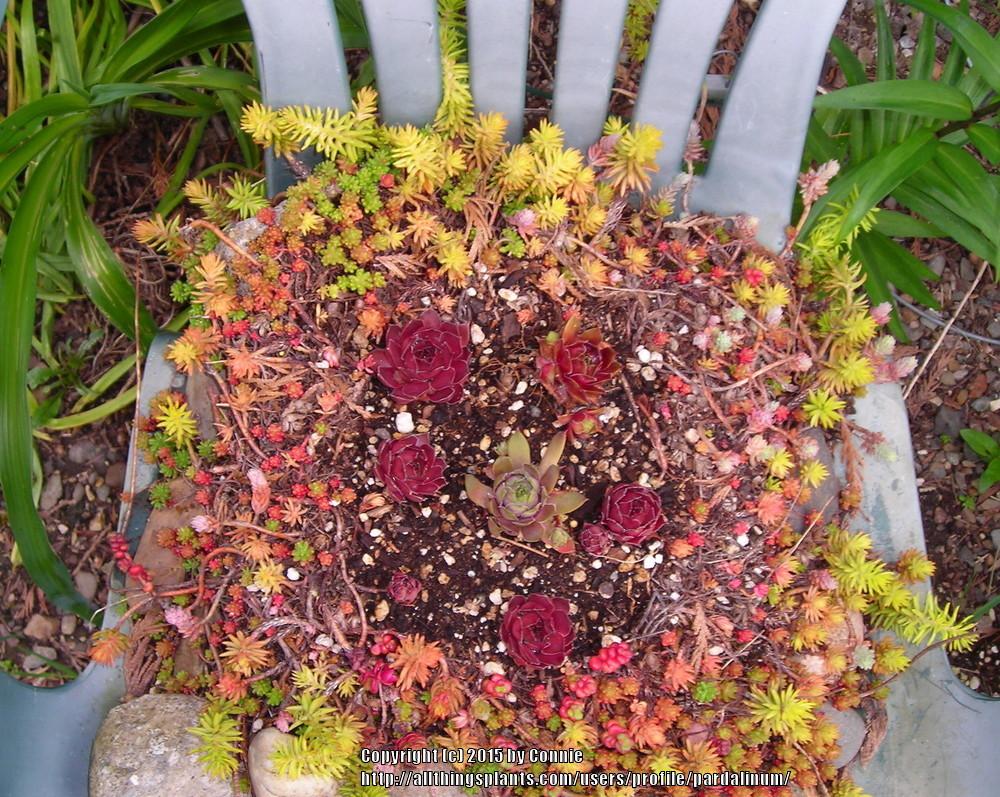
To protect the lower sempervivum leaves from excess moisture, I applied a top dressing of grit and gravel.
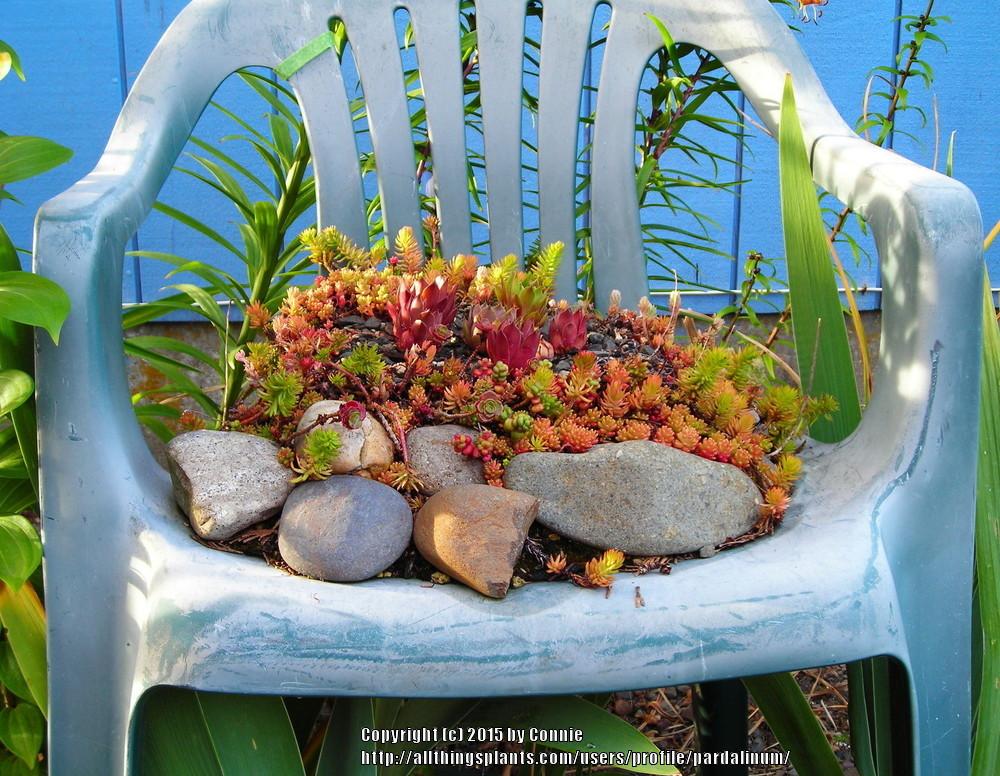
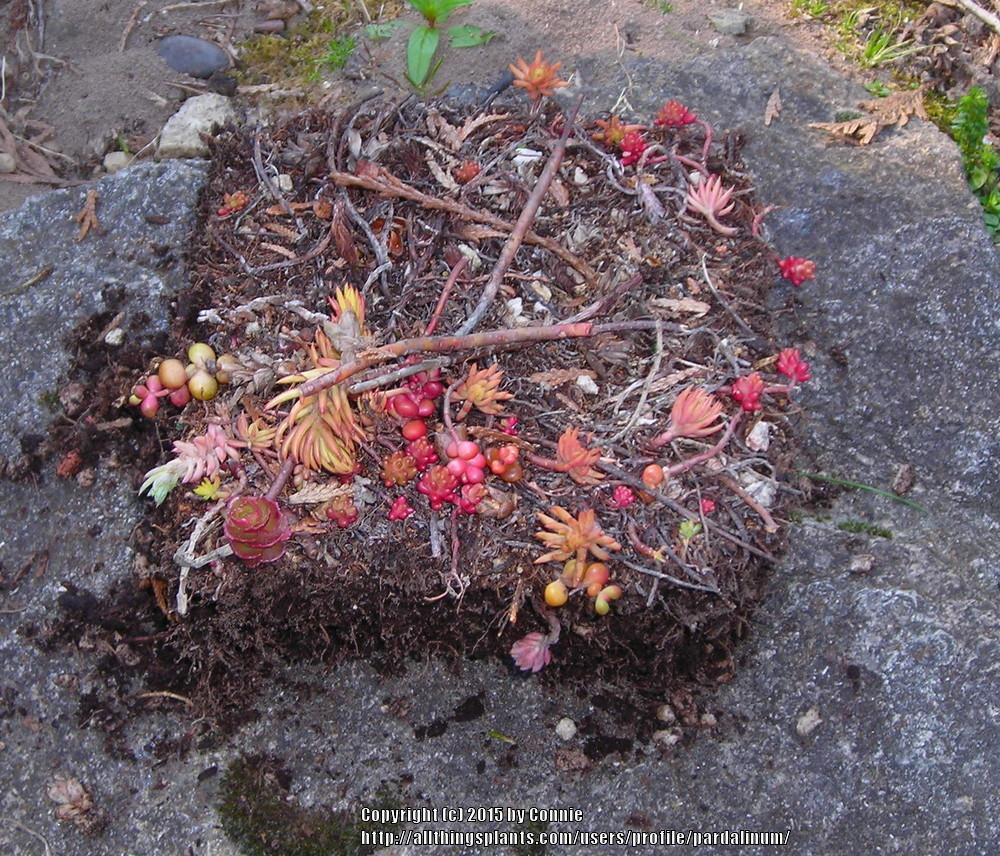
The sempervivums that I chose to use will not grow very big, but they are known to quickly multiply and fill in. To give you an idea, here is a photo of the red sempervivum that has filled in this low form clay container.

I'm looking forward to seeing how this refurbished project fills in!
| Thread Title | Last Reply | Replies |
|---|---|---|
| Refurbishing a Sedum Chair by valleylynn | Mar 17, 2015 9:43 PM | 1 |


