
The year 2013 brought life experiences that I have never faced before in my life of over sixty years. Before the daylilies were in bloom, I was recuperating from seven weeks of daily radiation treatments. My usual early-summer-garden workday of 10 hours-plus was reduced to 2 hours in early May and 4 hours in mid-May, but eventually I was up to 8 hours of garden work a day. I did have to stop and rest several times, but I did work 8 hours a day.
When the daylilies started to bloom, I realized that their presence lifted a great weight off my shoulders. The weight was depression. I had been growing a few daylilies for the last three years, but this feeling was quite an epiphany. Would I feel this good in winter if I grew daylilies indoors in winter? I was most willing to try. But how would I do it?
Last summer several respected ATP members stated that newly arrived daylilies should not be planted in their permanent place, but rather, should be potted for overwintering. Of course, I thought, they are in warmer climates, and I am in Northeast Indiana, zone 5b. Potted plants often die due to freezing, thawing, heaving, and standing water in the frozen pot. Even those newly planted in the ground might not survive our winters the first year. Most need time to acclimate, and late arrivals just do not have enough time.
The latter, of course, concerns me and every gardener in my area. The concern level rises to panic if the plants are costly. For many years, I did not take delivery after mid-August. On several occasions, a fellow gardener and daylily hybridizer nearby would tell me that she lost a $200 daylily over the winter. In the summer of 2013 the cost for new daylily purchases was over $2,000. Furthermore, I could not stop buying. Bill Maryott kept offering special deals through the end of September, and I kept buying.
The idea that newly arrived plants should be potted seemed very rational, and I started planning how I could use others' ideas to save more of my newly purchased plants. Although it would be a lot of work, I could pot all those arriving August through September and put them in a cool greenhouse in mid-November, where the coldest temperature would be about 40°.
I read extensively about mixing a well-balanced potting mix for this purpose and started potting all newly arrived daylilies after early August 2013. I was very concerned about the insect infestation that might occur when bringing outdoor plants indoors. I also needed to make sure the plants had access to fertilizer. These plants would be indoors for five or six months, and I would have time to water.
Potting mix for daylilies grown indoors:
1. Homemade compost, leaves gathered last fall, spread no higher than 30 inches
2. Alfalfa cubes, soaked overnight, 5 gal bucket, 75% water
3. Epsom salt
4. Insecticide granules, Bayer Advanced Tree and Shrub insect control, dual action
5. Slow release fertilizer, cheap at the end of the season
6. Pre-emergent herbicide, never cheap
7. Fungicide, Daconil
Pots need to accommodate the roots of the plant. I used 1 gallon pots for most single fans because I divided the double fans. Of course, larger fans or double fans needed 2 or 3 gallon pots. I have never had t buy black plastic pots because most people are generous. When friends and new acquaintances learn that I use over 300 pots every summer, they give me large trash bags full of pots. If I am not home, they leave the bags near my back door.
The potting assembly line was most uniform: Henry Ford would have approved. My assembly line was located under a very large hard maple tree because the plants and I needed to work in the shade. There was plenty of space to keep the pots there for a week to help them acclimate, and later I placed them in full sun.
I watered the pots heavily every day, and twice a day if the temperature was very hot and there wasn't any rain for days. That means that in August and September, I watered twice a day.
Single fans were appropriately labeled. These were newly arrived, so they were already trimmed, and they had been soaking in water. If you dig for this project, of course, you need to trim back.
Empty pots were stacked at the foot of a long table.
A tub of compost was placed at one end of the table.
I added alfalfa mixture to the compost: 1/3 alfalfa mixture, mixed well to blend.
All other ingredients were kept in their original containers, placed near the compost mixture. Because small amounts were needed, and each pot must have these, I added them individually in the pots, according to manufacture's instructions, as I was potting each. There was a lot of TLC.
Working with one plant at a time, I put the compost mixture in the pot, added the other ingredients, and mixed them. I placed the plant in the pot and added more compost to finish potting. The pot was placed on the table. I verified that the pot had a label.
When all had been potted, I watered well and left the pots on the table long enough to take a rest. Later, I placed the pots under the tree for their acclimation process.
I worked in the same manner every time I had plants to pot. About one week later, these pots were placed in full sun and were watered heavily daily, or twice a day if there had not been any rain for several days.
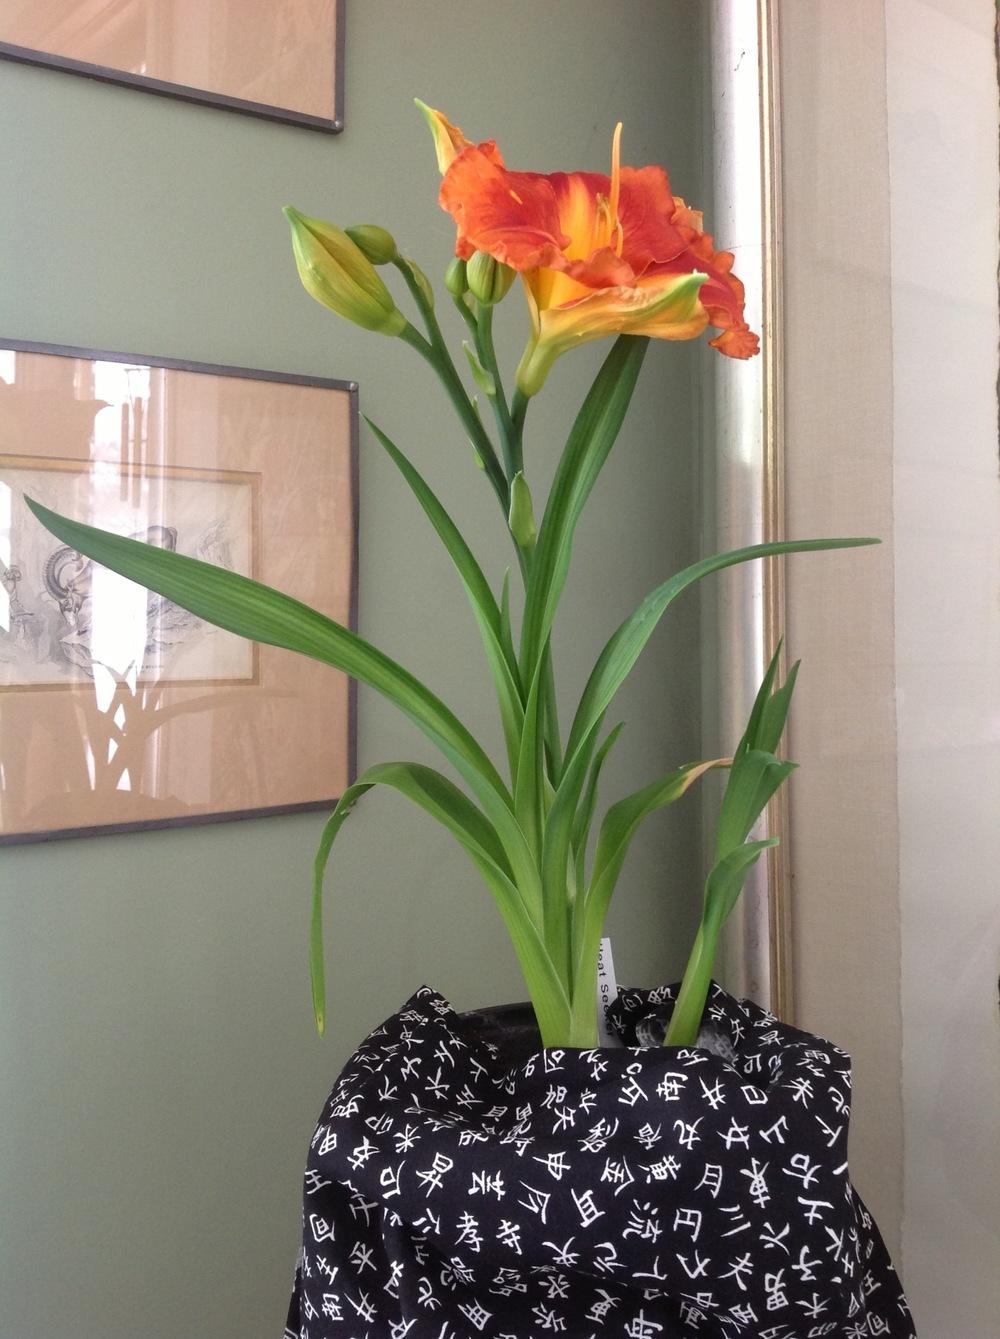
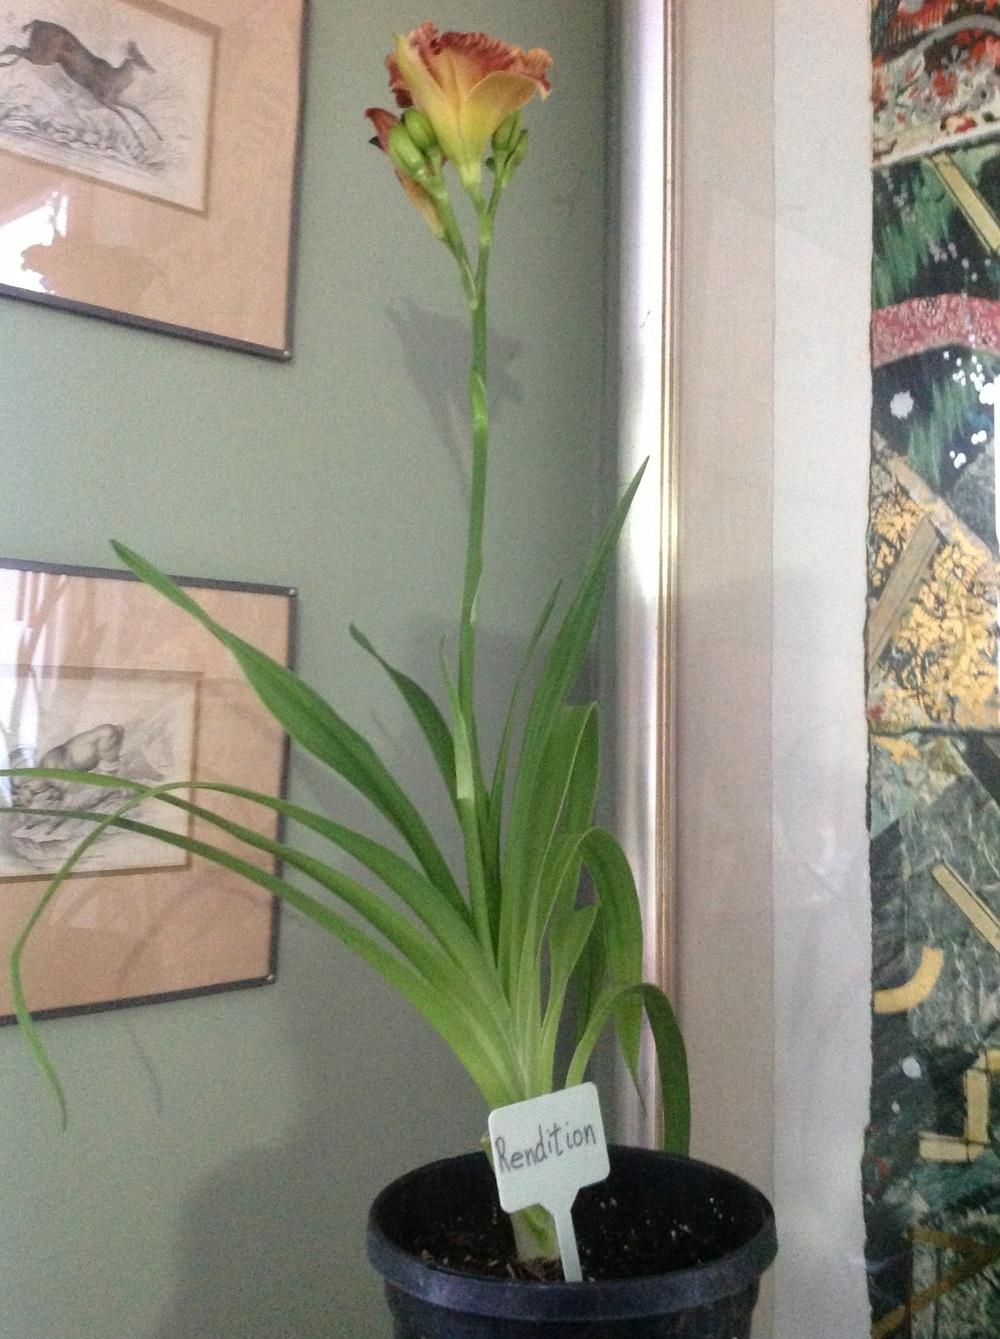
I selected the plants to bring into the house in late October. A few plants bloomed that fall, and those, of course, were not used for this project. I also did not select any dormants. It was difficult to select fewer than 20 because I had over 100 different cultivars potted. I selected 12.
The selected pots were marked with a second label, indicating that they are to be watched and documented for two years to observe whether these will bloom along with the others during the summer. That will be valuable information. Furthermore, these will be brought back indoors in late October this year to observe whether the cycle will continue.
I placed the pots on a long tall table in front of a west-facing window. At no time was there any additional lighting. Each pot was placed in its own large plate. The pots were watered every day, and one day I put them in the tub and gave them a shower.
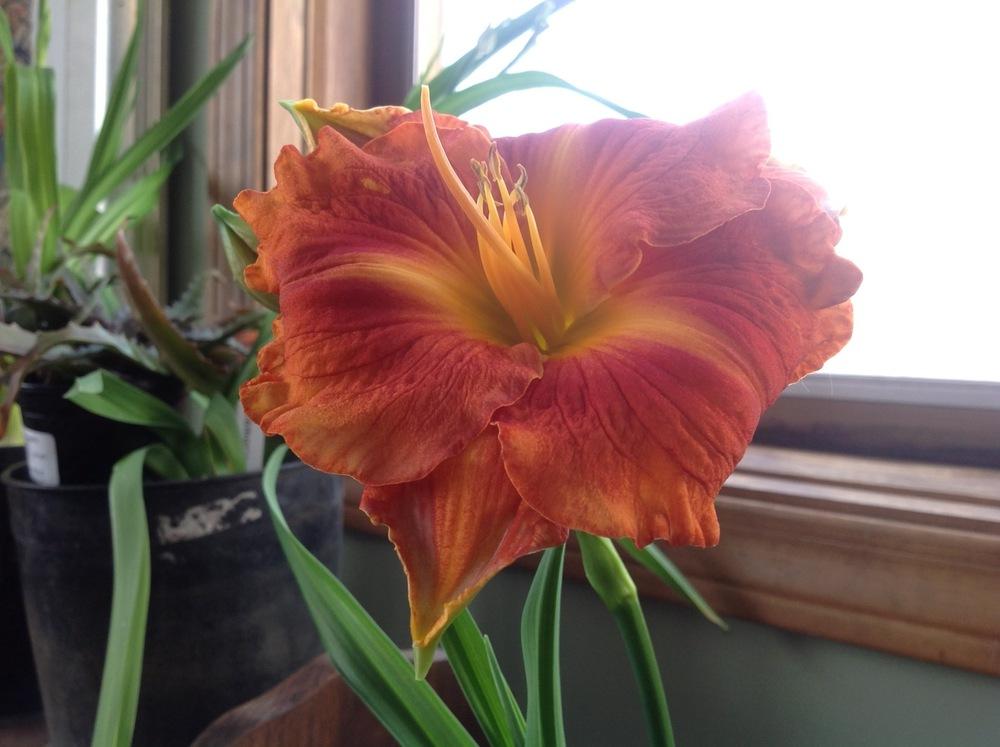
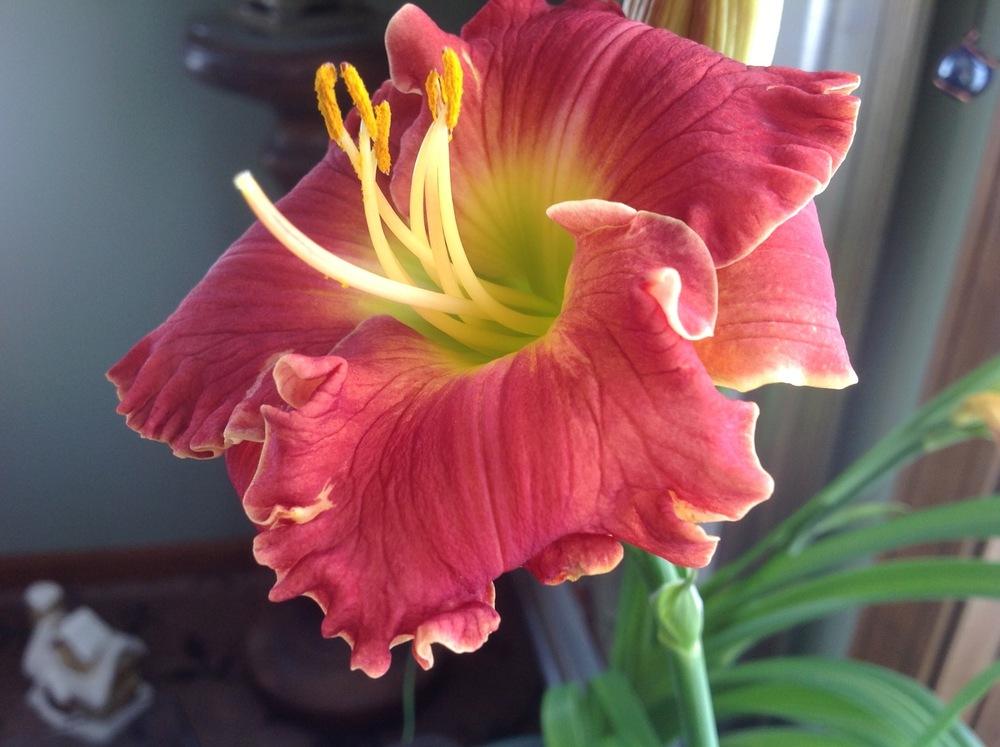
The first scapes started to show in mid-December, and I started moving the pots to the living room with a southern window as each scaped. As each started to bloom, I was excited and amazed that daylilies were blooming indoors in the middle of winter in my zone 5 area. I photographed them and shared the photos with a lot of people who were also amazed. Many shared my happiness.
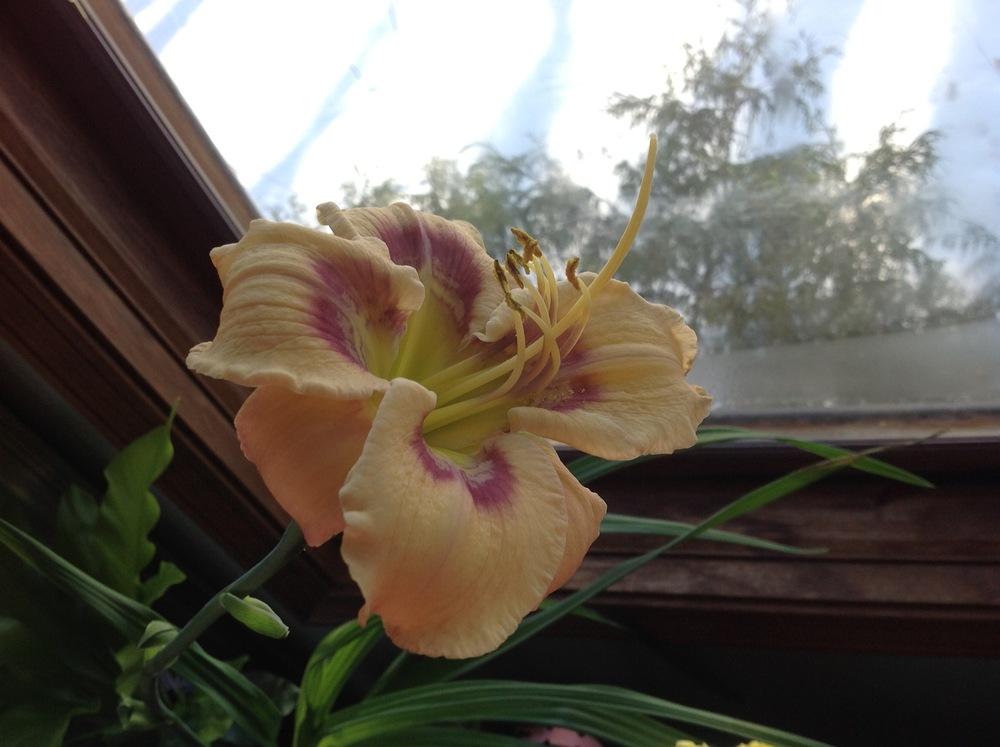
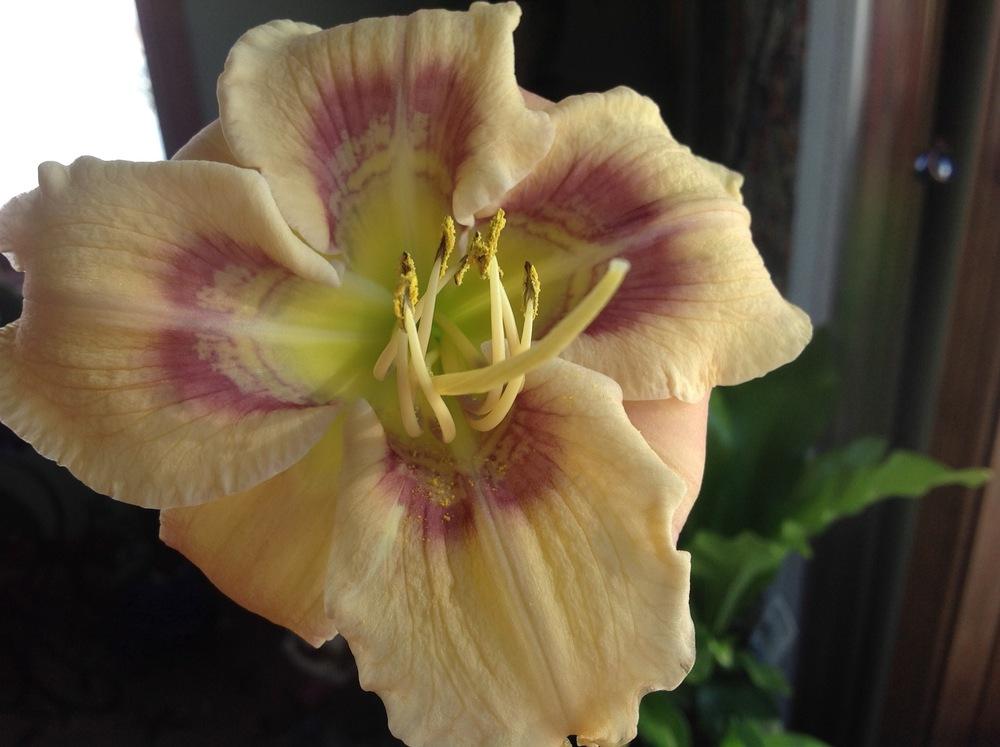
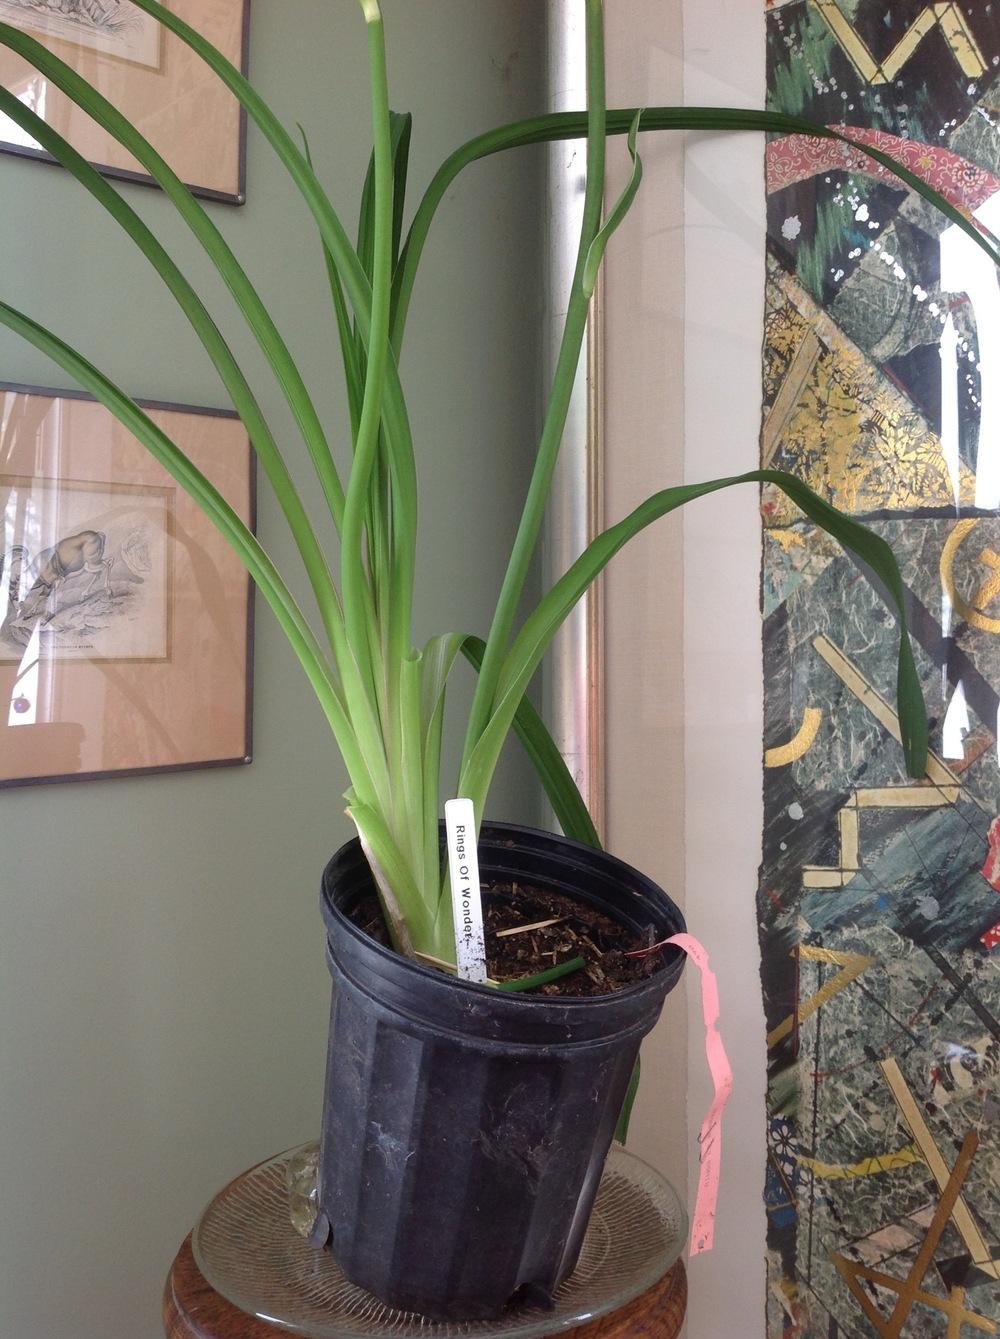 As each plant ended the blooming period, I returned the pot to the western window table. They were watered as before, and I did not expect what I discovered one very cloudy, dark, depressing day.
Rings Of Wonder had a second scape from one fan! This was more than I had ever expected to happen! I can't wait to see what this plant does this summer.
Today, as I finish this article, it is March 25th, and there are only two buds left to bloom. This makes me sad.
I hope you have enjoyed my adventures with blooming daylilies in my living room during one of the worst winters we have had.
| Thread Title | Last Reply | Replies |
|---|---|---|
| green pepper perennials in my living room by kater | May 30, 2014 8:14 PM | 0 |
| Amazing!!! by mistyfog | Apr 11, 2014 3:59 AM | 3 |
| Opened Our Eyes... by chalyse | Apr 10, 2014 9:15 AM | 1 |


