How to paint a whimsical rock turtle in 10 easy steps.
 “Behold the turtle. He makes progress only when he sticks his neck out!”
(1).
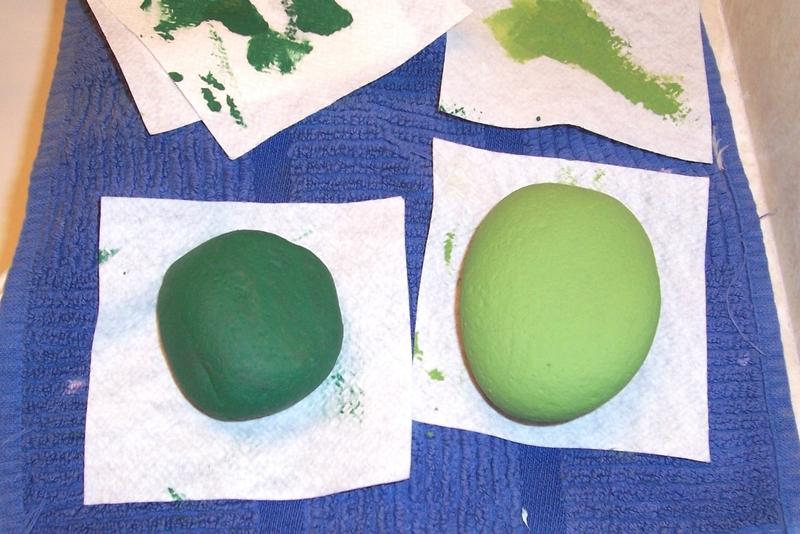
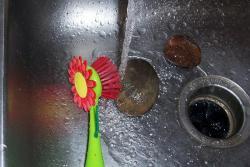
Step one is to scrub your rock really well. Paint will not stick to a dirty rock!
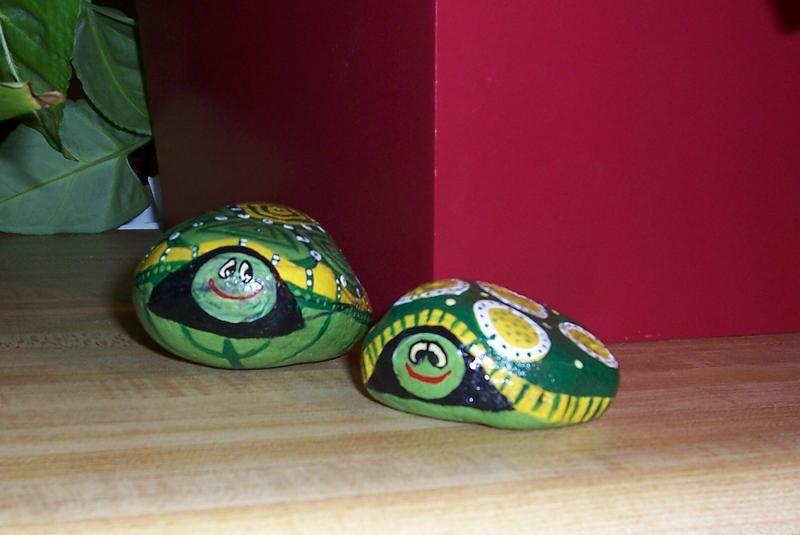
I am painting a small turtle but this works great for any size rock. Bumpy rocks don't work as well unless you want to paint a horny toad.

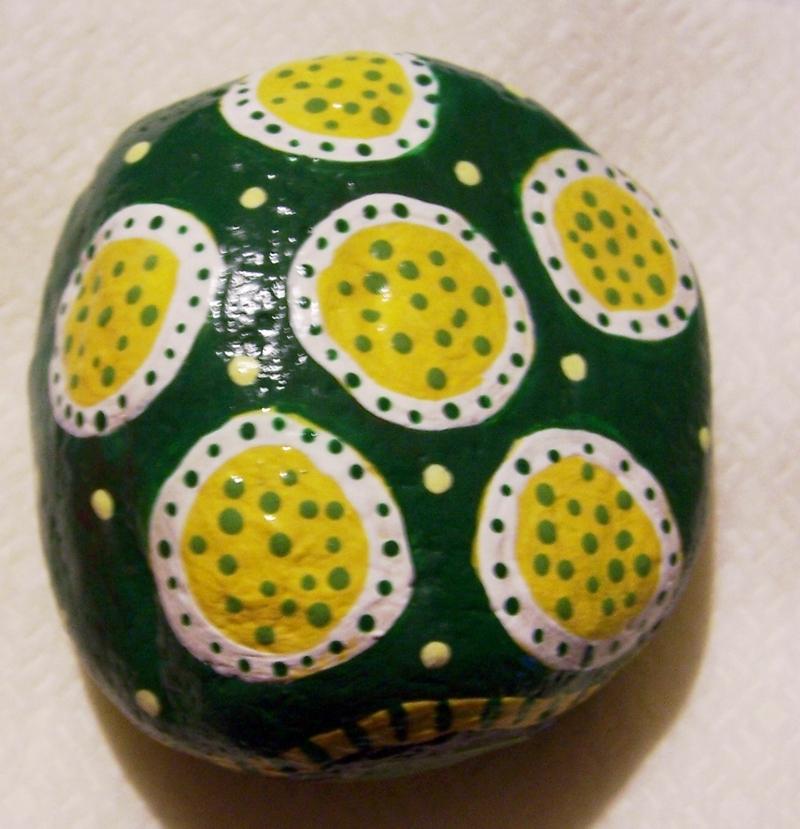
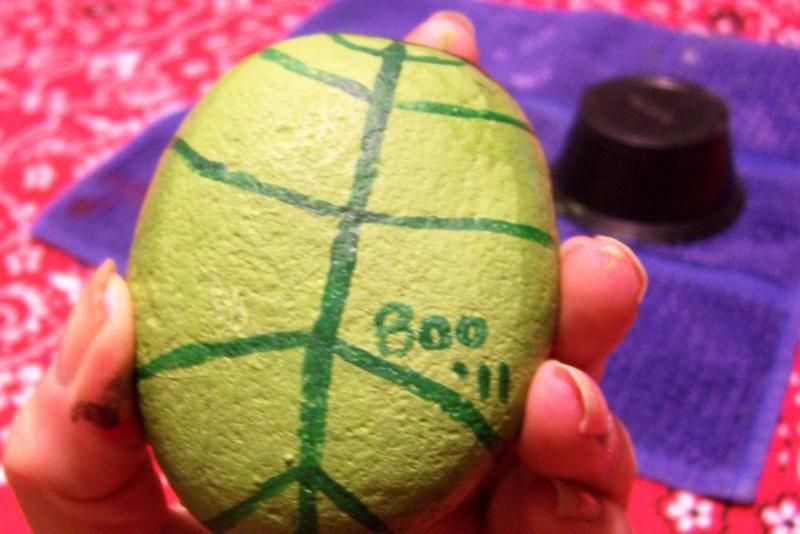
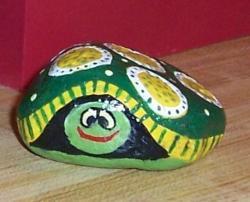
These turtle rocks are a fun surprise in your garden ... tucking them in places they'll be noticed but not just out in the open ... very fun! You can have a solitary turtle, a family, whatever. Once I painted eggs to go with one I gave as a gift.
(2).
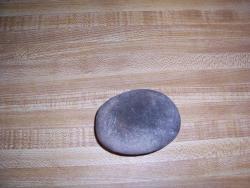
Step two is to dry your rocks ... they absorb water... thirsty, you see.

(3).
Step three is let the rock air dry. You can place outdoors if you're in a hurry, but remember, I'm sleeping still and won't be back right away.
(4).
Step four is to get your supplies ready.
Something to cover the work space like plastic or an old towel
pencil or sharpie
Craft paint (any paint works!)
Brushes
Paper towel or a rag for wiping paint off your brush
Container of water
paper plate or palette to hold paint on
Clear Spray Sealer
Camera
Have fun!