One of the girls asked for the skull tute, so here we go :::::::
!. Condition your clay, work it up soft and pliable. After that is done Roll it out
about 1/4'' thick.

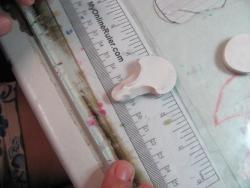
I have an oval cutter I cut out two circles
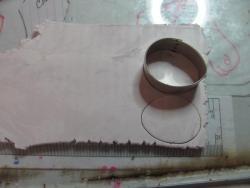
2. Have hubby taking pic now. Seperate the ovals and lay extra clay aside.
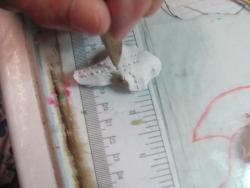
Now the fun stuff, really working the clay to do what you want...
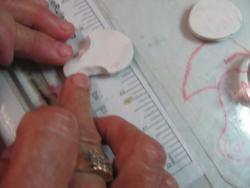
I have a glass laying on my table, nothing fancy, just a glass. It helps me to move the clay to create the jaws.
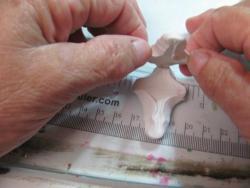
You will have two. One for top and one for bottom. You also have to make indentations for the place for the horns.

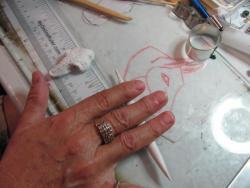
You will have two pieces that look like this.

This shows how to create top of head.
3.
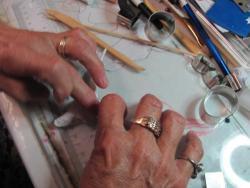
This shows you how to set the top skull onto the bottom.
I start at the top and gently smoosh it down -NOT Hard, we still have to fasten the jaws and create eye sockets..
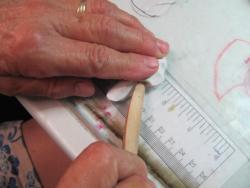
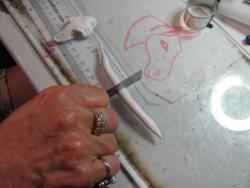
I use a little tool I have but a toothpick or stick will enlarge the sockets, go easy you don't want to tear the clay.
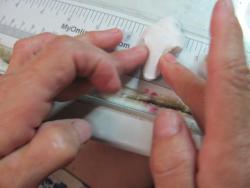


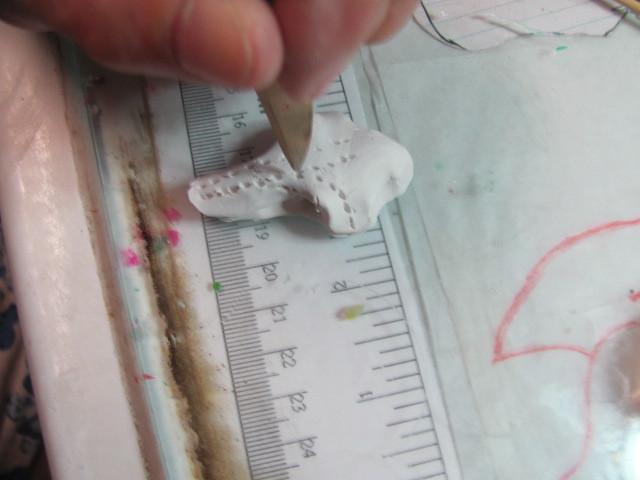
We got it looking more like a skull now. Take a pointy tool or toothpick and very gently poke little holes like I have done, a double row down the middle.
4.
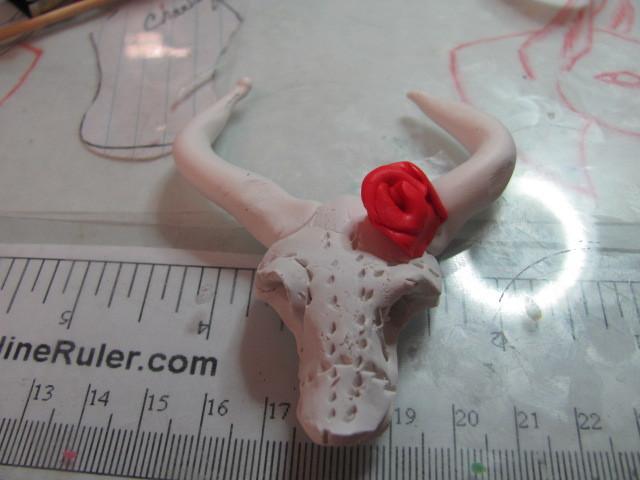
with the toothpick punck little holes around the eyeball like you did the center of the skull. You can play around and get it shaped just right.
5.
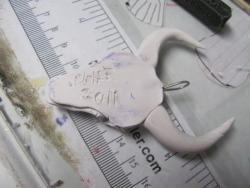
We are making horns for that rascal!!!! roll out a ball about the size of a nickle and if you are happy with the shape
Cut it in half and put it to the head.

If you want you can add decorations and take it to oven and Bake it. I baked mine @ 275 for 30 minutes. do 15 min for each 1/4 inch thickness.
This one is for Cheryl. Now it's your turn.....I hope you enjoyed it and as always any questions?????Just let me know.

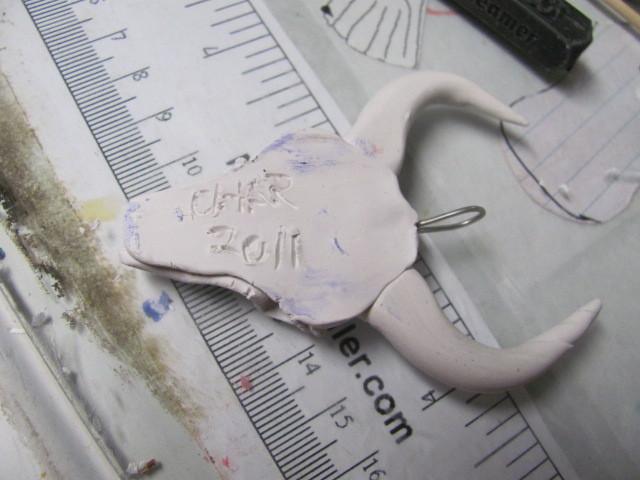
Now I forgot to show you to sign and date your piece. I try to remember to sign it on the back with the year. also Need to tell you I usually put a wire loop on the back so you can hang it as an ornament or as a necklace. Went back and did another one to show....Love these things...


 I have an oval cutter I cut out two circles

 You will have two. One for top and one for bottom. You also have to make indentations for the place for the horns.
  You will have two pieces that look like this.
 This shows how to create top of head.
 This shows you how to set the top skull onto the bottom.
 I use a little tool I have but a toothpick or stick will enlarge the sockets, go easy you don't want to tear the clay.


 with the toothpick punck little holes around the eyeball like you did the center of the skull. You can play around and get it shaped just right.
  We are making horns for that rascal!!!! roll out a ball about the size of a nickle and if you are happy with the shape
  Cut it in half and put it to the head.
 If you want you can add decorations and take it to oven and Bake it. I baked mine @ 275 for 30 minutes. do 15 min for each 1/4 inch thickness.