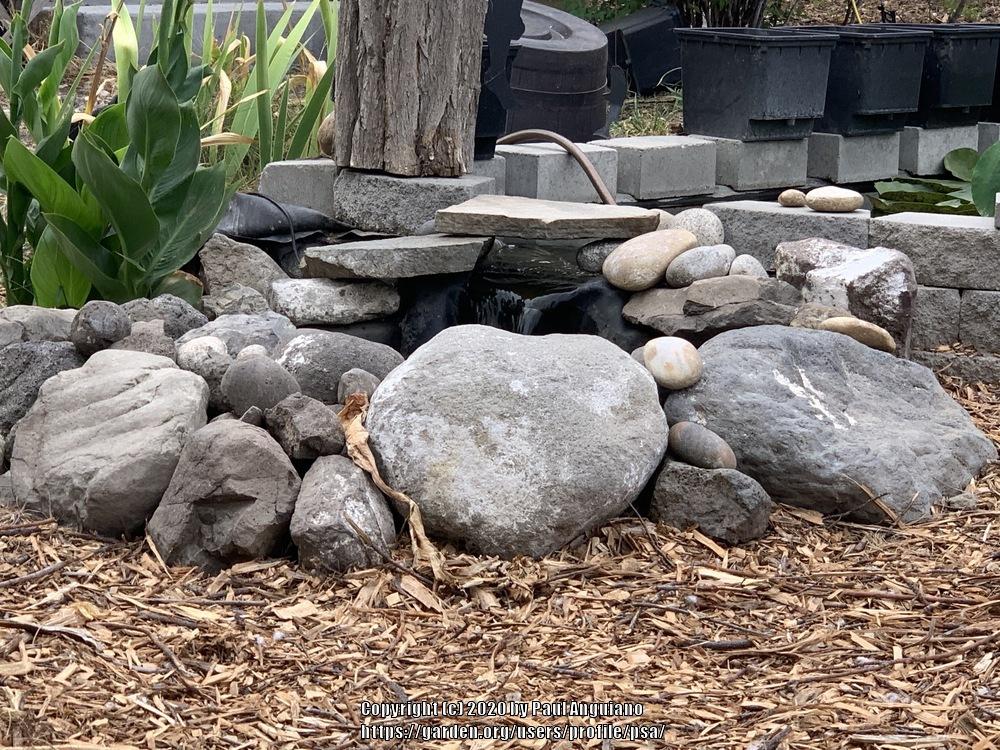
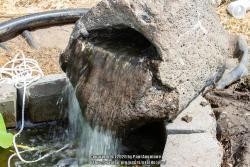
We recently started redoing the inlet and outlet of the pond in the front yard as part of our general overhaul of the entire space (so the background of these pictures is all under construction), and I got to do something I've been planning on for a long time: carve an outlet in a large rock as a fountain/waterfall. Here it is after I ran water through it for the first time:

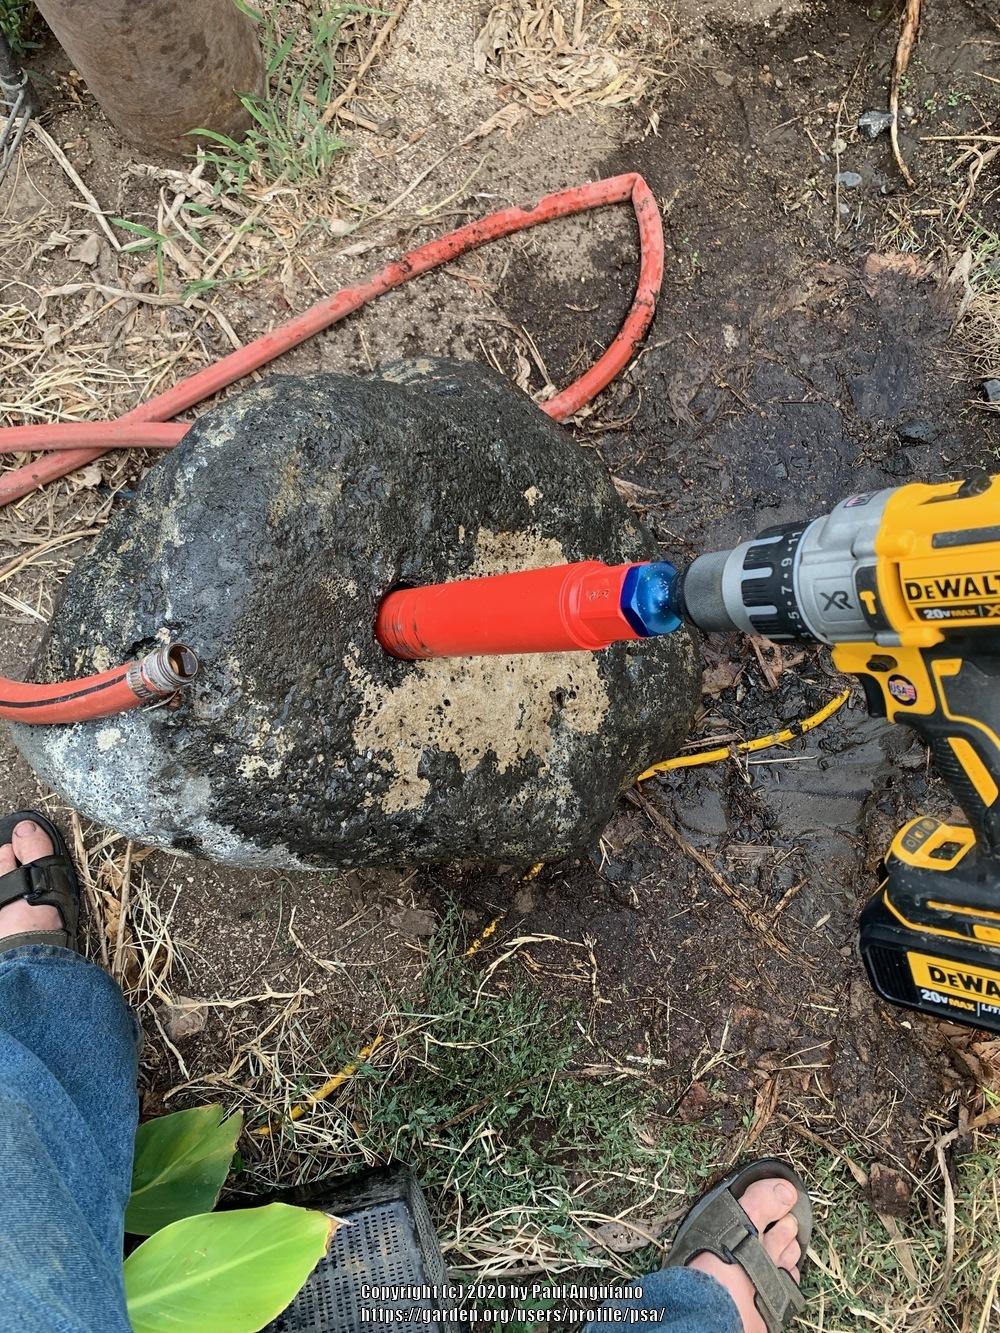
The rock was around 300 lbs and difficult to maneuver. I started by scooping out a section by making slices with a diamond blade on an angle grinder, and then using a chisel to break pieces out. Then I used a 2 1/4" diamond core bit to drill two shafts in the rock–one from the scooped section that would become the spillway and one at an angle from the bottom to meet up with the other.
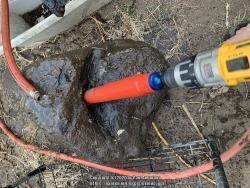
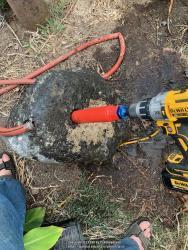
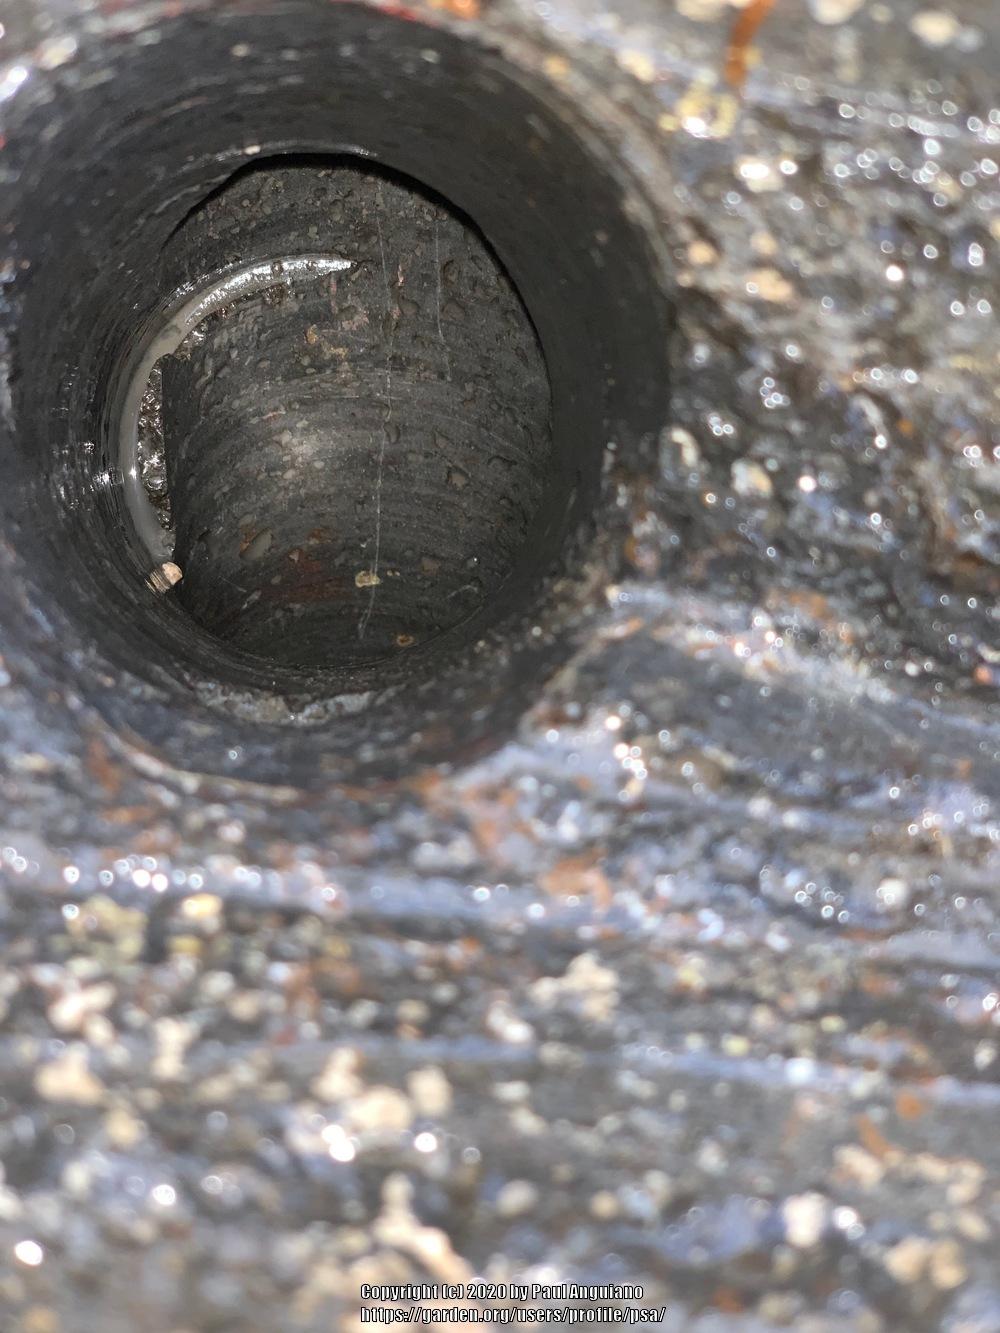
I managed to line the shafts up pretty well on target in the middle of the rock, which I thought was pretty good, with the holes being around 12" long. I managed both cores with about one 3.0Ah 20V battery-worth of charge (half drain on two batteries), but I'm not sure I'd recommend doing this for most people. I was using the top-end deWalt brushless drill and really being careful about angle, pressure, and speed. I'm told a lot of people have burned out a lot of good drills trying to do this, and I'm not sure I would have braved my cordless on it if I hadn't done this before, and if it hadn't been the most-capable standard drill I own. I'd also recommend doing shallow bores until you get a feel for maintaining the cutting slurry in the groove, the shaft straight and spinning smoothly, and the bit and motor cool.

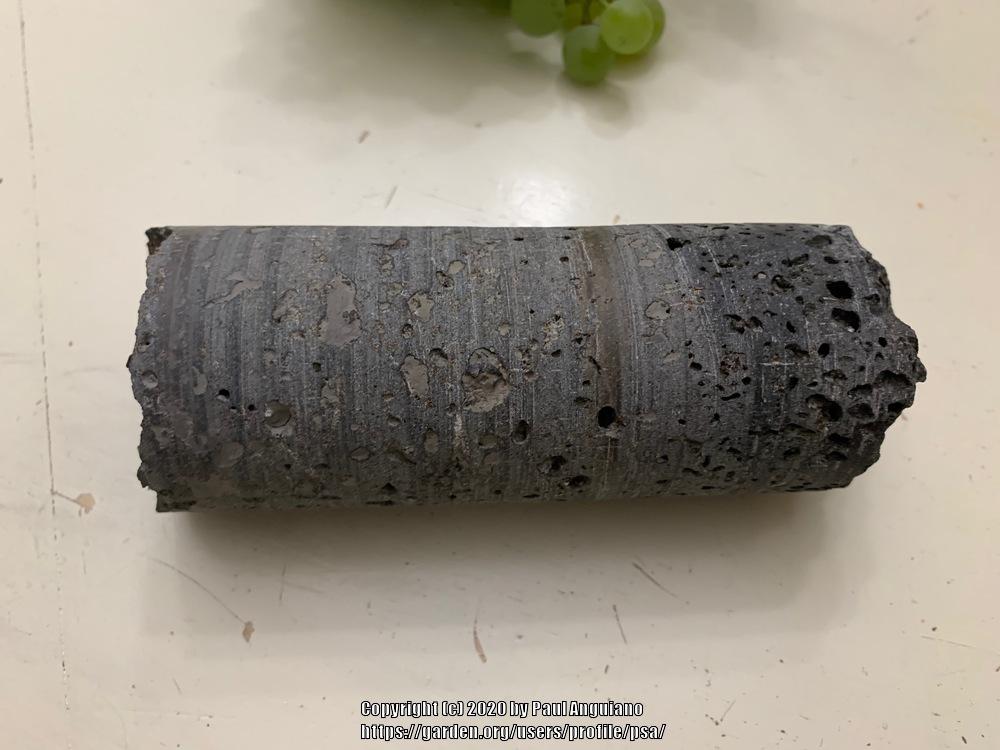
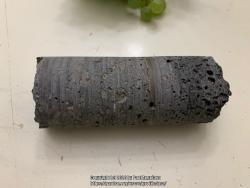
After every few inches of drilling you can put a long, sturdy flat-head screwdriver down the side of the groove of the cut and give the back of the screwdriver a little tap with the hammer. The whole central piece will break off and can be extracted, producing less chance of internal friction on the core bit. Despite all the little holes, this volcanic rock was quite hard, and the cores were very heavy in the hand.
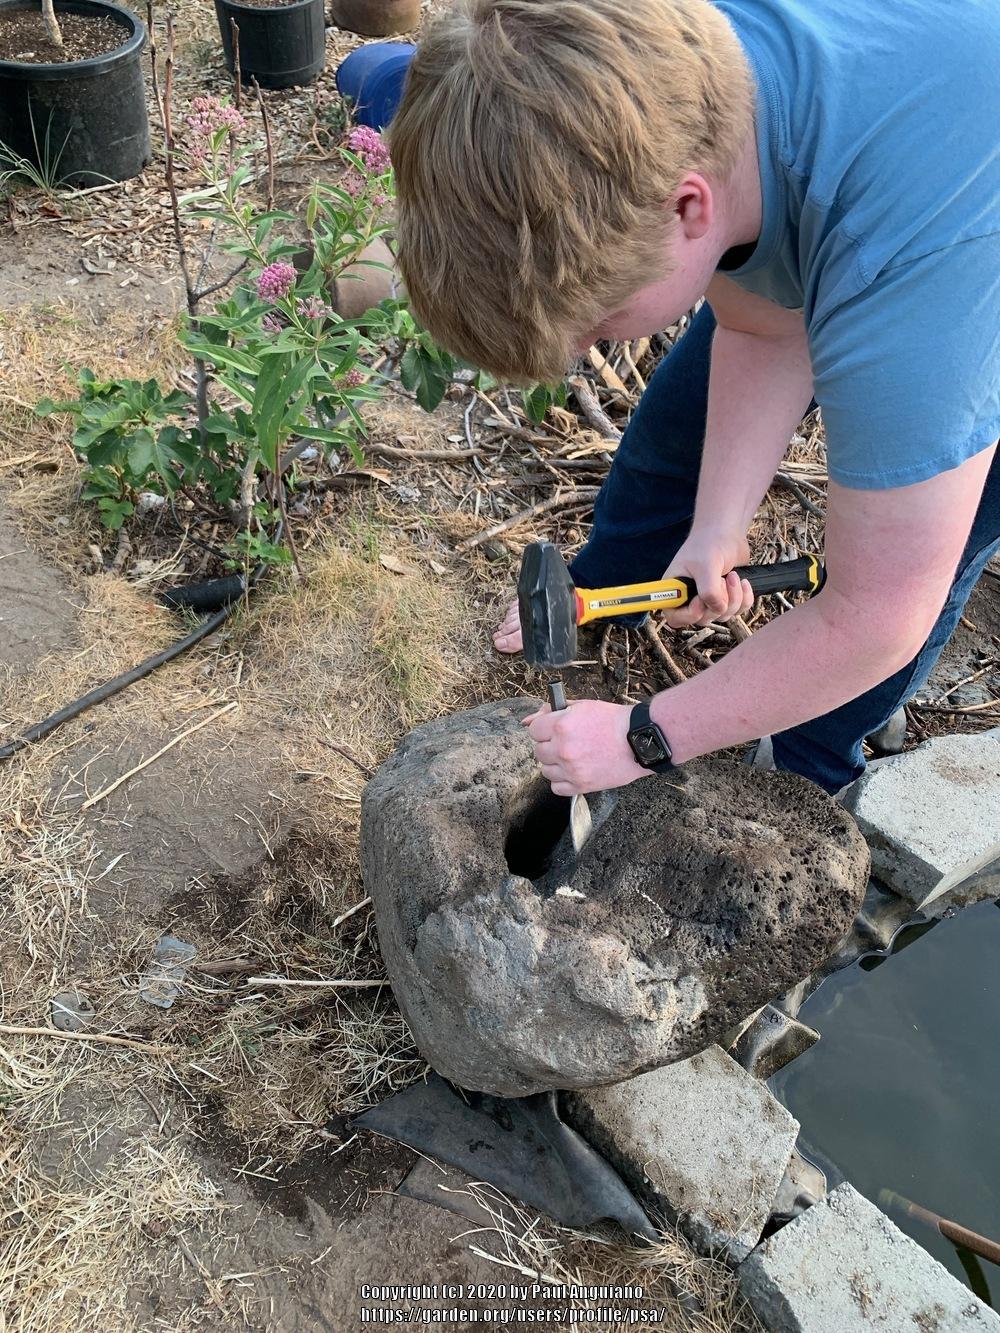
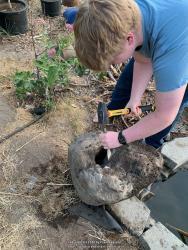
I did a couple angle bores on the top side to spread out the water flow, and then we smoothed and shaped the rest with a facing chisel. I've only applied a chisel to limestone and granite before, and this was a lot like the granite. When you cleave a section off it tends to be crumbly, rather than flaky, but the standard process of seating the chisel, making an incursion, and then fracturing off the face with light taps still seemed effective. Here's my son helping me clean it up and learning how to use a stone chisel. No, he's not wearing the safety goggles we had at hand.

It's a good thing we were learning to let the chisel do the work, rather than the hammer.
The rock was heavy enough that I couldn't attach the plumbing fixtures and then seat the stone without risking dislodging or damaging the connection, so it had to be hooked up in-situ. I still haven't sealed the connection fully, but I have liner under it that returns leaks back to the pond. Originally I was going to seal with silicone, but now I'm not sure I can get all the way around it underneath with anything short of expanding polyurethane. Or, I may just decide the leaking underneath is acceptable as long as the liner can catch it all.
I made one minor adjustment with the chisel after first putting water through it, but really, I'm pretty happy with the way it works, so not anticipating much more shaping.
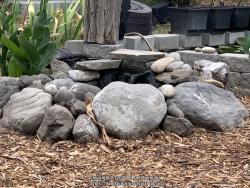
If I were to do it again, I think I might run the spillway shaft all the way through the stone to the back corner. I was initially enamored of the idea of the rock sitting up there all alone on the edge of the bricks, spilling out water, but now I think I may pile rocks around it to give it a more organic feel blending into the formalism of the bricks, similar to what my wife did with the overflow at the other end.
I don't know if this whole explanation would have better been placed elsewhere on the site, but the product sits on and serves the pond, so I put it here.