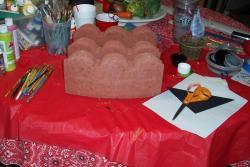
step one
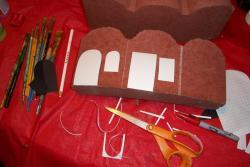
Start off by washing the surface of the bricks and allowing them to dry. Knock off any loose edges with a screw driver. Don't worry about flaws...they don't show once you add paint. Allow to dry.
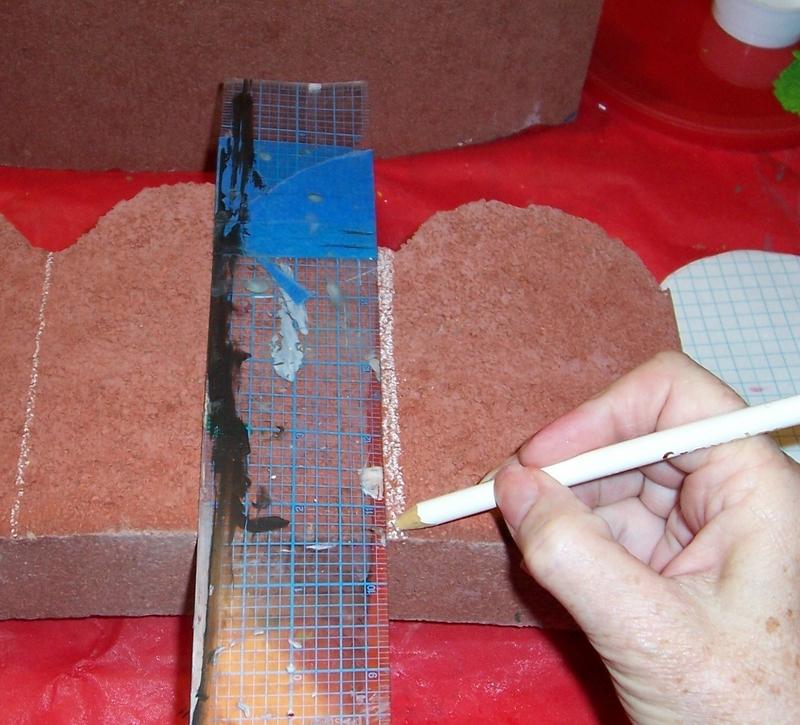
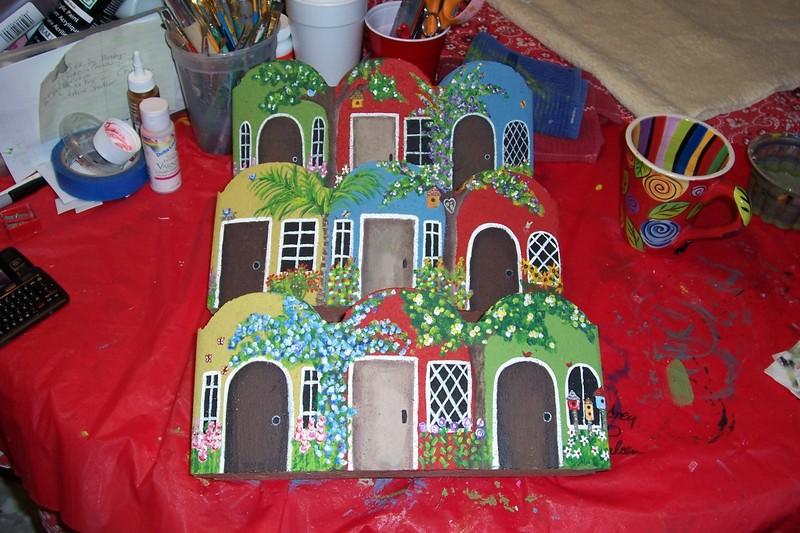
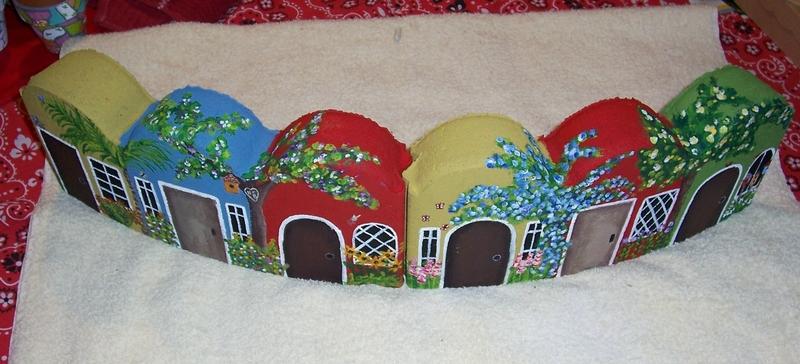
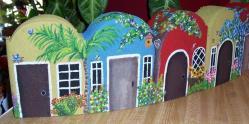
In this photo, I show how they can be a 3-hump or joined to make 6-humps. You can make a large circle out of these.
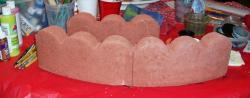
To paint, I placed them in three lines, easier to paint according to the steps.
 step two
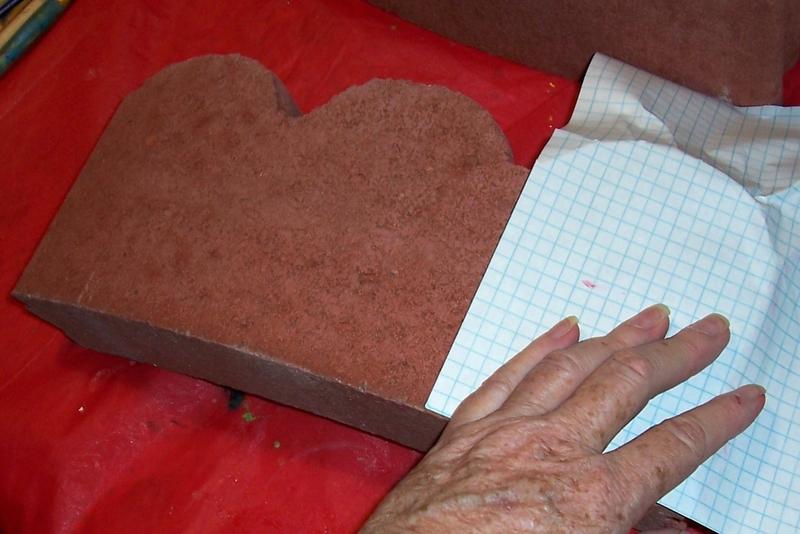
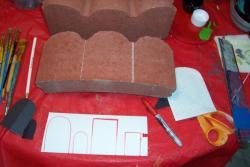
Take a piece of graph of other paper and mold around the hump so you'll have a rough pattern of the house. Cut this shape out.
 step three
Use a white water color pencil to create the lines between the houses.
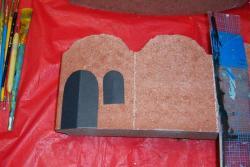
 step four
Use your graph paper to figure out the doors and window you want, and then cut out the shapes in construction paper. I fold the paper in half to make a "perfect shape".
 step five
If you think this is something you'd like to make as gifts or for sale, I suggest making a permanent pattern that won't fray. I use the slats from old vertical blinds for patterns on a lot of my painting projects.
 step six
Take your construction paper pattern and transfer it to the plastic and cut out your new pattern. Fit to your house and trim if it's too large.
 step seven
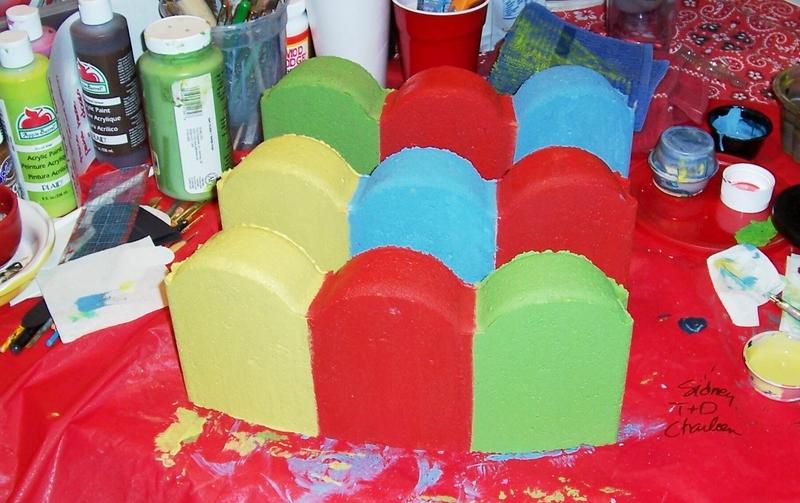
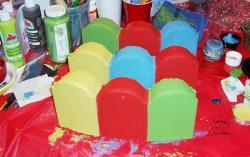
Paint your houses! make sure you paint the sides and tops. The colors I painted are apple red, a mustard yellow and a Wedgwood blue. The blue in these photos looks fun but it's not the color I used. Blue is a funky color to capture in a photograph sometimes. (note*** if you are joining them together, play around with how you want the colors to line up.)
 step eight
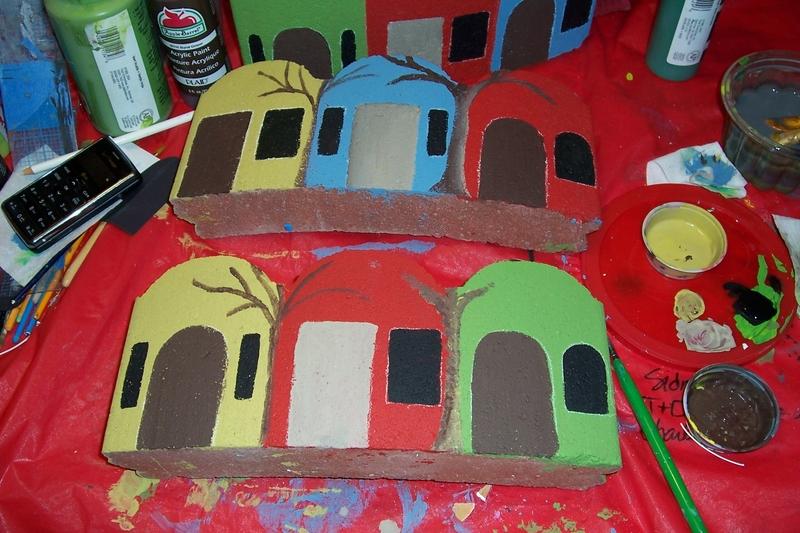
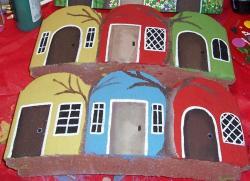
Once the house paint is dry, trace your doors and windows on with the white pencil.
and paint them. I always paint the windows black and the doors vary in browns and tans unless I'm doing beach cottages.
 step nine
Paint in the basic tree shapes or vine shapes. Also, you can shade the edges of the doors for more depth and interest. Use a watered down black for the darker doors and a brown for the tan doors. (note***Do you see how the front brick has plain doors but the back one has shading?)
 step ten
Paint the trim around the doors and windows white. (note***for beach cottages, paint the trim fun colors!)
 step eleven
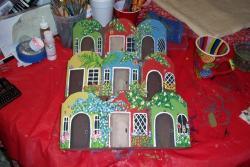
NOW the fun really begins because you get to create a beautiful garden in front of each house! For this it's fun to just play and be creative. If you don't like it, repaint that part! I use old brushes and do a lot of dabbing for flowers, double dipping in white and whatever color I want.
 step twelve
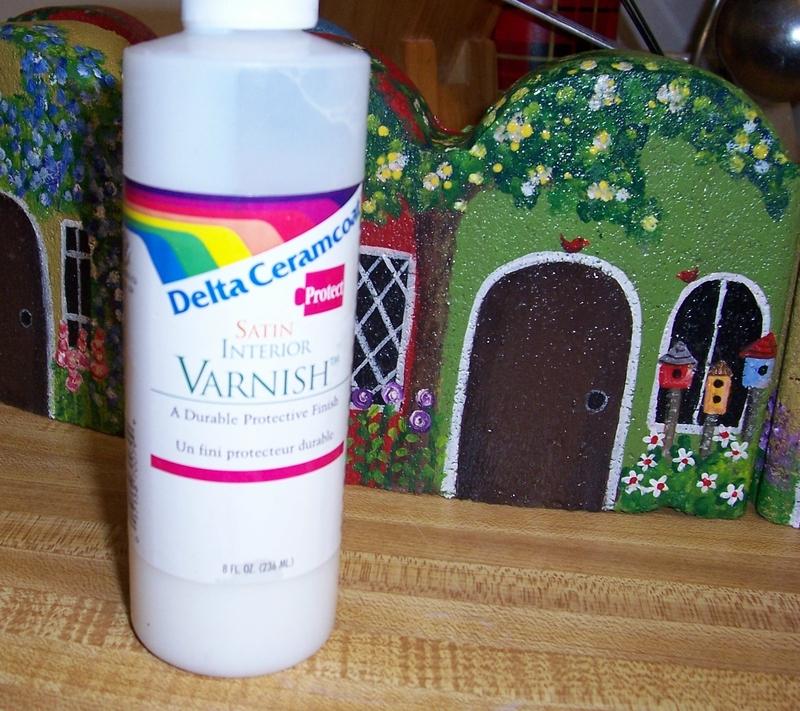
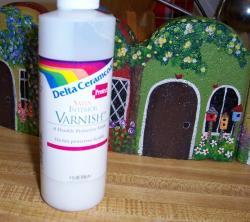
Varnish your houses when the paint has set, at least two hours. If your houses will be outdoors, like this one I painted for a friend, (
The thread "Painted Bricks, Tree-rings and Cement" in
Garden Art forum ) seal at least 2 times with Krylon Spray Paint or Wet Seal by Behr.
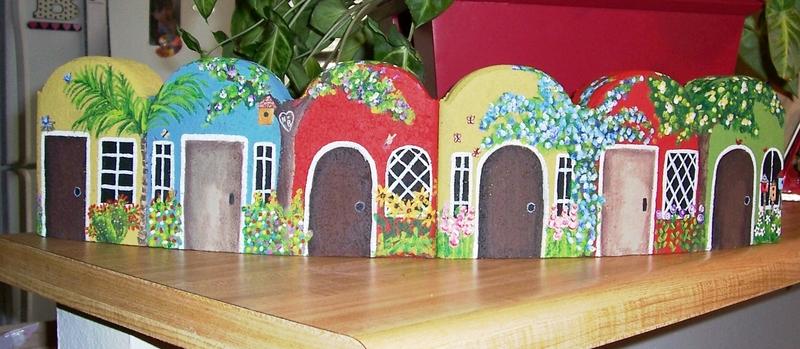
Here are a few more photos of the finished houses.

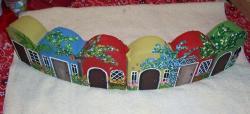
These were painted for a client who ordered two 3-humps and for a donation for a raffle. The one for the client has sunflowers which are her favorite. Plus I "carved" initials in the tree N + B and added a hummingbird, also her favorite.