Finally bread ♨ after some adjustments to the stove … more commentary to follow after a nap ☺

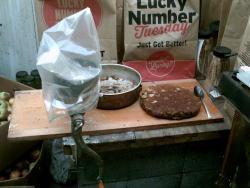
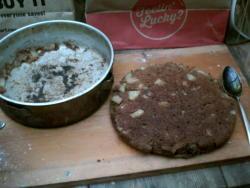
Here's a scan of the finished product. The bread turned out perfect - no hard crust, moist and delicious. I used baking soda as a leavening, otherwise it would have been flat and dense. As it turned out, it was somewhat crumbly and easily broken apart - the tiny holes are from gas bubbles created during baking from the baking soda.
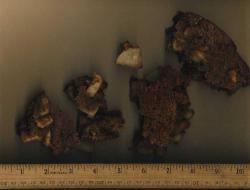
The apple chunks were perfectly soft and thoroughly cooked. The entire piece of bread (or cake) came out all at once when the pan was turned upside down and rapped on the board a couple of times. Just a little stuck to the inside edge of the pan in a couple of spots.
I have never used spelt flour before, and the first thing I noticed when the bread was done, was how dark brown colored it was. The batter was like regular whole wheat flour, so it became that nice rich color during baking.
The second thing I noticed was the taste - different than regular whole wheat. A richer taste - and beyond that, you'll have to try it yourself.
I used Bob's Red Mill " Organic Whole Grain SPELT " and it is labeled " INGREDIENT: Organic Whole Grain Spelt (Wheat) "
see Wikipedia > Ancient grains
click on > spelt
redirected to :
> Spelt
" Spelt (Triticum spelta; Triticum dicoccum), also known as dinkel wheat or hulled wheat, is a species of wheat cultivated since approximately 5000 BC."
" Spelt was an important staple in parts of Europe from the Bronze Age to medieval times; it now survives as a relict crop in Central Europe and northern Spain, and has also found a new market as a 'health food'. Spelt is sometimes considered a subspecies of the closely related species common wheat (Triticum aestivum), in which case its botanical name is considered to be Triticum aestivum subsp. spelta. It is a hexaploid wheat, which means it has six sets of chromosomes."
[read more in the main article]
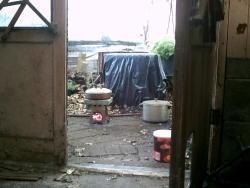
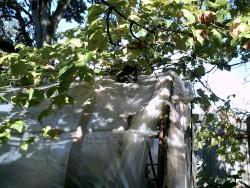
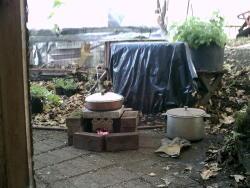
The day was perfect except for a slight breeze at times. Kitty was perched on top of my old poly covered greenhouse watching as I set the stove up for baking.
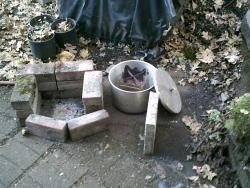
The slight breeze did effect the way that the charcoal burned in my stove. At first I let the stove burn for a while just like this ☟

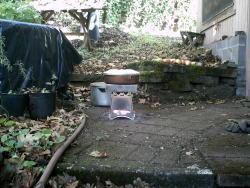
But after a while I realized that the slight breeze and air currents caused the charcoal to burn faster than I wanted it to, and swept away the heat, so it wasn't heating the concrete paver that the baking pan was sitting on as quickly as I thought it should. The concrete paver acts as a "heat buffer" so the direct heat from the charcoal will not scorch the bread, making a hard black crust on the bottom. One whole coffee can of charcoal was burnt up before I made adjustments to the stove.
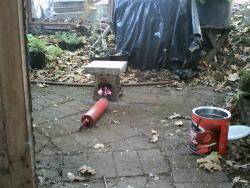
I surrounded the base of the stove with concrete bricks to act as a barrier against drifting air currents, and to concentrate the heat upward. Very soon I felt the cover of the baking pan and it was now piping hot, so I knew that this increased the efficiency tremendously. This was my 2nd can of charcoal and about an hour into the baking process by now.
From time to time I lifted the lid of the baking pan to check for "done-ness" (the quality of being done). I touched the center portion of the mixture, and if wet : not done. Finally, after about another hour the center portion of the bread was firm, and the baking complete.
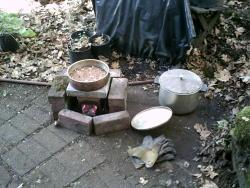
Wearing thick leather gloves, I placed the stove, still containing live coals, into an aluminum pan and placed the cover over it to extinguish the coals and keep everything safe.