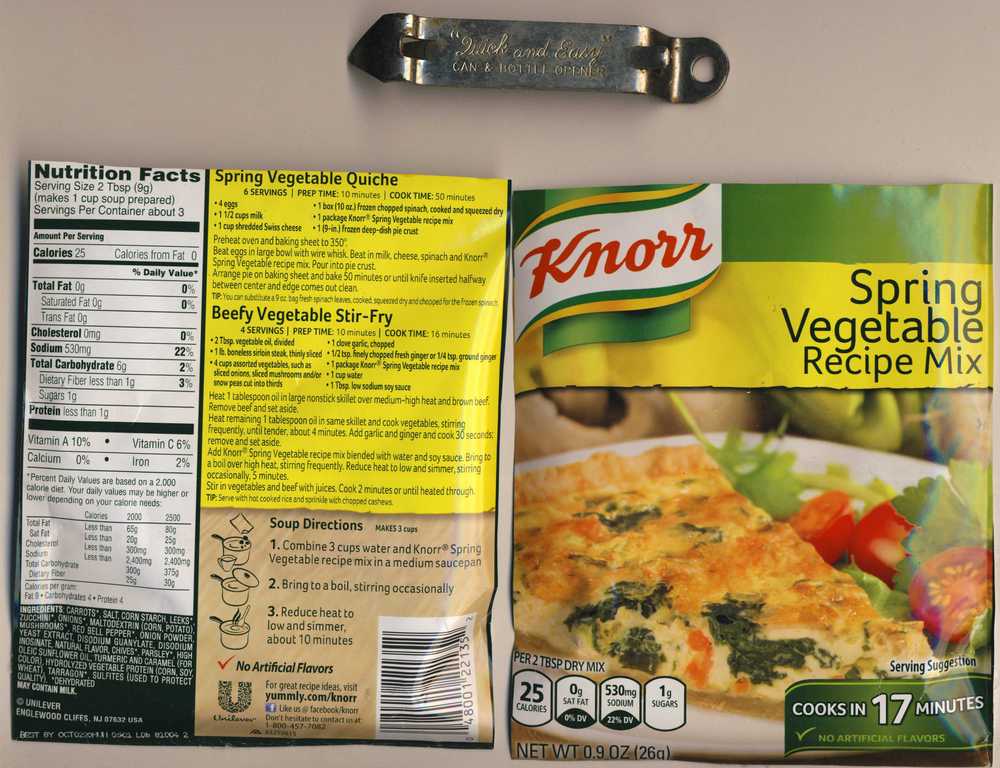
Here's how to make and emergency cook stove with a metal coffee can and an old fashioned "Quick and Easy" can & bottle opener.
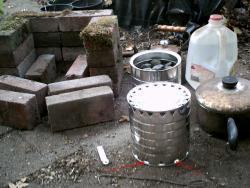
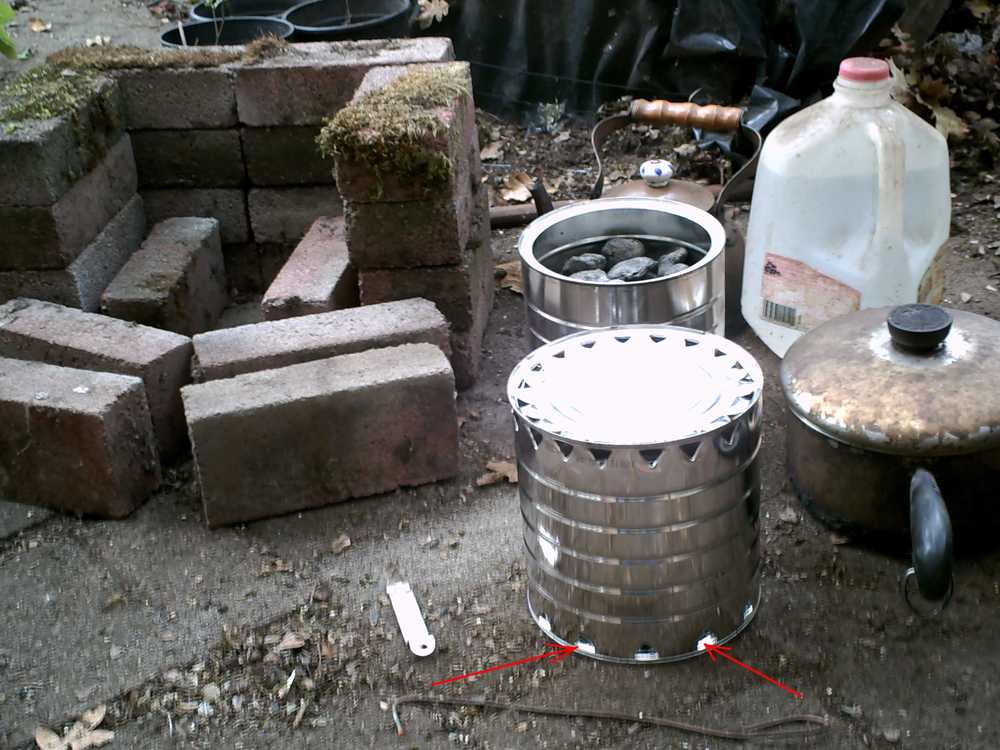
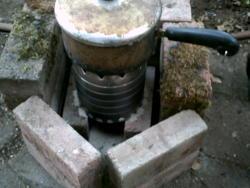
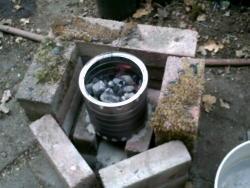
Use the punch end of the can opener to punch a series of holes as shown. That includes along what will become the top edge (shown by arrows) when can is turned right side up. The holes along the bottom edge, and the bottom plate give ventilation and allows the ash from the briquettes or charcoal to fall through.

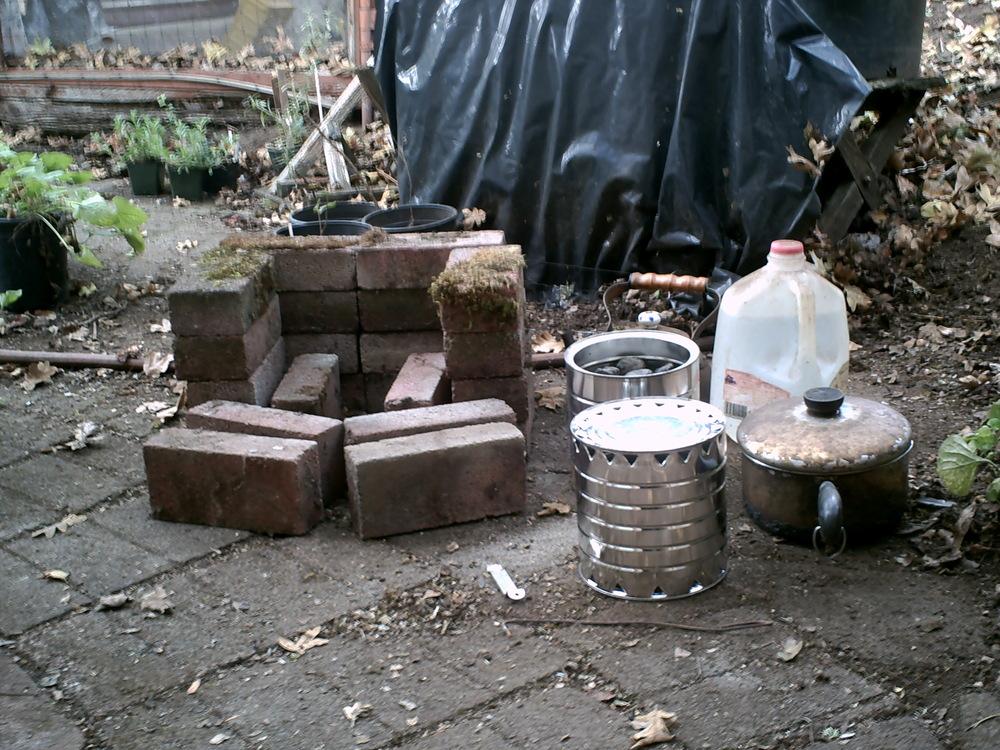
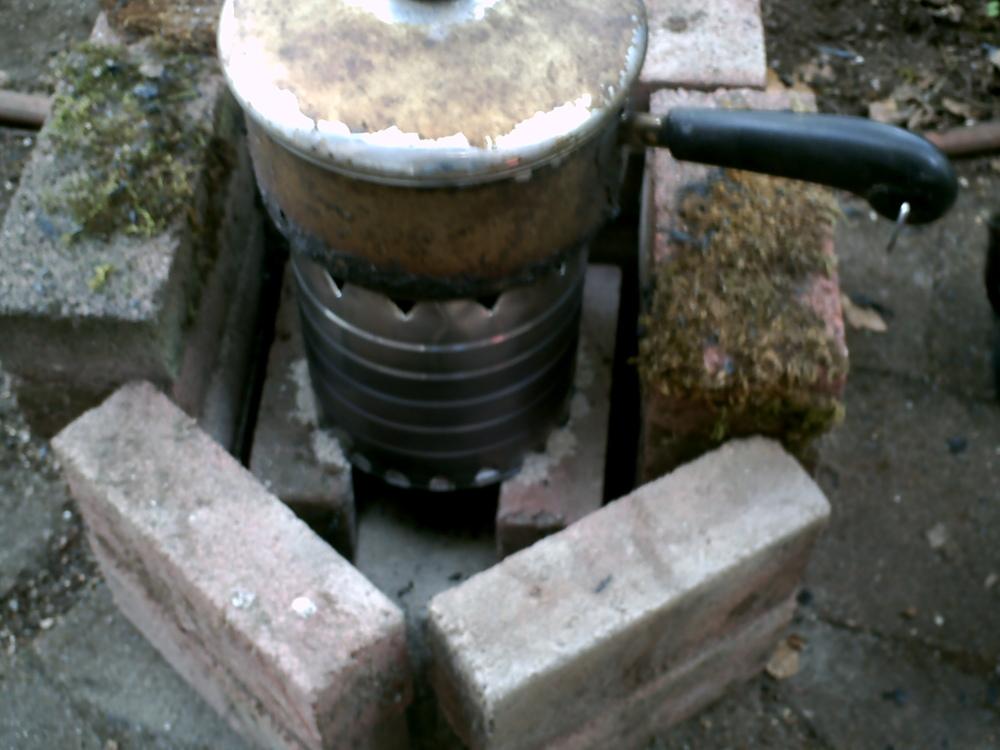
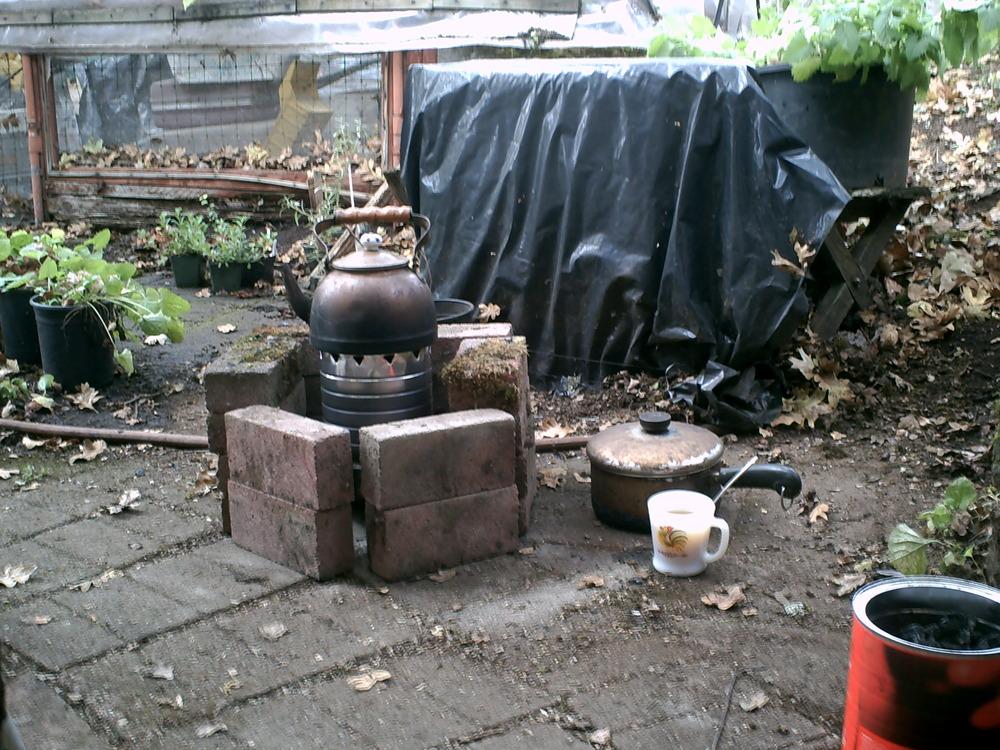
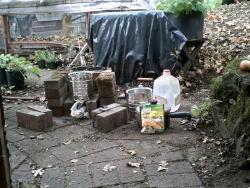
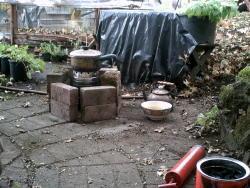
An enclosure is made from brick size concrete blocks, which will cut the draft from wind and concentrate the heat upward. The two bricks inside the enclosure is what the stove will rest on.
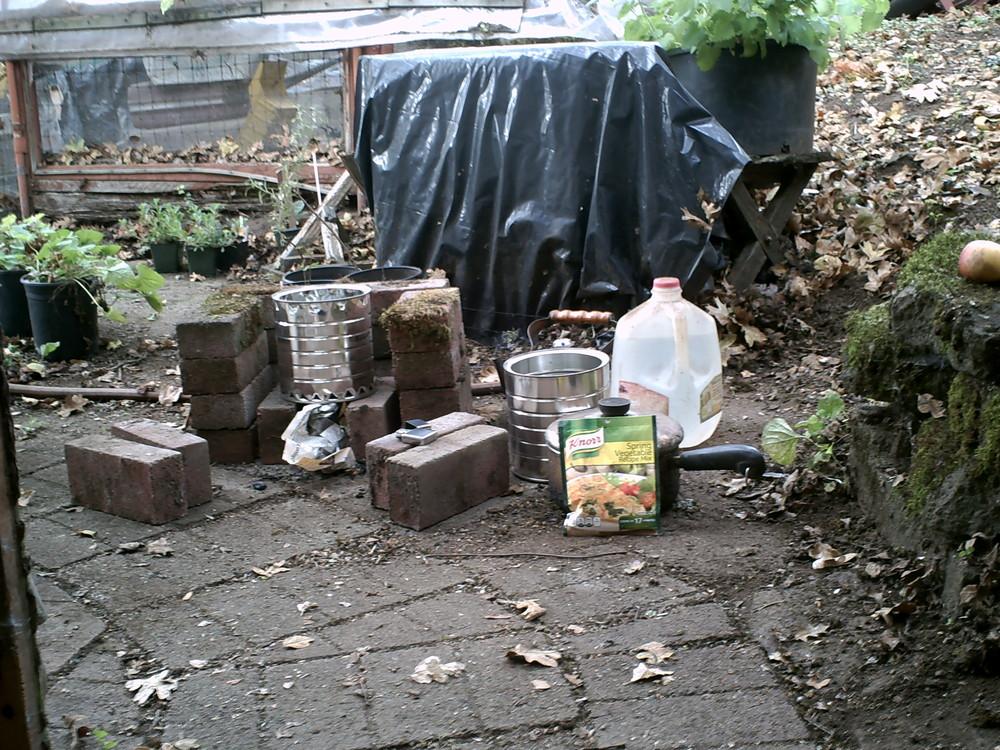
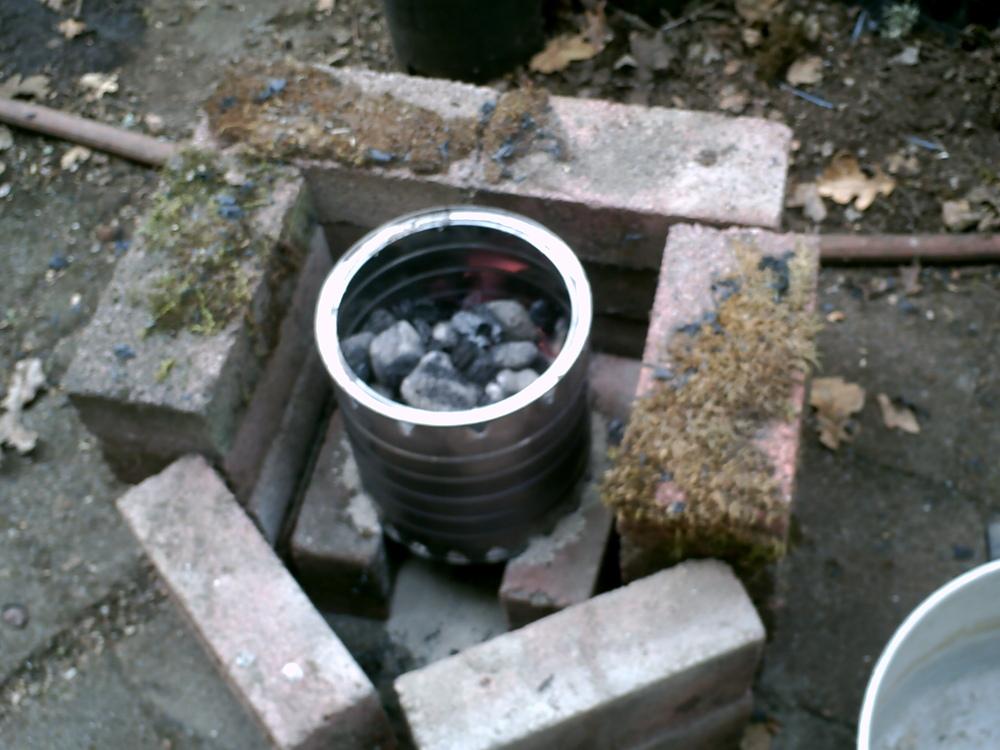
Fill the can about half full of either charcoal briquettes or charcoal which has been saves from a campfire or your wood stove. Stuff some newspaper in the bottom beneath the stove and get ready to light it with your Zippo lighter (if you have one). Today it will be Knorr Spring Vegetable soup.
I am using an old air mattress inflater to blow gentle puffs of air into the smoldering newspaper, but you can just use your own breath if you don't mind bending down and inhaling a little smoke. The plastic jug holds water.
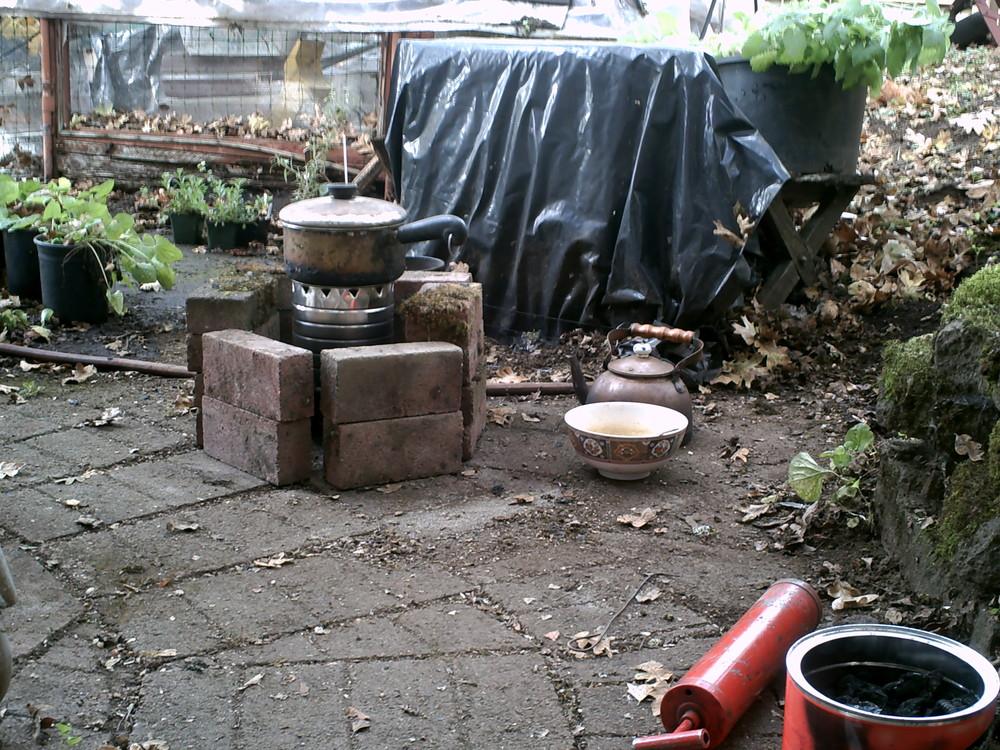
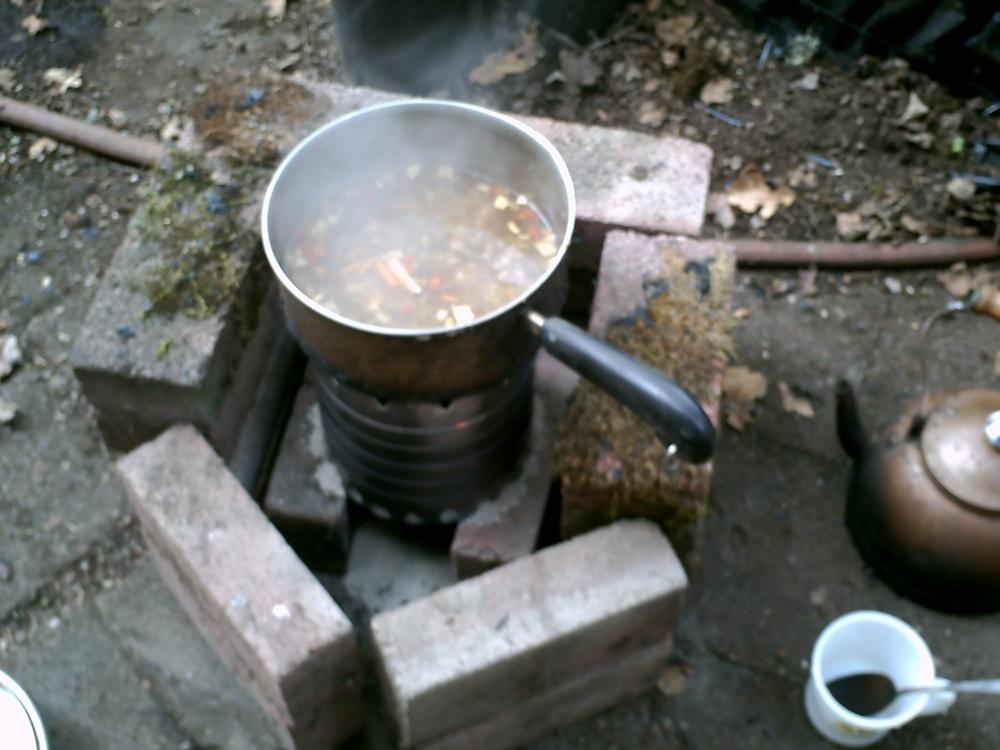
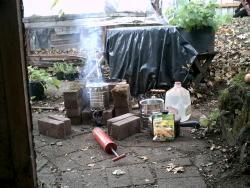
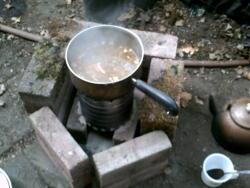
The charcoal is lit and the contents of the saucepan is heating. The directions called for adding the contents of the package to about 3 cups of water, which I did.

The contents of the saucepan is heating up, but not boiling yet. Four bricks have been placed in front to the enclosure to cut draft and concentrate heat.
A blurry close up showing ash spilling out of the bottom edge of the stove.

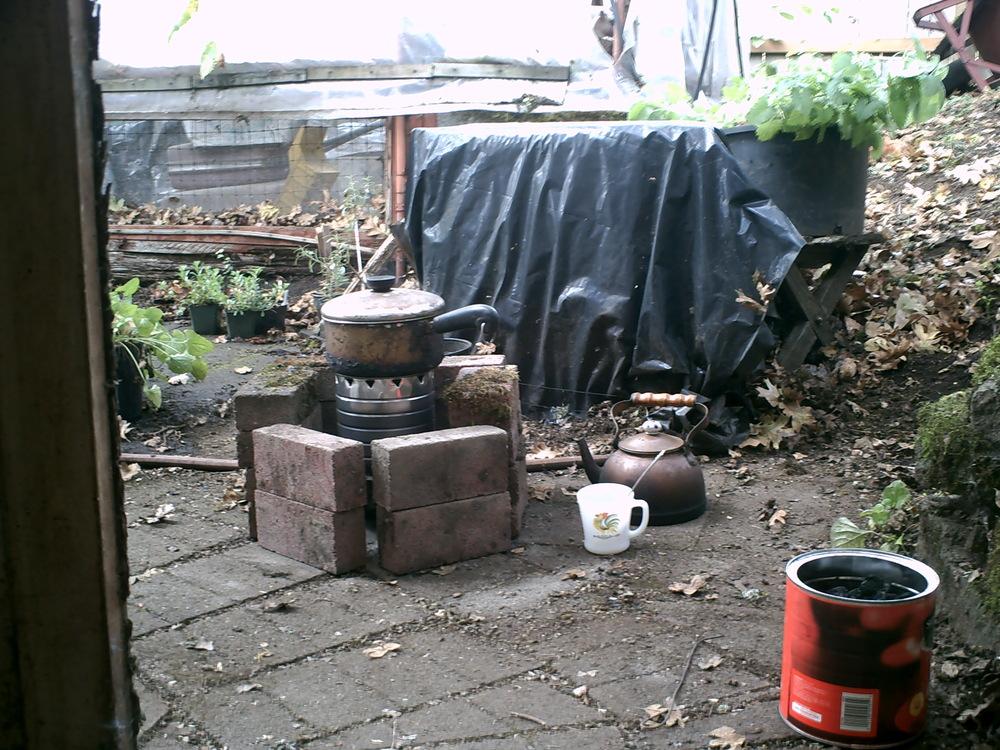
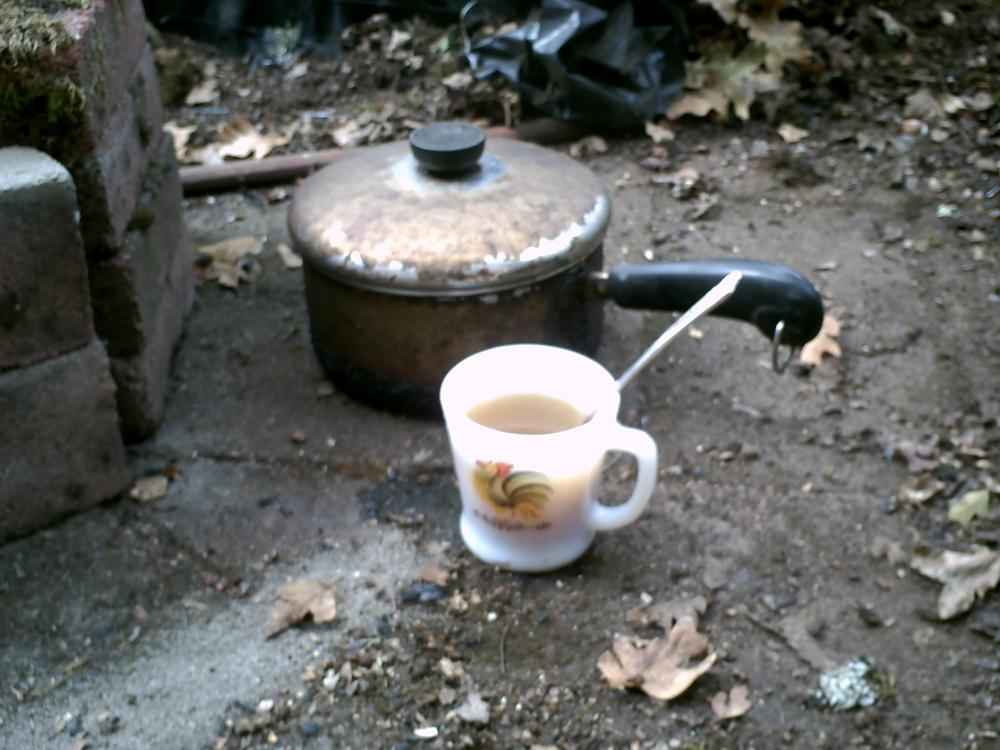
A coffee cup is at the ready for when the soup is done.
Blurry pic again - the soup is ready after boiling for several minutes.

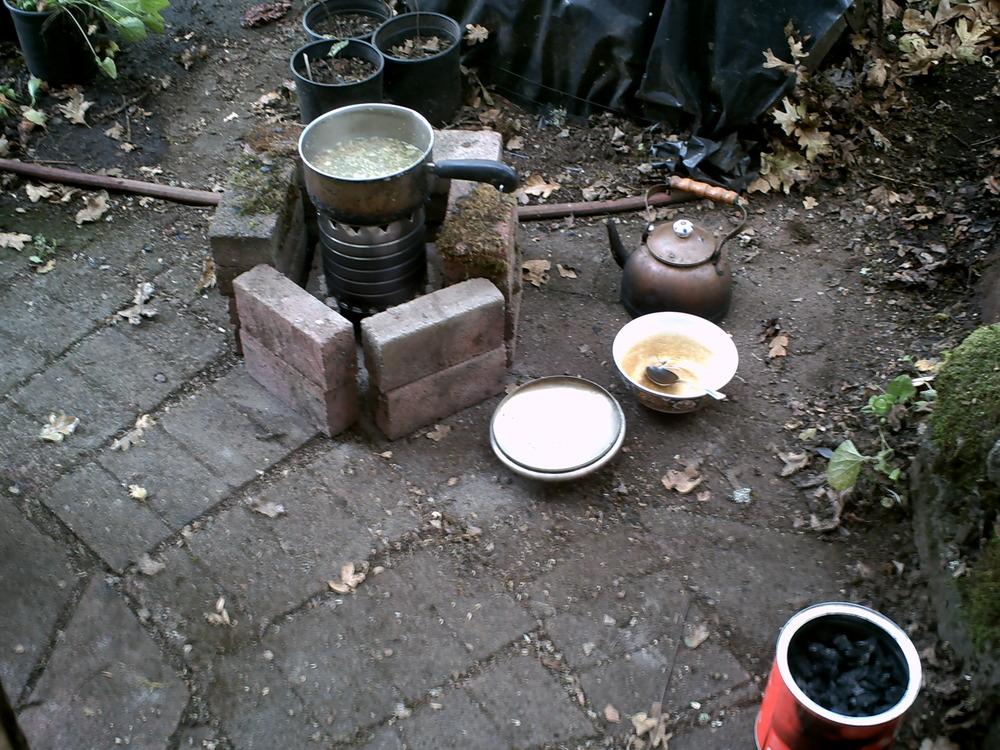
Soup in the cup and in the saucepan, piping hot.
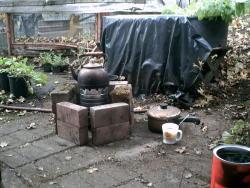
Heating up water in the copper kettle for a cup of tea, or what have you.
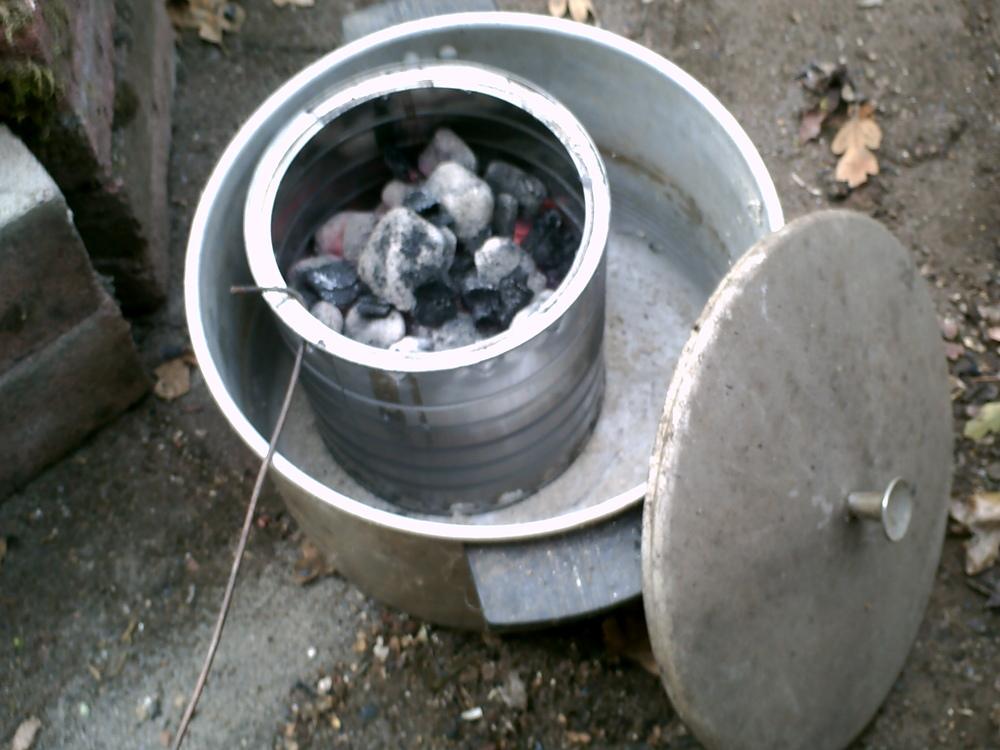
This is how much charcoal was left after filling the stove nearly to the top and cooking the soup and heating the water in the copper kettle - which took about an hour.

The stove with live coals inside is lifted from the enclosure with a wire hook and placed in an aluminum pan. After placing the lid on, the coals will be extinguished in a matter of minutes, a safety measure to prevent wildfires. Otherwise the coals have to be entirely covered with sand or soil.
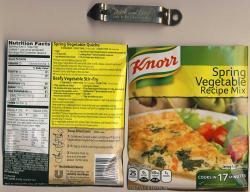
A scan of the can opener and the Knorr package. The soup sure "hit the spot" (as Grandma used to say) on a chilly day in Oregon ☺