I've been having trouble finding clay orchid pots lately. So a couple of the pots that came with some rescue phals from Lowe's just needed holes cut into them. We tried several different methods, drills, roto-zip, and then the super little Dremel tool turned out to be the answer.
Safety first, please wear safety glasses when you are using any cutting tool, and there will be terra cotta dust, so if you don't want to breathe it, a fiber mask would be in order as well. I did my cutting in front of a window in my DH's shop and there was a nice obliging breeze blowing the dust all over the floor instead of into my face . . .. in hindsight, the little shop vac would take away the dust very nicely (but it makes such a racket!).
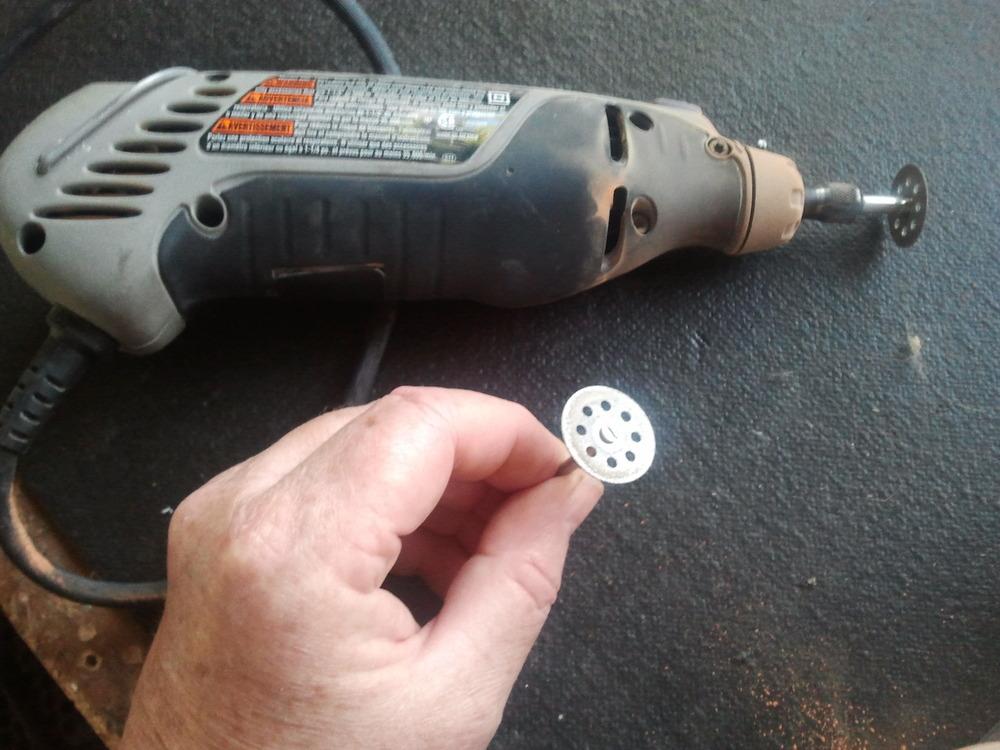
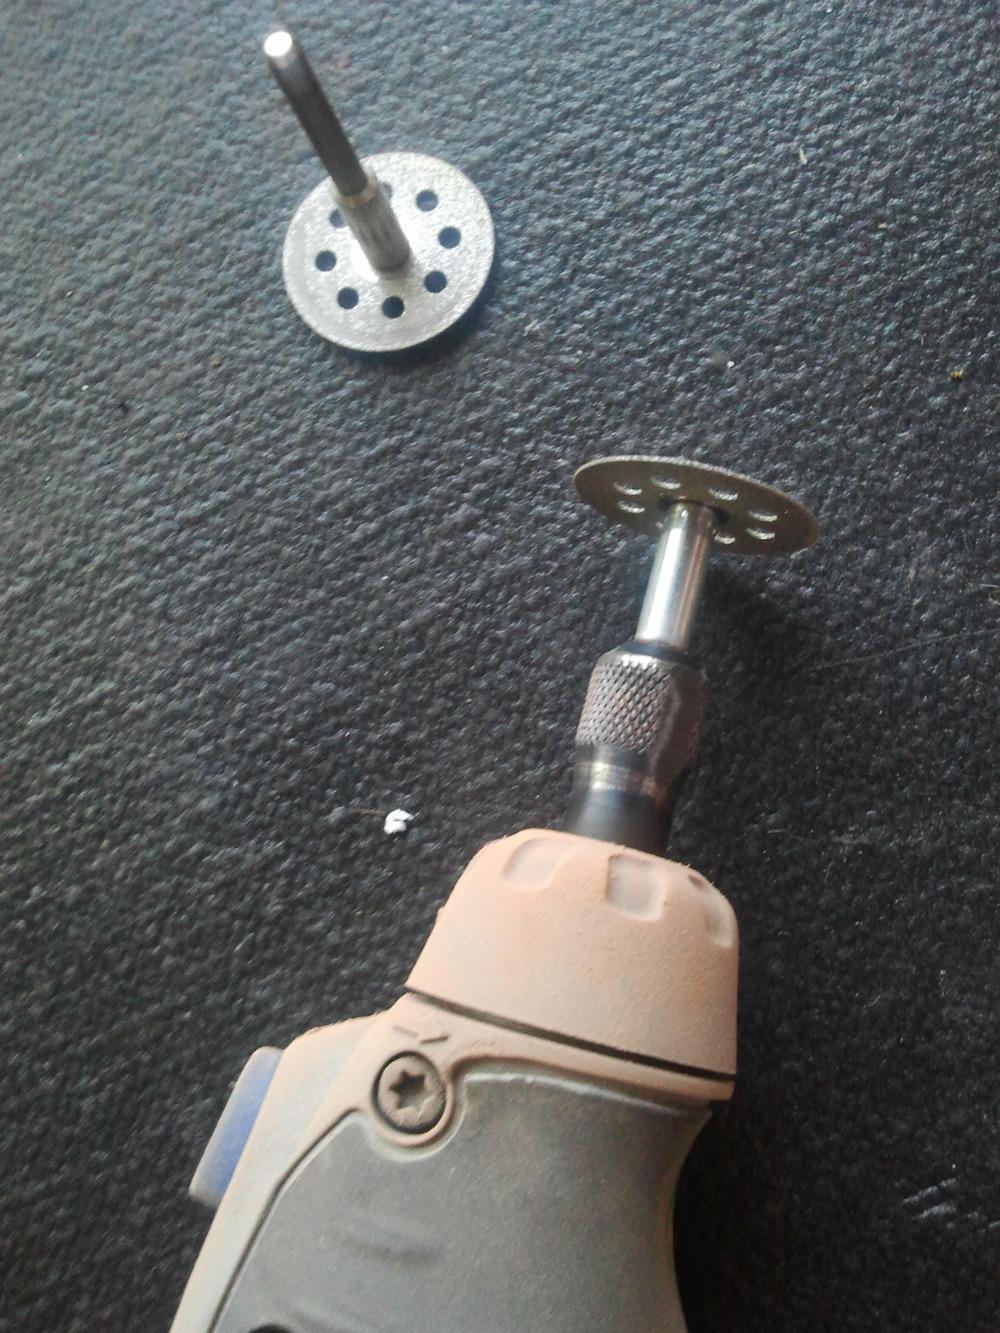
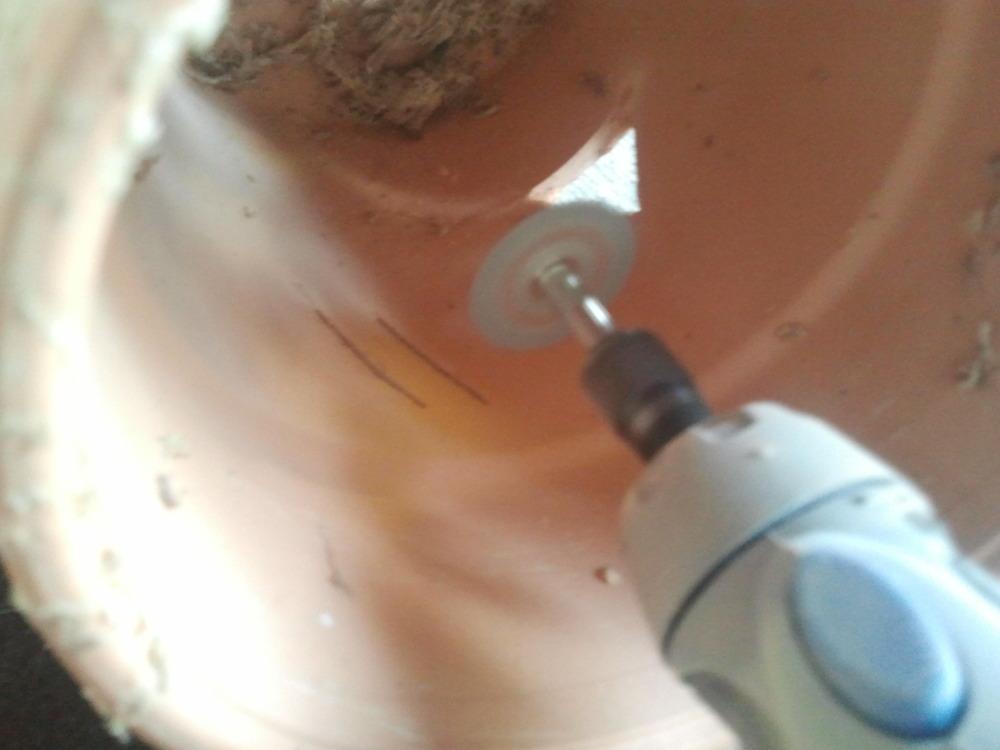
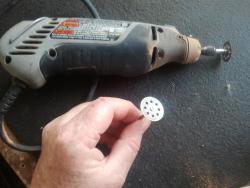
I use a Dremel tool with a little diamond wheel on it. You may have to use a larger wheel if you have a bigger, thicker walled pot. My pots are only a bit over 1/8in or 2 to 3mm thick. You also are pretty much stuck with straight-sided holes, because the wheel only cuts straight cuts. It would take a lot of time and patience to make anything like a curved cut.
These two little clay pots came with dying phals in them, from the Lowe's death rack. No wonder - the clay pots had no holes whatsoever, and inside each had a plastic pot as well. Soggy moss, hello-o!
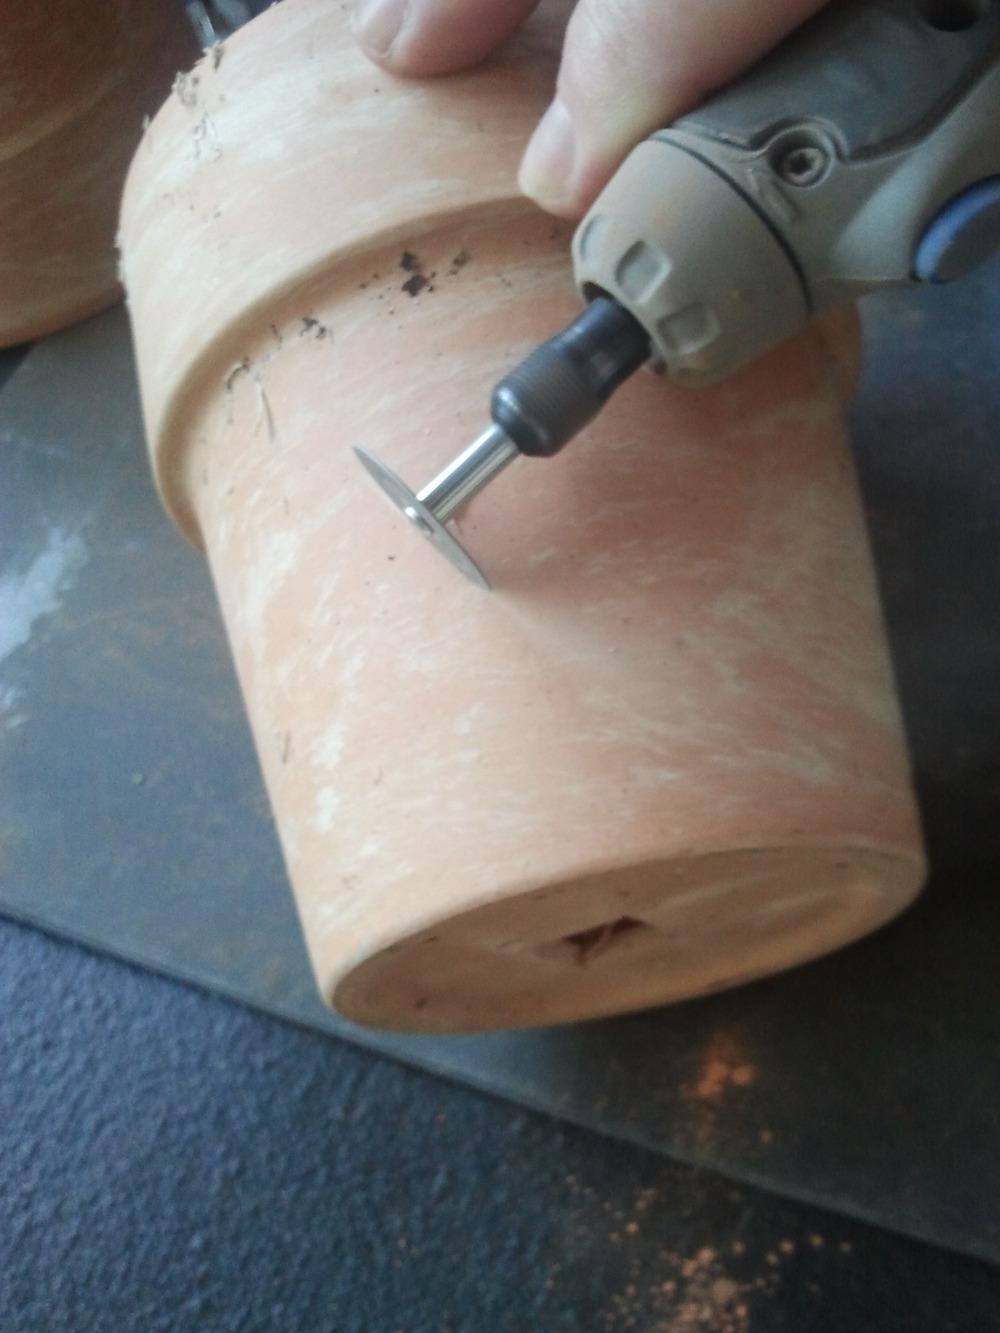
The wheel cuts best if the clay is dry. Moist clay will gum up the wheel and you'll need to rinse it off during the operation.Turn on the tool, I use speed setting 7 (the tool has 1 to 10) and very light pressure to keep the tool, wheel and pot from overheating. The clay is not hard, but it is fairly dense. If you see sparks where the wheel is cutting, you are pressing too hard. Don't try to go fast, it only takes about 30sec. to make each cut. If your Dremel tool starts to get hot, stop and have a cup of tea while it cools down.

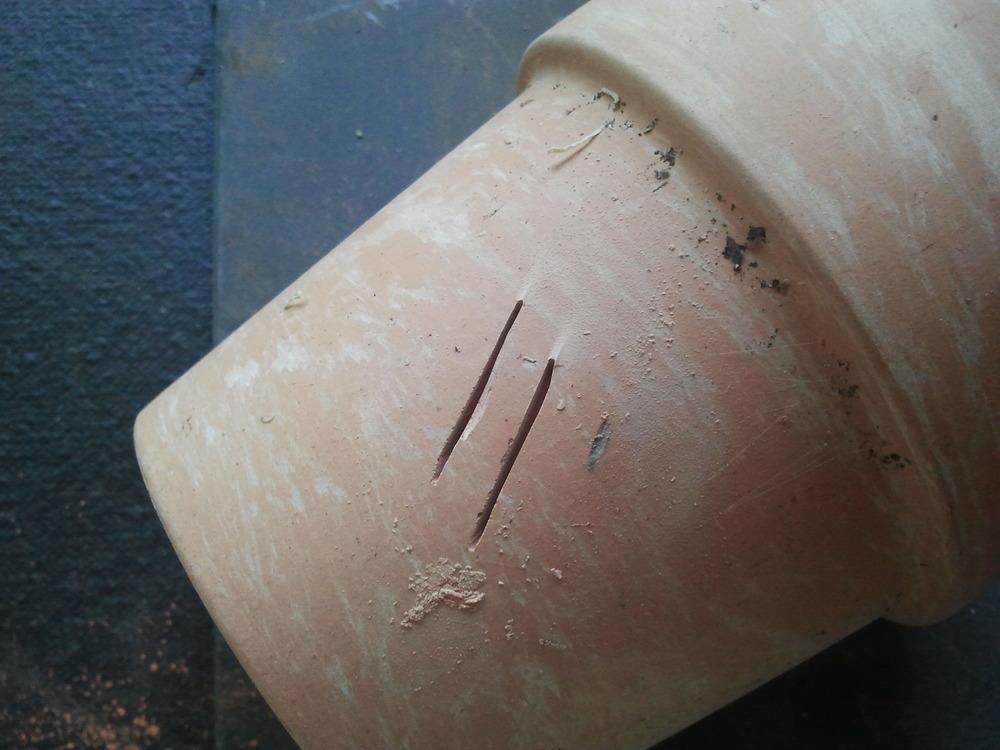
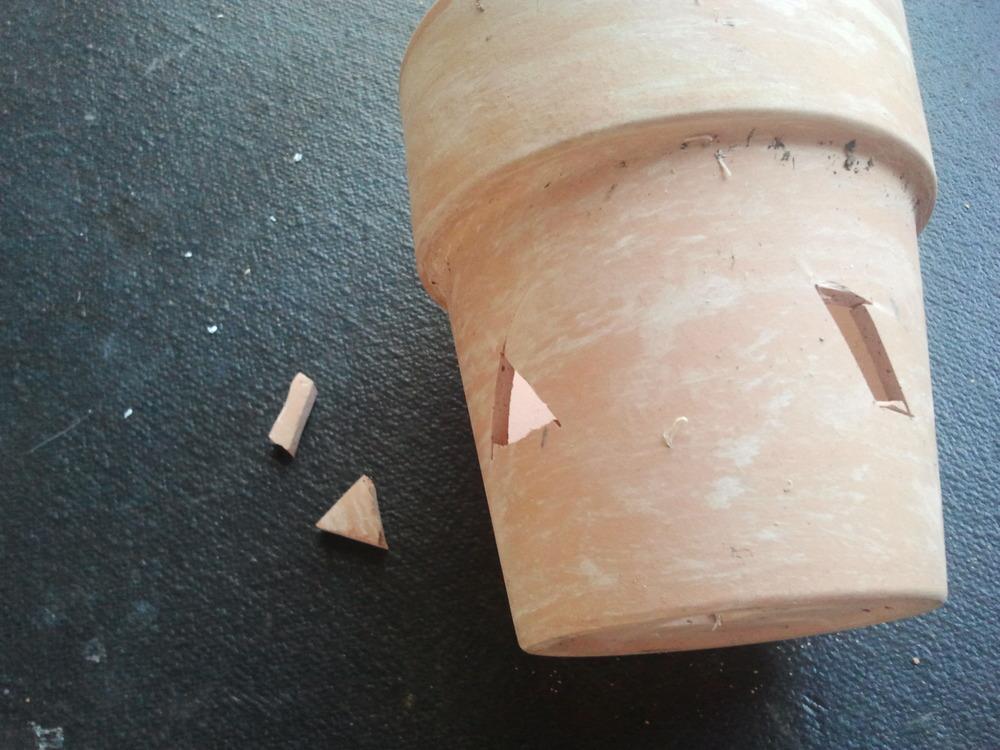
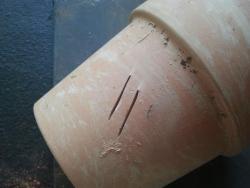
I like to make little slanted rectangles (parallellograms) for those of you who are into math. So I cut two parallel sides about 1/4in. apart. Then I make the end cuts to break out the piece on the inside of the pot because you don't see the cuts extending beyond the hole. It just looks nicer.

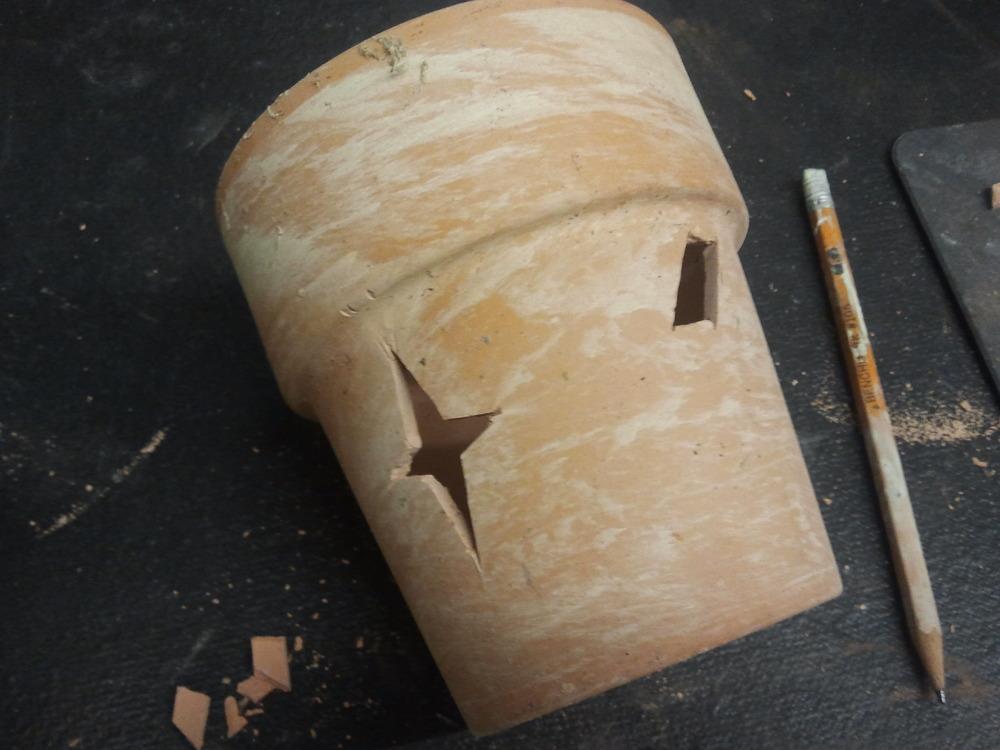
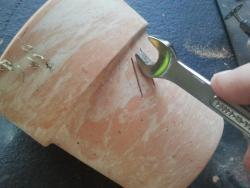
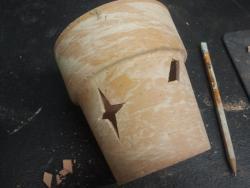
You can make squares or triangles (see below) rectangles, or star shapes, whatever turns your crank. Don't make the holes too big, though, or your bark mix or other medium will escape out the holes. Hmm, star shapes would be fun for gift pots at the holidays . . . I think I'd draw the star in pencil on the pot first, rather than try to freehand it. After I have cut on all sides of my opening, I gently tap the piece with a light metal tool. This little crescent wrench worked great. Note, the clay gets a little thicker up near the rim of the pot, and of course the "collar" of the pot is much thicker. I don't make vents in that part, but if the pot is tall like this one, I do make the holes fairly high up the sides.

I'd advise not to make the holes too close together, as every hole will weaken your pot a bit. I was thinking a row of diamonds would look great, or narrow triangles with one pointing up and one pointing down.
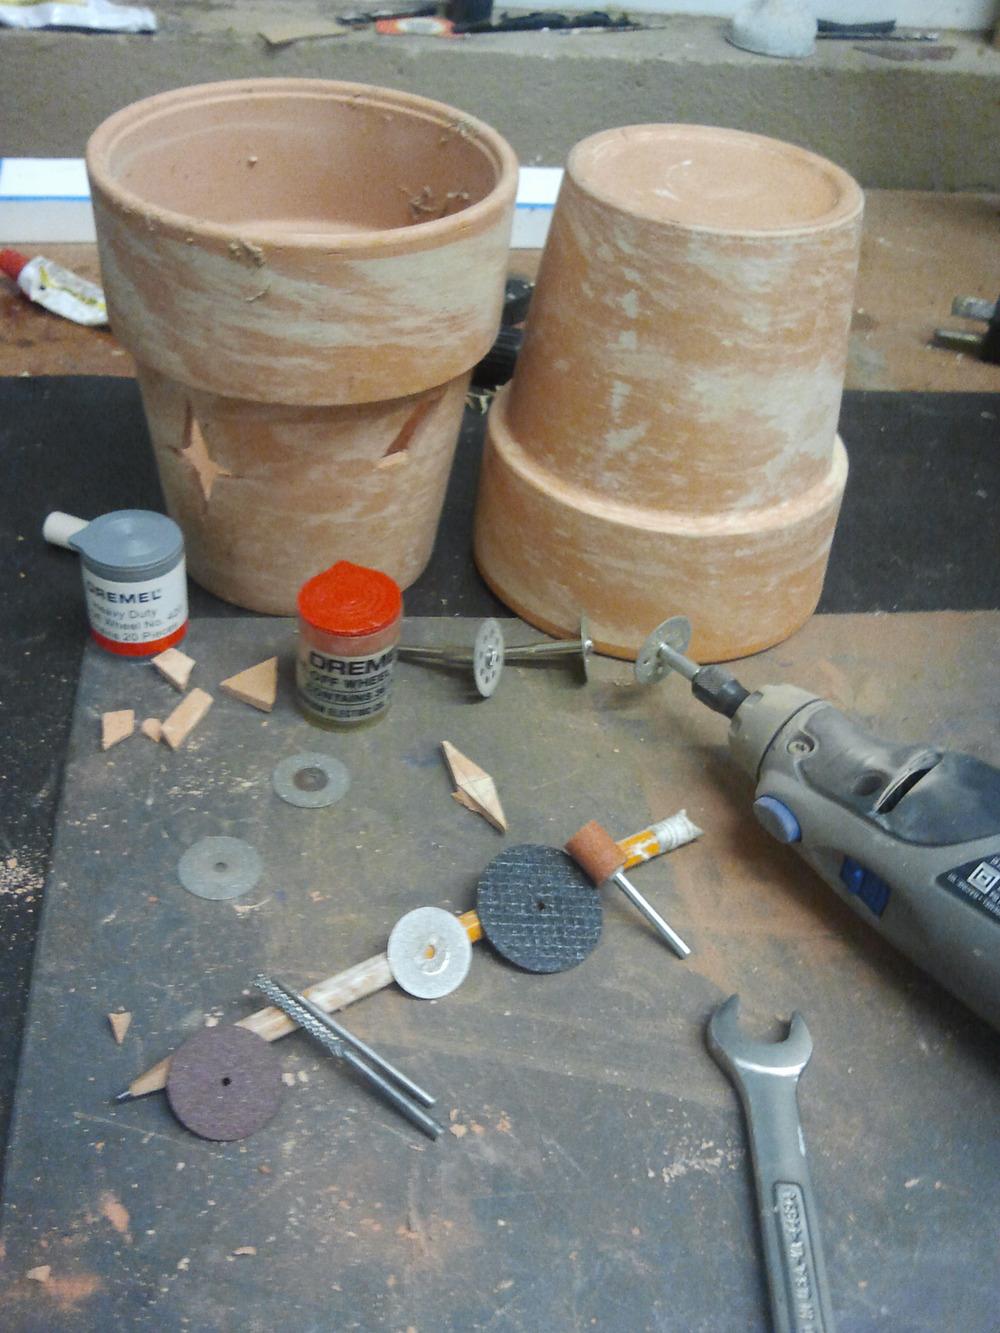
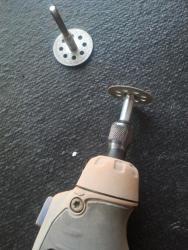
Anyway . . I digress as usual. Here are pictures of the tools you usually find in the kit that comes with your Dremel tool. You can use a sanding wheel to dress the edges of the holes you made if you want to. The edges are a bit sharp, but not sharp enough to cut you unless you really grabbed an edge hard.
The dark red cutting wheels cut great, and would work for a thicker walled pot, but be very careful not to wear them too thin as they tend to break and fly apart. The big black cutting wheel made the tool overheat pretty quickly. It's a lot of work for that little motor to turn that big wheel.

If you try this on a ceramic glazed pot, be extremely careful! They are fired at much higher temps than terra cotta, so they're more brittle. Also the glaze can crack and pieces fly around, so beware flying splinters!