|
|
Short on growing space? Make an "eBucket!" View illustrated instructions to turn 5-gallon buckets (or large containers) into self-watering containers for veggies & plants. Construct in 5 minutes - plant in 10! Pictorial Instructions for the eBucket construction follow in the next posts downward!
The original, one-bucket design was brainstormed by Molamola (Coconut), Gessieviolet, and me. It is the best wicking system I've dealt with, and the plants love it! They take in all the water they need -- no over- or under-watering, ever!
If you have any questions, just ask away!
Linda

|
|
|
I call these "My Three Sisters". They were grown in eBuckets!
|
|
|
Welcome to my step-by-step PICTORIAL instructions on how to make a self-watering eBucket!

|
|
|
Step #1
Secure your components:
- a 5-gallon or larger plastic bucket (with lid)
- a plastic colander to fit inside your bucket
- a 22-24" length of PVC pipe (longer is better -- when the greenery gets bushy, you can still find it!)
- a sturdy plastic straw to aid in overflow drainage (McDonald's malt straws are the best!)
- Potting MIX (not potting soil!)
- Pelletized or Powdered Dolomitic lime
- Granulated, Time-Released Fertilizer

|
|
|
Step #2
Cut your holes:
Turn the colander upside down so it sits on the bottom of the bucketPosition the fill tube close to the inside wall of the bucket, and mark where it sits on the colanderUse a hole-bit or an exacto or utility knife (careful!) to cut out the hole at the marking. The hole should allow the fill tube to pass through snugly, and rest on the bottom of your bucket, while not allowing too much space for your potting mix to fall into the reservoir. If you accidentally cut your hole too big, use some duck tape to patch up the space!Mark a spot on the outside of the bucket approximately 1" below the overturned bottom of the colander, and drill a hole through the bucket (I use a 5/8" bit). This will be your overflow hole.Use of a straw in the drain hole is optional. However, if your potting medium is prone to clogging up your drain hole, use of the straw will allow you to push the debris out to re-establish flowNote: There should be approximately 1" of airspace between the top of your water in the reservoir, and your soilbed on top of the colander. This space keeps the majority of your potting mix from being in constant contact with the water, and becoming anaerobic.

|
|
|
Step #2, view #2
Here's another view of the components in place from above, showing a different type of colander. Just give any colander you chose the old "lean to" test.
Place it on the floor and lean on it. If it doesn't collapse under your weight, chances are it won't collapse under the weight of the heavy, damp potting mix in your eBucket!

|
|
|
Step #3
Pack potting mix tightly around sides of colander, under and over the drainage straw, and behind the fill tube. Pack tightly just to immediately over the top of the colander.

|
|
|
Step #4
Bring potting mix over top of colander and fill eBucket 1/4 full. Pat mix down gently. Use garden hose sprinkler to water in well until run-off occurs.

|
|
|
Step #4, continued
Overflow is established and system is tested.

|
|
|
Step #5
Fill eBucket to halfway. Pat potting mix down gently and water in well again.

|
|
|
Step #5, continued
Overflow system working very well. No obstructions!
If water only spurts or gurgles out, grip straw firmly and push in and out of drain hole a few times (carefully) until a continuous flow is established. Be careful not to push straw all the way in or pull it all the way out! If straw ever plugs up, run a wire hanger through to remove debris and re-establish flow.

|
|
|
Step #6
To the final 1/2 of your potting mix add your amendments and mix in well:
FOR TOMATOES, add 2 cups pelleted Dolomitic lime
FOR BRASSICAS, mix in 2 Tbsps. Bloodmeal (Nitrogen), aged compost, and/or decomp leaves. Cabbages, broccolis, cauliflowers, squash, cukes, and kohlrabis love growing in organic mediums!

|
|
|
Step #7
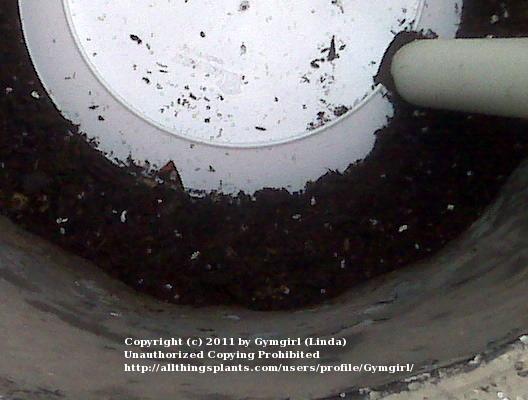
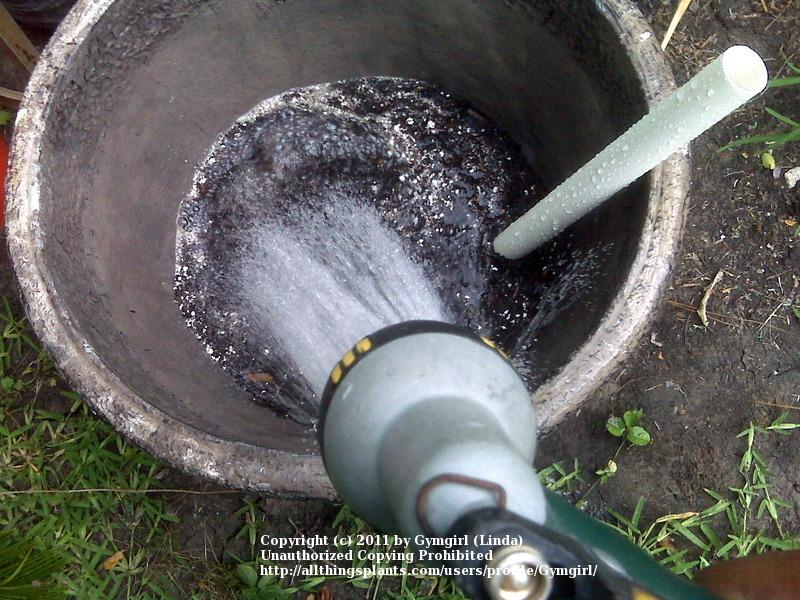
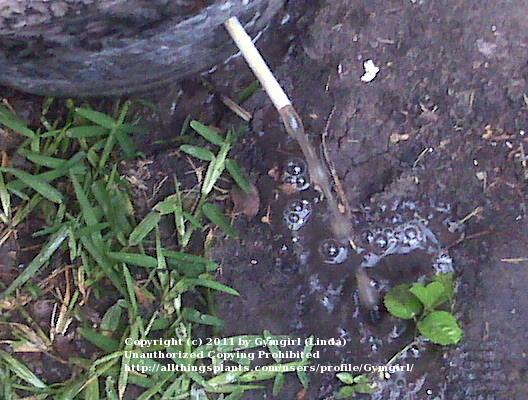
Fill eBucket to the top with the final 1/2 of your amended mix, set your plant, and water in well one final time, until run-off is established.
After watering in, pour 1 cup of balanced fertilizer in a 2" ring around your eBucket, close to the edge, and as far away from new roots as possible. Recommended fertilizers for eBuckets/ePlanters will have any combination of numbers between 10 and 15, e.g., 10-10-10, 13-13-13, 10-12-15, etc. Balanced means all three numbers will be the same.
Sprinkle top gently with garden hose so as to moisten (but not disturb) the fertilizer ring (run-off has already been established).
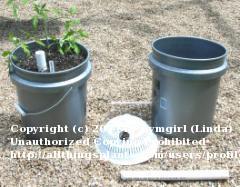
Position trellis and/or plant stake.
NOTES:
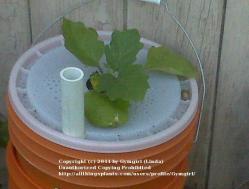
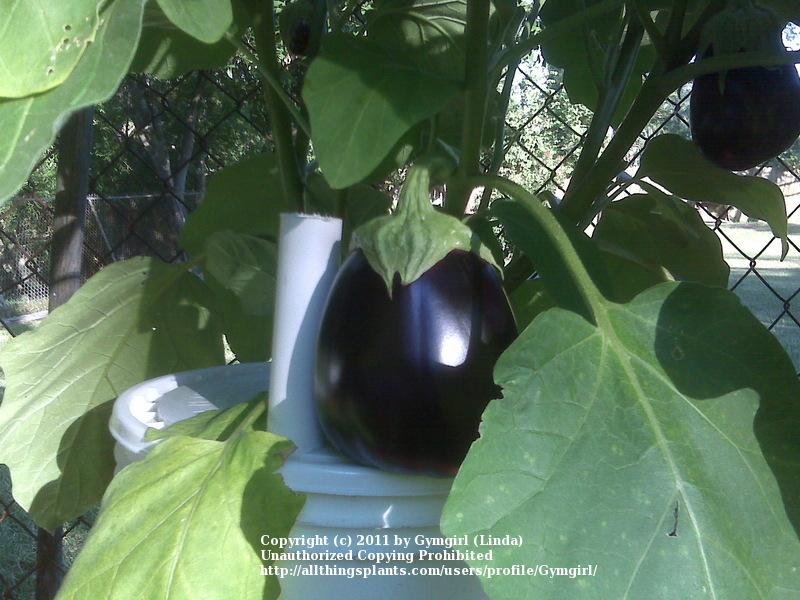
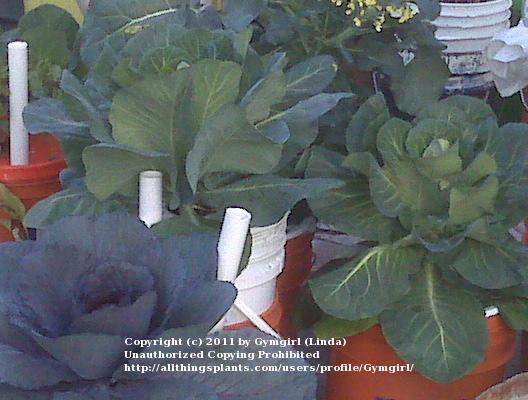
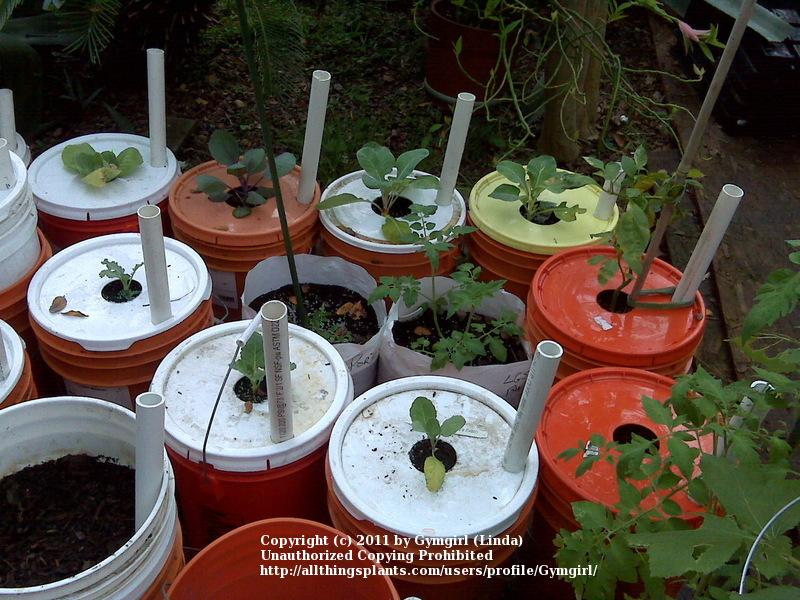
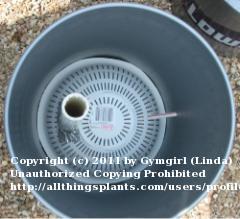
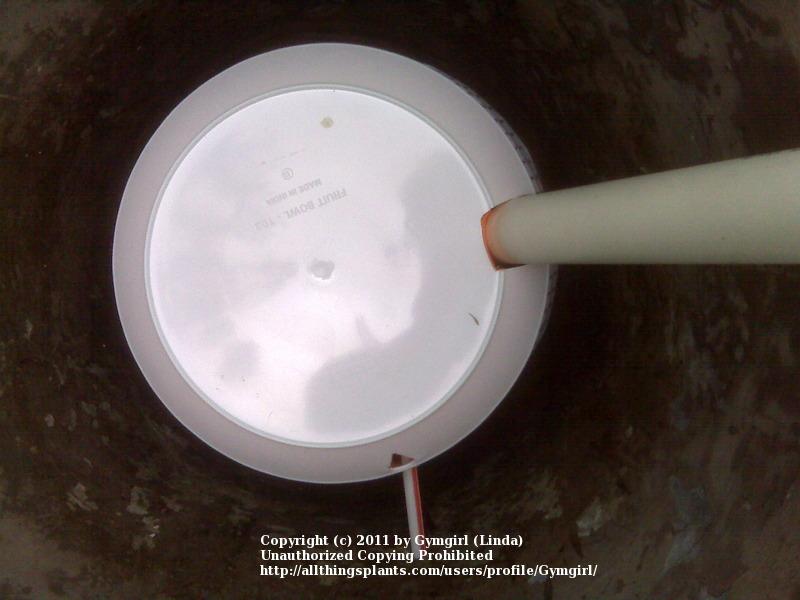
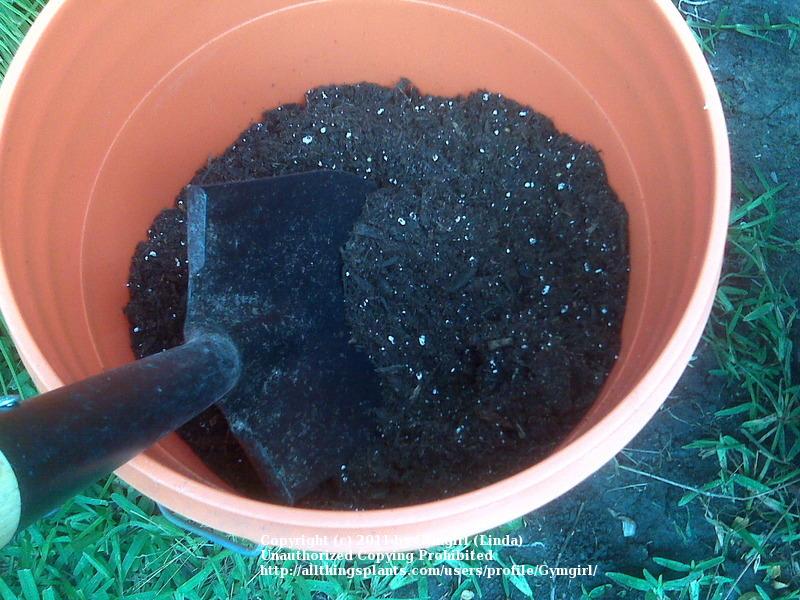
Use potting MIX (not garden soil) when planting containers! Soil in a container will eventually compact harder than concrete.eBuckets/ePlanters are generally covered to prevent rainwater/hosing from washing away topsoilCovering keeps the soil warmer and keeps water from splashing up on plants.If using a lid (for buckets), cut holes for fill tube and plant using hole bits. Cut a center hole for the plant (I use a 2" or 3" hole bit for the plant, and a 1" bit for the fill tube).You may cover a planter with a square of dark plastic cut to fit. Use duct tape or a bungee cord to secure plastic cover to planter. Cut "x" slits in the plastic for the fill tube and seedling to fit through.eBuckets/ePlanters can be a bit heavy after being filled with wet potting mix and the water in the reservoir. It is advisable to situate buckets/planters close to their intended final location before planting. Or, have a plant dolly on hand!
Hope these pictorials are helpful to you!

|
|
|
All Done!

This "Black Beauty" Eggplant stalk grew to about 5' tall overall. The eggplant resting on the bucket top is about 8 lbs., and 10" long. It was a BIG eggplant!
Linda
|
 |
leaflady
Jul 15, 2011 10:17 PM CST
|
Name: leaflady planet earth Love the sinner, hate the sin |
|
| I take it the fill tube is for watering all thru the season. If so, does it collect much if any rainwater for the plants? It seems the lid is intended to keep out rainwater which is better for plants than well or city water. |
|
|
Leaflady,
Yes, the tube is for keeping the reservoir filled. "Self-watering" is more about the plant's ability to draw water from the reservoir as they want/need to.
Some rain water will be caught thru the fill tube, and some will be caught thru the plant hole. If you prefer only rainwater, which, I agree, is God's plant tonic, you should probably capture it in another vessel or rainbarrel, and fill the eBuckets directly from those. Remember, once water comes out the overflow hole, your reservoir is at its maximum capacity. |
|
|
| Thanks, Melissa! Hope you go build a couple and post success stories here, or there, or everywhere! |
|
 |